I swear, dip bars age faster than avocados.
They look perfect out of the box — sturdy, solid, promising endless tricep dips and chest burns — and then, three months later, you’re wobbling mid-set like you’re on a balance board.
At first, you tell yourself it’s just the floor.
Maybe the mat’s uneven.
Maybe it’s the humidity.
Nope.
It’s the dip bar slowly turning into a metal seesaw.
The honeymoon phase with new equipment
You know that feeling when new gear arrives?
You tear open the box like a kid on Christmas morning.
The metal smells fresh, the bolts are tight, and you convince yourself this thing could survive an earthquake.
You hit your first session.
The dips feel smooth, your shoulders are locked in, and you’re thinking: “Finally, something that’s going to last.”
Fast-forward 8 weeks.
You start hearing that faint clink.
Then a subtle creak.
Before long, every dip feels like a game of trust fall with gravity.
Why every dip bar eventually wobbles
Let’s face it — no matter the brand, dip bars live under constant abuse.
Every rep creates micro-movements in the joints and bolts.
If it’s a freestanding structure, it’s especially vulnerable.
Bodyweight training may seem light, but think about the physics — you’re basically launching your entire upper body onto two narrow supports, often at a slight angle, again and again.
That’s a lot of torque.
And here’s the kicker: most home dip stations use hollow steel tubing.
It’s strong enough for static use, but once you start doing weighted dips or explosive reps, that hollow core flexes just enough to loosen connections over time.
Even the “commercial-grade” ones aren’t immune.
They just delay the inevitable.
What really causes the instability
It’s not just bad craftsmanship — though yeah, some cheap ones are built like folding chairs.
The real issue usually comes from:
- Over-tightened bolts that strip the threading
- Slight floor unevenness amplified by lateral movement
- Rubber caps or foot pads that wear unevenly
- Expansion and contraction from temperature changes (metal fatigue is real)
Add to that a few sessions of weighted dips or side-to-side leg swings, and suddenly your “rock-solid” station turns into a rickety jungle gym.
How to make your dip bar last longer
Here’s what’s actually helped me keep mine from turning into a wobble machine:
- Re-tighten after the first 2–3 weeks — metal settles under tension, and the bolts lose a bit of grip.
- Add rubber washers between metal joints — they absorb vibrations like shock absorbers.
- Put it on a stable, flat surface (even a gym mat can cause uneven pressure).
- Avoid leaning side to side during dips — it’s tempting, but asymmetrical pressure bends the frame faster.
- Use thread locker (like Loctite Blue) on the main bolts — stops them from loosening through vibration.
Oh, and one more — stop using it as a coat rack between sessions.
That’s how mine first started wobbling.
The weight of hoodies stretched one side slightly more than the other.
Lesson learned.
The myth of “commercial-grade” at-home gear
Brands love to throw around “commercial-grade” like it’s a magic word.
But here’s the truth: “commercial-grade” in the home fitness world often just means heavier tubing and thicker paint.
Commercial gyms replace parts, re-weld frames, and maintain gear constantly.
At home?
We tighten bolts once every five months and hope for the best.
If you really want gym-level stability, you need gear that’s anchored, not portable.
That means wall-mounted dip stations, rack attachments, or parallel bars bolted to a base plate.
The problem?
Most people don’t want to drill into their walls or floors.
So we live with the wobble.
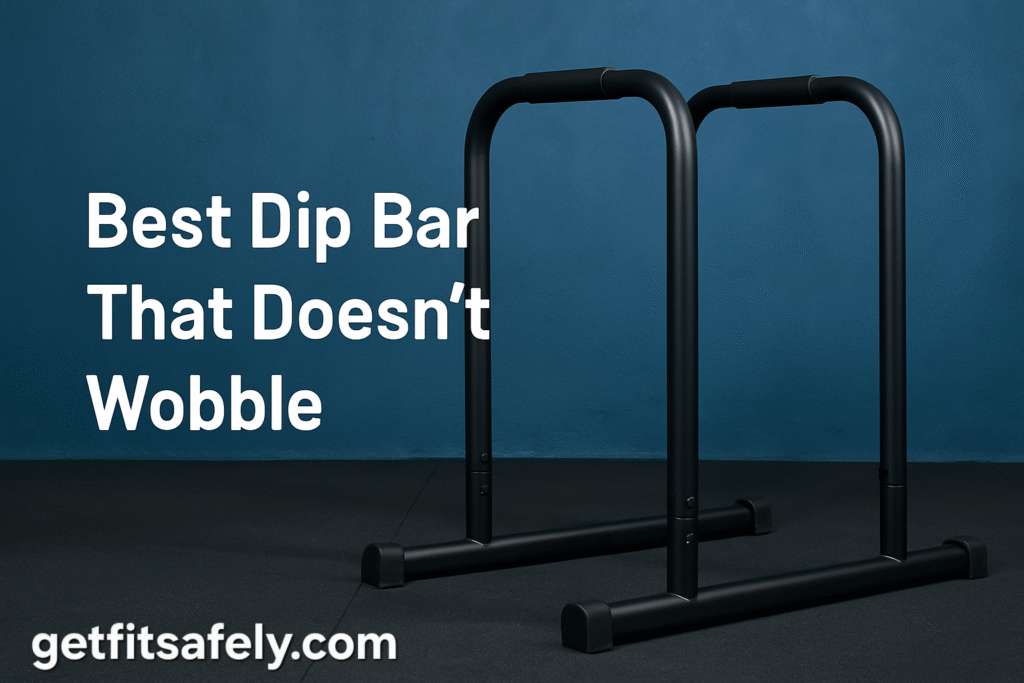
So, what’s the best dip bar that doesn’t wobble?
I’ve tested a bunch — from budget Amazon ones to the big-name freestanding rigs — and honestly, it’s not about the brand.
It’s about the structure.
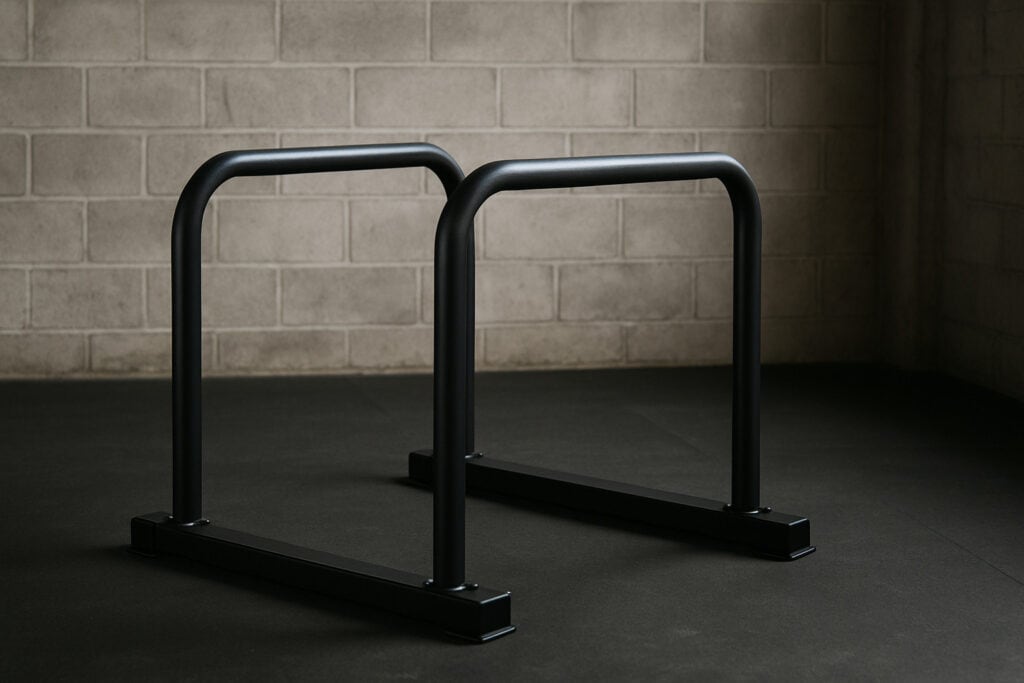
Look for:
- One-piece welded frames (no screws, no joints = no wobble)
- Wider base footprint — the broader the stance, the better the stability
- Weight capacity above 600 lbs — even if you’ll never hit that, it signals thicker steel
- Crossbars or stabilization plates — those make a huge difference over time
If you can’t find one that fits your space, go DIY.
A simple pair of parallel bars made from solid pipe and flanges, mounted on wood, will outlast most store-bought models.
💪 Related post: Find out How Deep Should I Go When Performing Dips for Muscle Gain? — the truth about form, shoulder safety, and maximizing chest activation.
Extra Deep Dive: What Most Reviews Skip
Surface material vs fatigue life
You know how you can buy a steel frame and it looks thick, heavy, “industrial?”
That’s just half the story.
The other half is fatigue life: how the material handles repeated loading cycles over time.
If you’re doing, let’s say, 100 dips per week, that’s 5,200 dips per year.
Factor in explosive moves, slight wobbles, uneven foot pressure — every one adds micro-stress.
So when a manufacturer says “hollow steel,” ask: how thick is the wall?
What grade steel is used?
Is there gusseting at the joints?
These details matter if you want years of wobble-free use.
Foot-print geometry and floor interaction
Stability isn’t just about the bar-structure — it’s about how that structure interfaces with your floor.
If your dip station has narrow legs or minimal contact patches (like small rubber feet), you’re risking pivoting, swaying, and sliding.
Better designs have wide “H” or “X” bases, large rubber feet, sometimes even optional bolt-down plates.
If your floor is tile, concrete, or uneven, those rubber feet help — but they also wear out or flatten over time, which changes the geometry and re-introduces wobble.
So inspect the feet regularly and consider replacing or shimming them earlier rather than later.
Modular vs welded: Pros & cons
Modular equipment (bolts, joints, cross-bars) is great for storage, shipping, and price.
Welded one-piece frames are more stable long-term — but harder to move or store.
If you live in an apartment or move often, you might choose modular.
But accept that you’ll need to re-tighten and maintain it frequently.
If you control the space (home gym in garage/basement), a welded unit is worth the trade-off.
Weighted dips + progression = higher demands
If your goal is just bodyweight dips, you might get away with a mid-tier unit.
But once you start adding plates or using chains — boom — the demands go up.
Weighted dips introduce more downward force, more hip sway, more chance to bounce off the legs of the unit or shift the base.
If you’re going to progress to weighted dips, pick equipment rated at least twice your eventual load (bodyweight + added weight + safety margin).
This will reduce the wobble creep and extend lifespan.
Maintenance schedule: It’s not just assembly day
Here’s a simplified checklist I swear by:
- Week 1–4: check and re-tighten all bolts once per week.
- Month 2–3: inspect feet, contact points; take the rubber caps off to clean under them.
- Every 6 months: apply anti-seize to bolts, clean any corrosion or paint chips, re-check the full base geometry.
- Yearly: if modular, consider replacing worn rubber feet/washers; if welded, still do the bolt-check even if there aren’t many bolts.
Being proactive means your gear behaves like new — even when it’s months old.
Let your space work for your body
Don’t buy a dip bar just because it fits your floor space.
Fit your body.
I’m 6′1″ and my legs used to hit the base on certain models.
If you have longer arms or legs, check clearance under the bar.
Can you do straight-leg dips or L-sit transitions without banging your shins?
Also check grip width adjustability — if you’re training chest-dominant or triceps-dominant dips, different widths matter.
Ergonomics affect not just comfort — but form, and therefore long-term results.
| The kind of tricks nobody ever shares |
|---|
| If you store the station in a humid room (garage, basement), the rubber feet can degrade faster, causing uneven foot-height and wobble. |
| If your station is freestanding and you do dynamic dips (leg swings, kip-style upward push), you’ll speed up loosening bolts. |
| Having mats underneath helps with floor damage but may reduce stability because the base isn’t flush on the floor — consider using a non-compressing sub-base. |
| When you travel or move houses, disassemble if possible — and mark bolt pattern orientation. |
| Re-assembling in a slightly different orientation can introduce micro-shifts that accelerate wobble. |
What’s Next After You Nail the Dip Bar Setup
Hybrid training with parallettes and rings
Once your dip station is stable, you can start layering in adjacent tools like parallettes or rings.
These add variety, hit muscles slightly differently, and keep the wobble (and mindset shift) in check.
Footprint upgrades: combine with row station or hand-stand blocks
Don’t let your dip bar stand alone.
Use the space around it for supportive accessories — like a mid-size row station, or hand-stand blocks near the base.
That way you create a mini functional training hub rather than a single-purpose piece.
Periodise your dip variations
Switch up grips, tempos (slow down the lowering), add pauses at the bottom or top.
A stable bar gives you the confidence to explore advanced variations without the fear of shifting metal.
Inspect gear before re-investing
Before buying another dip bar or other station, use your wobble-free setup as a benchmark.
If the new one moves, YOU’LL feel it.
Early rejection saves money and frustration.
💪 Related post: Curious about upper-body dominance? Check out Are Dips Superior to Push-ups? Which Exercise Offers Greater Effectiveness? — a full breakdown of muscle activation, form, and progression potential.
Final Thoughts
Finding a dip bar that doesn’t wobble isn’t some mythical quest — it’s about good gear + smart maintenance + realistic expectations.
Your workout routine, your space, your body — all of these matter nearly as much as the price tag.
If you pick something strong, set it up right, take care of it, and monitor it over time — you’ll sidestep most of the “mid-set shimmy” moments.
Once you’re not wondering whether the bar is wobbling, you can focus entirely on you — the dips, the growth, the grind.
Go get it.
No more wobble, just reps.