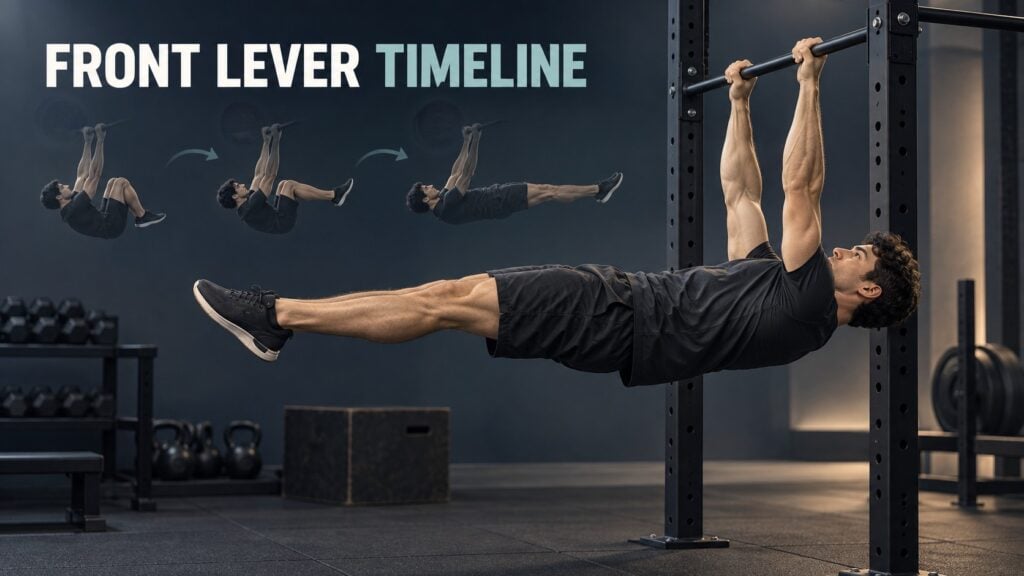
I wish I could give you one clean number, but most people need somewhere between six months and two years to learn it.
That range sounds huge until you spend a few weeks under a pull-up bar and realize how many little things have to improve together.
Some days, my tuck front lever rises almost smoothly.
On other days, I pull my knees in, lean back, and somehow create a shape that looks more like I am avoiding a falling object.
That does not mean the session was useless.
It usually means I have found the part that still needs work.
Why the Front Lever Does Not Care How Excited You Are
Whenever I return to front lever practice after a few days away, part of me expects my body to remember everything.
The bar usually has a more realistic opinion.
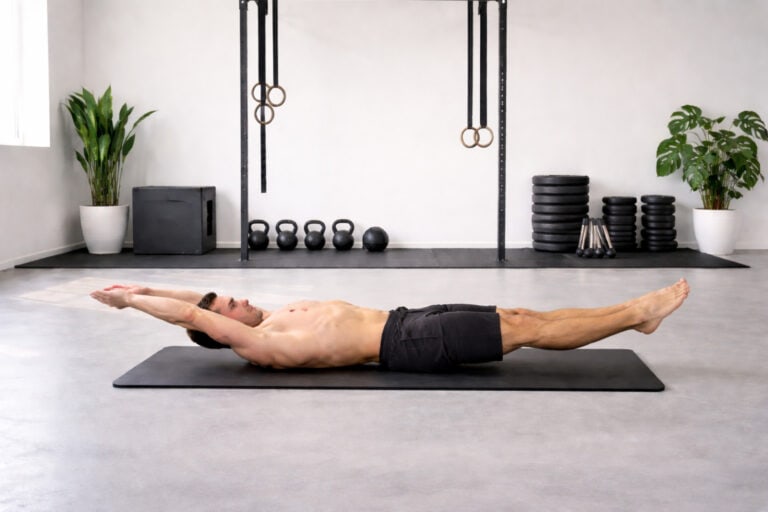
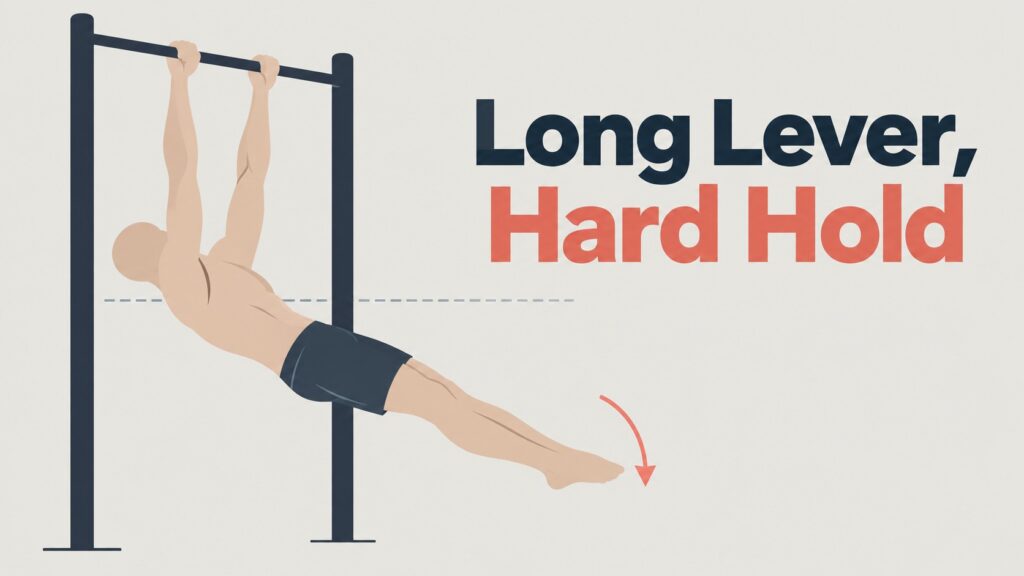
A front lever is a bodyweight hold done below a pull-up bar.
You hang with straight arms, lift your body out in front of you, and try to keep it close to parallel with the floor.
In the final version, your legs stay straight and together.
Your shoulders, upper back, stomach, hips, and legs all work to stop the body from folding.
Watching someone hold a full front lever can make it look almost peaceful.
Trying one tells a different story.
My arms stayed straight for a moment during my first attempts.
Then my hips dropped, my feet pointed toward the floor, and my body seemed to decide that being horizontal was an unreasonable request.
The movement is hard because your body becomes a long lever.
As your legs move farther from your shoulders, they create more force for your upper body to control.
Strength matters.
Body position matters just as much.
I Stopped Rushing Past the Tuck Front Lever
I used to think the tuck front lever was only a temporary stop on the way to the exciting versions.
That attitude made me rush, and rushing gave me a one-leg front lever with one straight leg, one wandering knee, and a torso rotated just enough to ruin the point.
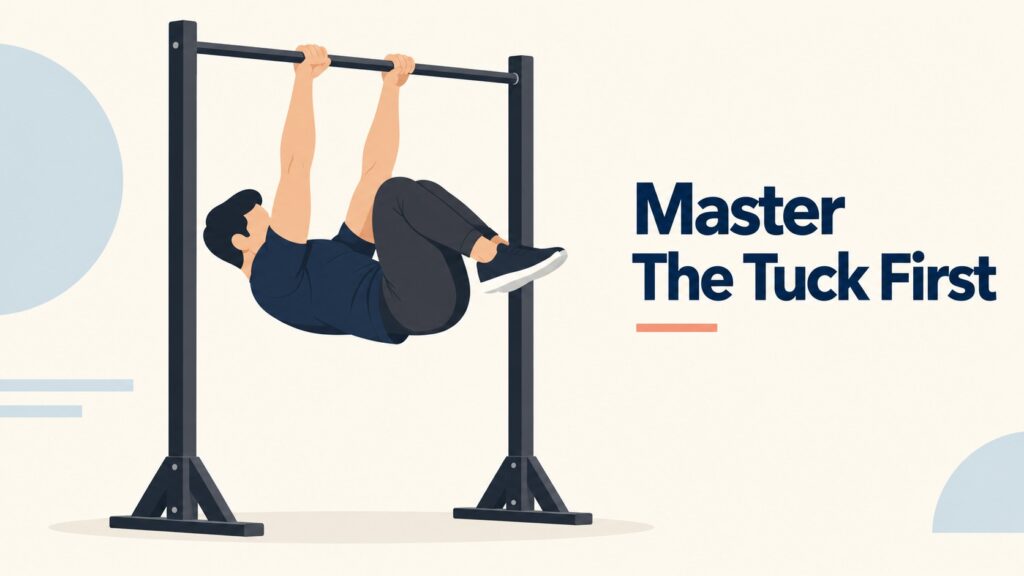
The tuck is where you learn the position.
Hang from the bar with both hands.
Your palms can face away from you, which is the familiar pull-up grip, or face toward you, which is called an underhand grip.
Bring your knees toward your chest.
Lean the shoulders back and lift the hips until your torso is close to horizontal.
Keeping the knees bent shortens your body.
A shorter body is easier for your back and shoulders to hold.
During a solid tuck, I feel my upper back pulling down toward my hips while my stomach works to keep the lower body from slipping away.
That feeling can be unfamiliar at first.
The body wants to curl tightly because curling is easier.
Try to keep a reasonably flat line from shoulders to hips instead.
These are the usual stages:
- Tuck front lever: Knees pulled close to the chest.
- Advanced tuck front lever: Knees stay bent but move farther away from the chest.
- One-leg front lever: One leg extends while the other remains tucked.
- Straddle front lever: Both legs extend and open wide apart.
- Full front lever: Both legs stay long and together.
A clean tuck for eight seconds teaches more than a crooked one-leg hold for eight seconds.
I know because I spent too long choosing the crooked option.
I Learned to Trust the Camera More Than the Stopwatch
I once wrote “12-second front lever” in my training notes and felt quite pleased with myself.
Later, I watched the video.
My hips were low, my knees had crept toward my face, and my shoulders were doing something that looked like a coat hanger trying to escape a closet.
The stopwatch was not lying.
My interpretation was just very generous.
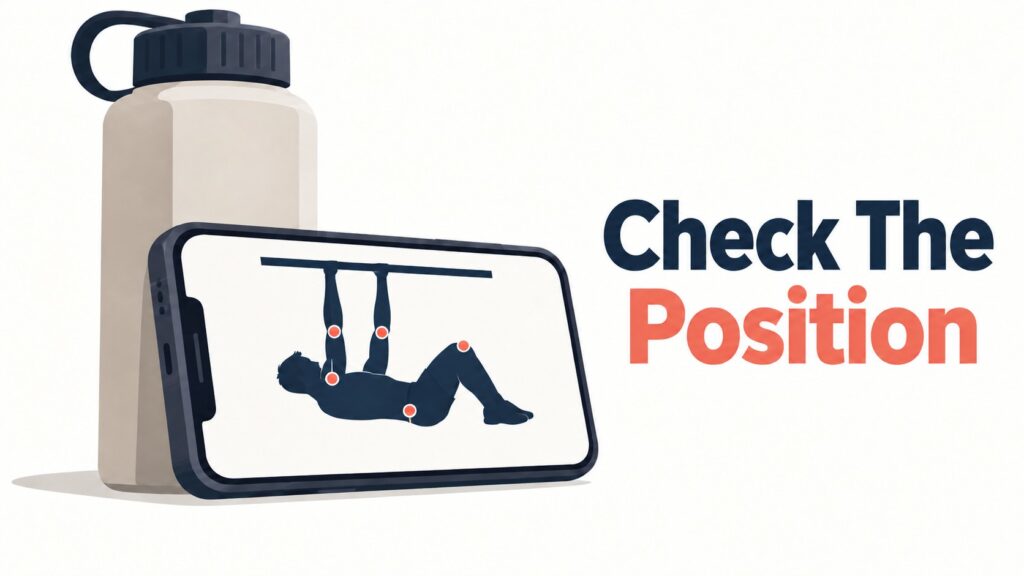
Film one or two sets from the side.
A phone against a water bottle is enough.
At home, I have used a shoe as a phone stand, which works right up until it falls over during the best attempt.
Look for these points in the recording:
- Your elbows remain straight.
- Your shoulders stay pulled down away from your ears instead of shrugging toward the bar.
- Your hips stay close to shoulder height.
- Your chest does not fold inward.
- Your knees or straight legs remain where you placed them.
- Your lower back does not arch hard to make the hold look flatter.
- Your body enters the position without a big kick or swing.
A useful hold looks almost boring from the side.
There is little movement.
Nothing wobbles much.
Your body simply stays where it was placed.
That is much harder than it sounds, but it gives you a clear target.
My Pull-Ups Improved Before My Front Lever Did
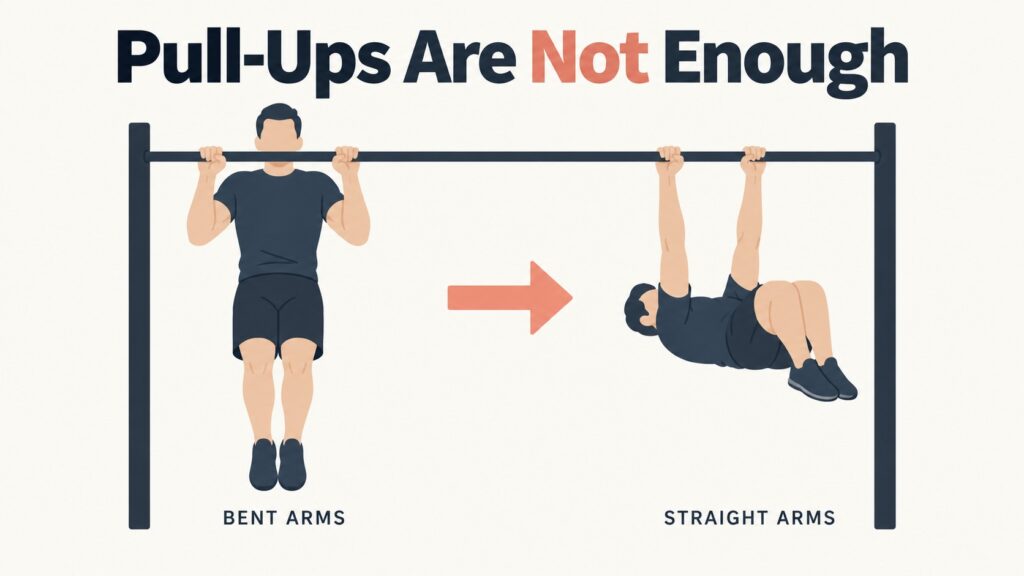
After my pull-ups got stronger, I expected the front lever to become much easier.
It did not.
I could pull my chin over the bar more confidently, yet my straight-arm hold still felt like a completely separate conversation.
Pull-ups train you to bend the elbows and pull your body upward.
A front lever uses some of the muscles, especially the lats along the sides of your back, but asks them to work differently.
Your elbows stay locked.
Your whole body has to remain tight while your back pulls against the bar.
That is why pull-ups help without solving everything.
I add a few movements that carry over more directly.
Body Rows and Front Lever Rows
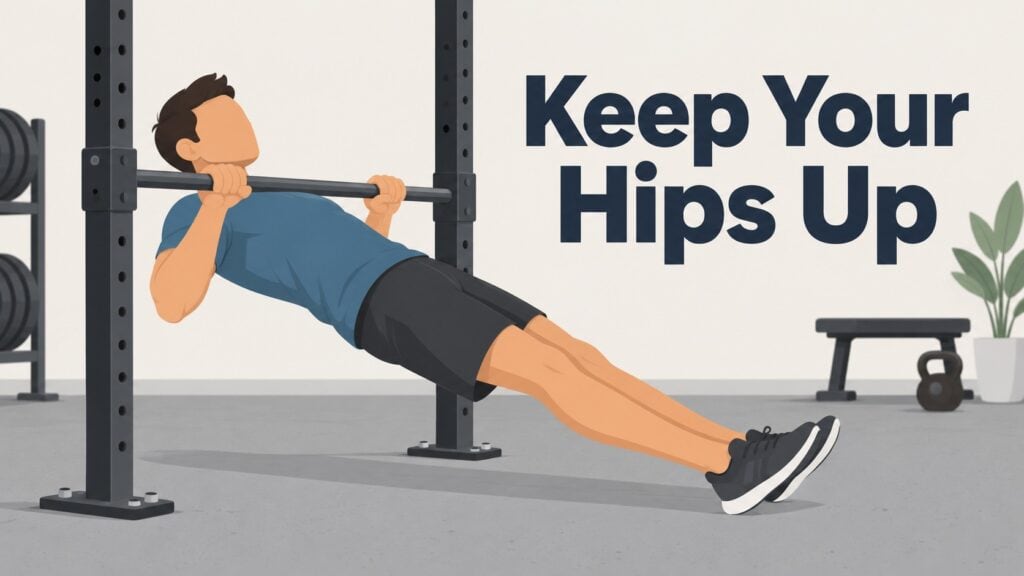
I like body rows because they let me train the back without needing to be fresh enough for a difficult hold.
Set a bar around waist height in a rack.
Lie underneath it and hold it with both hands.
Place your heels on the floor and lift your hips until your body forms a straight line.
Pull your chest toward the bar by driving the elbows backward.
Lower under control.
For 3 sets of 6 to 10 repetitions, pause briefly at the top.
Keep your hips lifted rather than letting them sag.
If that is too hard, bend the knees and place the feet closer to you.
The exercise becomes easier, but your back can still learn to pull well.
For a tougher variation, keep the body straighter and place your feet farther away.
Straight-Arm Pulldowns
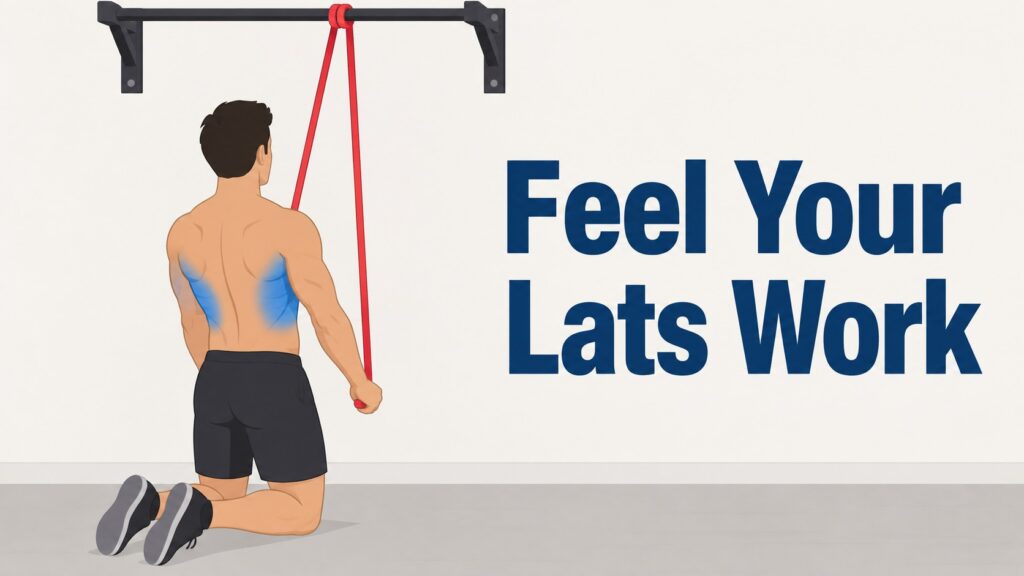
Straight-arm pulldowns taught me how to use my lats without relying on bent elbows.
At a cable machine, stand facing the pulley.
Hold the bar with arms almost fully straight.
Pull the bar down toward your thighs without turning it into a regular triceps movement.
At home, anchor a resistance band over a sturdy pull-up bar.
Kneel below it, grab the band, and pull it toward your pockets.
I use 3 sets of 8 to 12 controlled repetitions.
Choose a band that lets you feel the muscles along the sides of your back working.
I Make Front Lever Holds the Main Part of the Session
I have wasted plenty of energy trying to rescue a hold that was already finished three seconds earlier.
You know the moment.
The hips drop.
The legs start moving around.
Your arms soften.
Then your brain says, “one more second,” as though negotiating with a very tired body will suddenly improve the result.
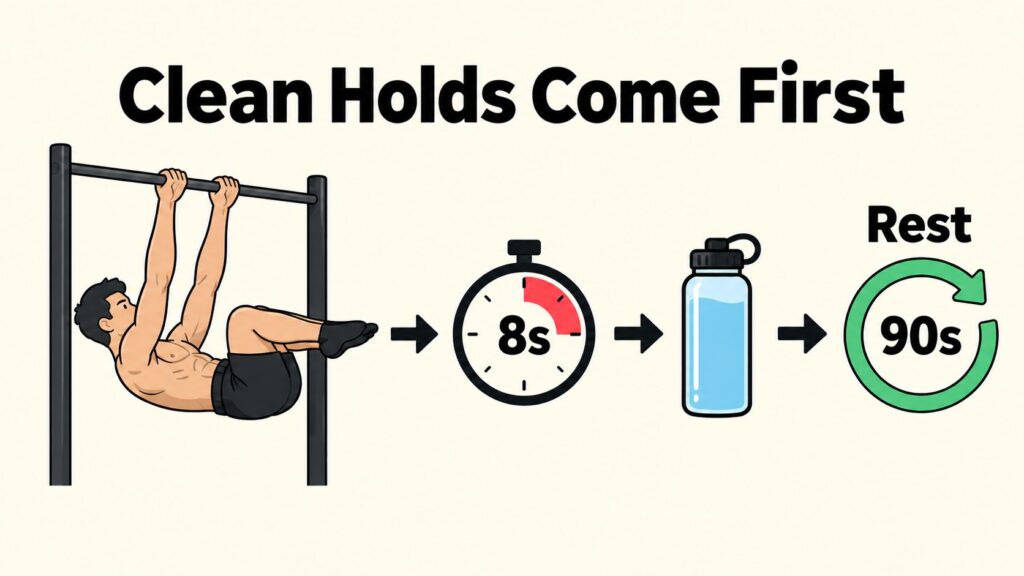
Now I use several short, clean holds.
For a tuck or advanced tuck, I usually do 4 to 6 sets of 5 to 10 seconds.
Rest for 90 seconds to two minutes between sets.
That rest can feel annoyingly long when you are excited.
Use it anyway.
Walk around, shake your hands, take a drink, and let the shoulders recover before going back to the bar.
I place front lever work near the beginning of a pulling session.
My body has more focus there.
Trying it after heavy pull-ups, rows, and curls can work, but it often turns technical practice into a tired guessing game.
A simple order can be:
- A few shoulder circles and easy hangs from the bar.
- Two light sets of body rows.
- Four to six front lever holds.
- Pull-ups, rows, or pulldowns afterward.
The goal is to repeat a useful shape.
You are not trying to win a contest against the final seconds of one exhausted set.
I Underestimated How Front Lever Progressions Change the Difficulty
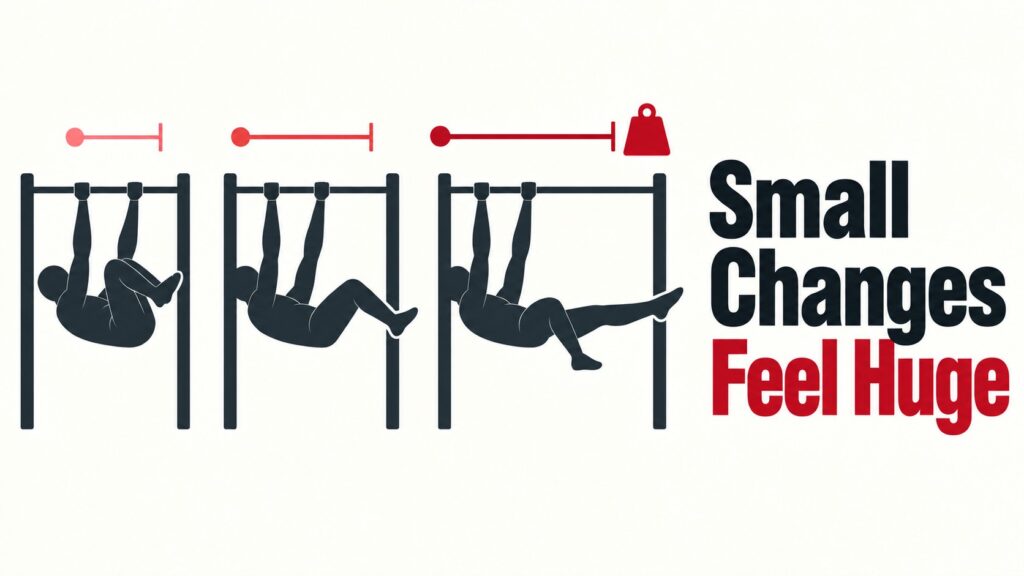
The first time I moved my knees farther from my chest, I expected a small difference.
My body disagreed immediately.
The advanced tuck felt much heavier, even though my knees were still bent.
Extending one leg created another jump in difficulty.
That reaction is normal.
Each progression lengthens your body and puts more demand on the shoulders, back, and stomach.
A tuck hold does not automatically make a full front lever feel familiar.
Research on isometric training suggests that strength gains are often greatest near the joint angles you train.
Oranchuk et al., Isometric Training and Long-Term Adaptations
In plain English, getting strong in a tight tuck teaches you to hold a tight tuck.
You still need time in a flatter, longer position.
This is why I now make changes gradually.
On one day, I may move my knees a few inches farther out.
On another, I may extend one leg halfway rather than fully.
With a straddle front lever, I open my legs wide but keep them active instead of letting them drift.
Tiny changes do not make an exciting video.
They make the next step possible.
I Look for Signs My Front Lever Is Improvin

For a while, I thought I was not improving because I kept looking only for the full front lever.
That is a brutal way to judge a skill that often improves in small pieces.
Progress may show up when you raise your hips with less kicking.
A five-second hold may feel calmer.
Your knees may stay in the right spot without you constantly correcting them.
You may finish five sets without the final one becoming a strange hanging bicycle pose.
I keep short notes after practice.
Nothing complicated is needed.
A few lines can show a lot:
- Advanced tuck: 5 sets of 7 seconds, hips stayed higher.
- One-leg hold: right side felt stable, left side rotated.
- Body rows: 3 sets of 8, final reps slower but controlled.
Those notes help on the days when the bar feels unusually heavy.
Poor sleep, a busy week, or a hard physical day can make a familiar progression feel harder than it did last Friday.
That does not erase the work you have already done.
It just tells you to adjust the session instead of judging your whole future from one rough attempt.
I Stay With an Easier Version When My Body Gives Me a Clear Answer
I am not naturally patient with progressions.
Staying on an easier hold used to feel like moving backward.
Now I see it differently.
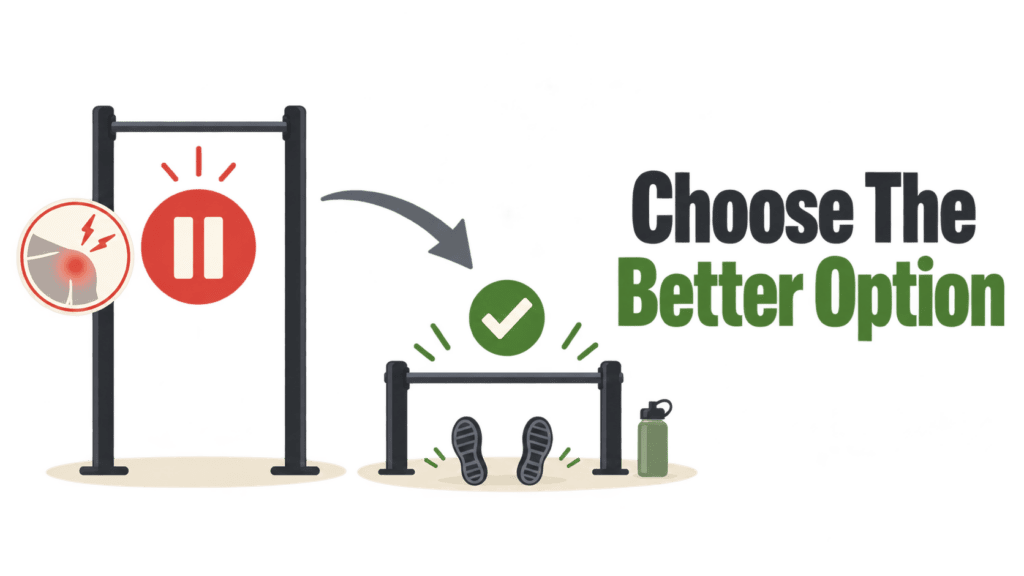
If I cannot enter a position smoothly, my hips sink right away, or my elbows bend every attempt, the harder variation is not ready to teach me much.
Returning to an advanced tuck is not failure.
It is focused practice.
Sharp pain in the shoulder, elbow, wrist, or chest is a reason to stop.
A muscular effort is expected.
Pinching at the front of the shoulder, numbness, or sudden weakness deserves more caution.
Reduce the hold length.
Use an easier version next time.
Or take a day off from front lever work.
Heavy pressing can change how your shoulders feel under the bar too.
After a tough bench press or dip session, my warm-up may feel fine, but the shoulder position becomes less stable once I lean back.
On those days, I choose rows or light pulldowns and leave the hard holds alone.
That choice has helped me far more than forcing a position that was already falling apart.
I Plan Around Real Life Instead of Pretending It Does Not Exist
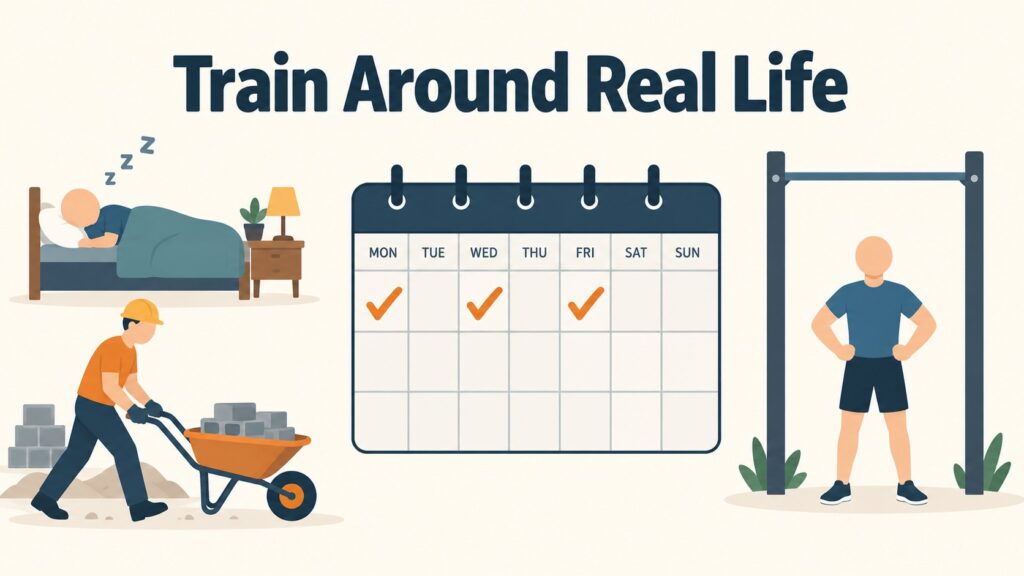
On weeks when work, sleep, and ordinary life take more out of me, I can feel the difference before my feet leave the floor.
The body does not train in a vacuum.
A physical job, a calorie deficit, poor sleep, travel, or a crowded gym can all affect recovery.
You may have only a doorway bar at home.
You may train in a park where the bar is cold and slightly slippery.
You may wait ten minutes for the only rack in the gym, then discover somebody is using it to do curls.
That is normal life.
Two or three well-planned front lever sessions each week can be plenty.
I would rather do five clean holds when I am reasonably fresh than practice every day with tired shoulders and a distracted mind.
The skill asks for patience, but it also rewards consistency.
Let Your Current Version Become Solid
The front lever becomes less mysterious when I stop judging every session by the final picture.
A cleaner tuck, a steadier advanced tuck, and a more controlled one-leg hold all count.
Stay with the version that lets you hold a recognizable position.
Let your strength catch up before making the lever longer.
How long does it take to learn the front lever?
It takes as long as your body needs to build real pulling strength and control, and every clean front lever hold moves you closer.