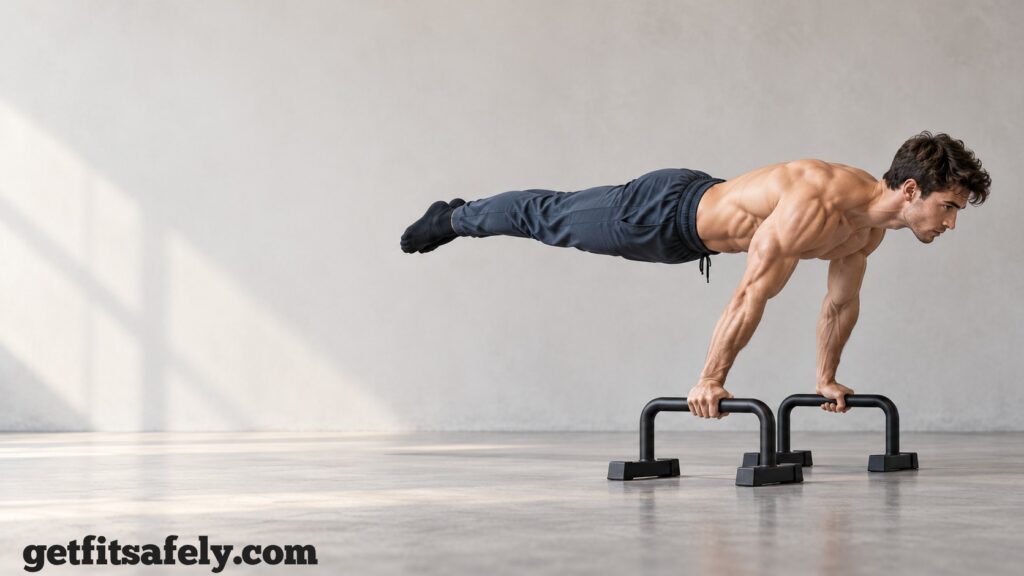
Your full planche is taking so long because it is far more than a shoulder-strength test.
I learned that after thinking my push-ups and dips had prepared me for it, then watching my feet leave the floor for half a second before my body folded like a cheap camping chair.
A full planche asks you to hold your whole body parallel to the floor on straight arms.
Your hands stay on the ground, your feet stay in the air, and your shoulders have to carry a very serious conversation with gravity.
Why Strong Push-Ups Are Not Enough for a Full Planche
For a while, I looked at full planches and had a very simple theory.
“Those people are just ridiculously strong.”
Part of that is true.
Then I tried one.
My arms were straight.
My shoulders leaned forward.
My feet became light.
For one beautiful moment, I thought I had discovered hidden athletic talent.
A moment later, my hips dropped, my legs separated, and I landed with the quiet dignity of someone who had absolutely not planned that exit.
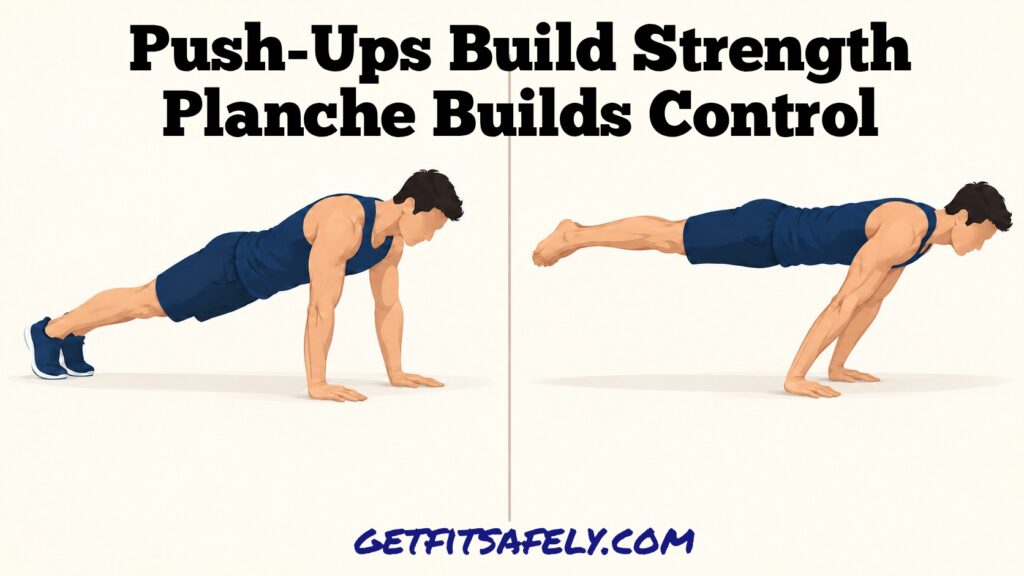
Push-ups, dips, and overhead presses all help.
They are useful parts of calisthenics strength training, but they do not automatically prepare you for a full planche.
A planche asks those muscles to work in a position most regular exercises barely touch.
Instead of pushing your body up and down, you hold it still with the shoulders far ahead of the hands.
Meanwhile, your stomach, hips, thighs, and feet need to stay tight enough to keep the whole body in one line.
That is why the full planche can feel unfair at first.
You may be strong.
You just may not yet be strong in the exact way this skill demands.
Your Planche Progression May Be Holding You Back
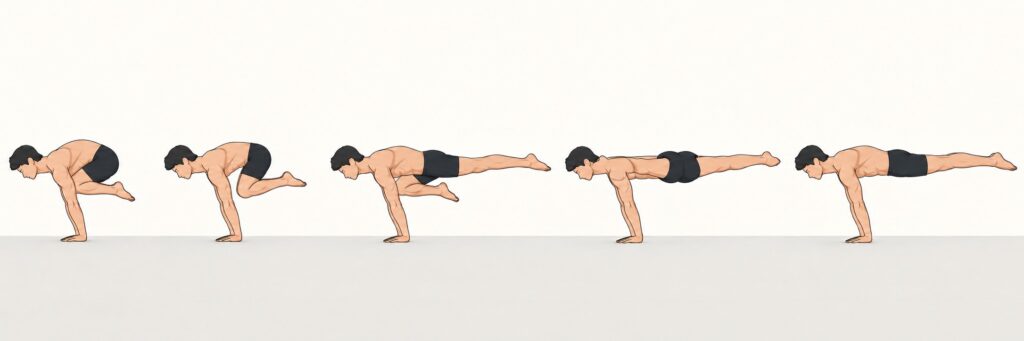
A tucked planche is usually the starting point.
Put your hands on the floor or on parallettes, which are short handles that let you support your weight with a straighter wrist.
Bend your knees toward your chest.
Lean forward until your feet lift away from the ground.
Your elbows stay locked, and your shoulders stay forward.
Holding that first tucked planche feels exciting.
I remember staring down at the floor, trying to count seconds while also wondering whether my face was about to meet it.
Once it becomes comfortable, though, it can become a trap.
I spent far too many sessions repeating a tucked planche that looked tidy but kept my knees almost under my chest.
My timer improved.
The full planche did not.
That version gave me a nice result to write in my notes, but my legs were still nowhere near the position they needed later.
A useful progression moves your weight farther behind your hands.
Try working through versions like these:
- Tuck planche: Your knees stay close to your chest.
- Advanced tuck planche: Your knees move farther behind you, and the back opens more.
- One-leg planche: One leg extends behind your body while the other stays bent.
- Straddle planche: Both legs straighten and open wide apart.
- Full planche: Both legs are straight and together behind you.
The straddle planche is often an important bridge.
Opening your legs makes the position a little easier because less weight pulls directly behind the hips.
For a long time, I thought straddle work was somehow “less impressive.”
Then I realized that feeling impressive is not a progression method.
Learning to control a longer body position is.
Why Your Planche Lean May Be Too Short
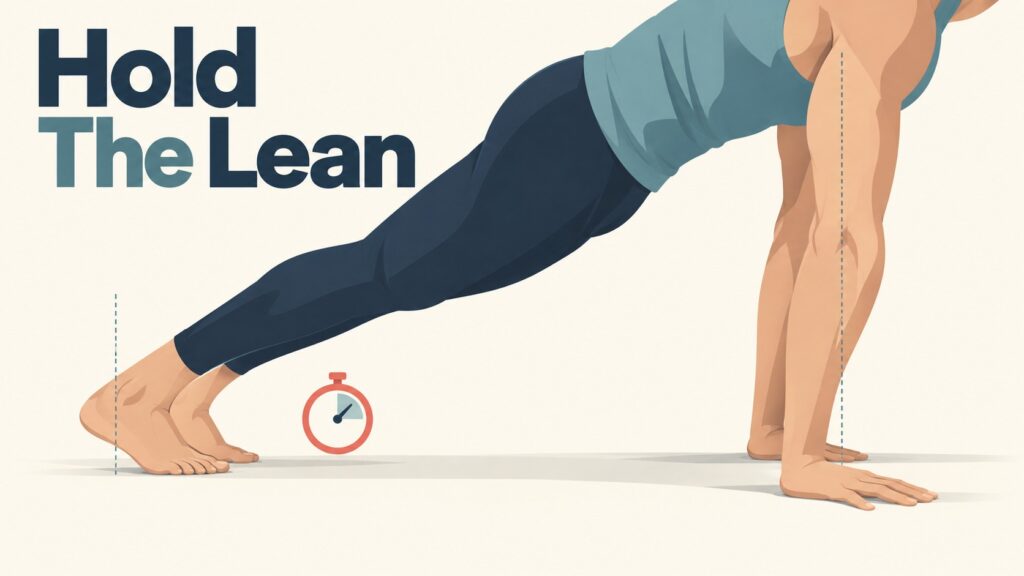
Planche leans look almost too simple.
Nobody stops their workout to watch a person lean forward with their feet still on the floor.
Yet this exercise showed me exactly why my planche was not moving.
Start in a high push-up position.
Keep your arms straight.
Slowly move your shoulders forward past your wrists.
Your feet remain on the floor, but your bodyweight shifts toward your hands.
At first, I barely leaned.
My brain was apparently convinced that shoulders in front of hands was a dangerous lifestyle choice.
Every time I moved forward, I instinctively pulled back.
A full planche needs a much deeper forward lean than most people expect.
If the shoulders never learn that position, the feet will not stay up for long.
My lean finally improved when I stopped treating it as a boring warm-up exercise.
I started treating it like the main skill.
For 3 to 5 sets, lean forward and hold for 10 to 20 seconds.
Rest for at least one minute.
Keep checking these points:
- Your elbows stay straight rather than soft and bent.
- Your shoulders move forward of your wrists.
- Your fingers press into the floor to help control balance.
- Your upper back pushes away from the ground.
- Your feet stay planted, without sliding backward.
Parallettes can help if your wrists dislike the floor position.
At home, I use them on a firm surface with enough space in front of me.
A rug that slides underneath your hands is not “extra balance training.”
It is just a rug trying to ruin your afternoon.
Why Straight-Arm Strength Matters for a Full Planche
Regular push-ups train bent arms.
You lower your chest toward the floor, bend your elbows, then press yourself back up.
A full planche is different.
The elbows stay locked.
Your shoulders must hold the body forward while your arms act like firm support columns.
After a period of getting stronger at dips, I expected this part to feel easy.
It did not.
My chest felt capable.
My triceps felt capable.
My straight arms felt as if they had never met me before.
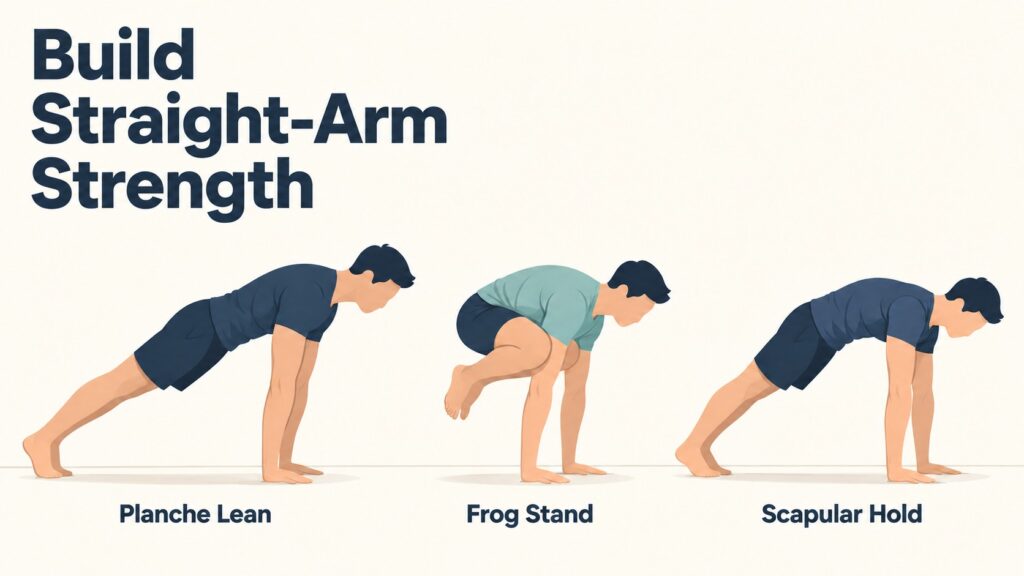
Planche work needs time in that locked-arm position.
Useful exercises include:
- planche leans;
- tuck planche holds;
- planche lean push-ups;
- frog stands;
- straight-arm scapular holds.
A planche lean is a forward hold with straight arms and feet still on the floor.
Planche lean push-ups add a slow push-up while keeping your shoulders forward and your feet on the floor.
A frog stand starts with your hands on the floor and knees resting high on the backs of your upper arms.
Lean forward gradually until your feet leave the ground, then keep your eyes slightly ahead of your hands while you balance for a few seconds.
A scapular hold sounds complicated, but it is a simple action.
With straight arms, push the floor away.
Your shoulder blades move forward around your rib cage, and the upper back rounds slightly.
Do not force a huge round shape.
Just avoid sinking between your shoulders.
When I relax there, my chest slides downward and the hold becomes loose.
Pushing the ground away makes my upper body feel more solid.
My Hips Kept Dropping Before I Noticed
Early planche attempts often look close from the front.
From the side, the truth is usually less flattering.
I recorded one of my advanced tuck holds and expected to see a strong, compact position.
Instead, my hips were sagging lower than my shoulders while my lower back curved toward the floor.
It looked less like a planche and more like I was trying to crawl under a low table.
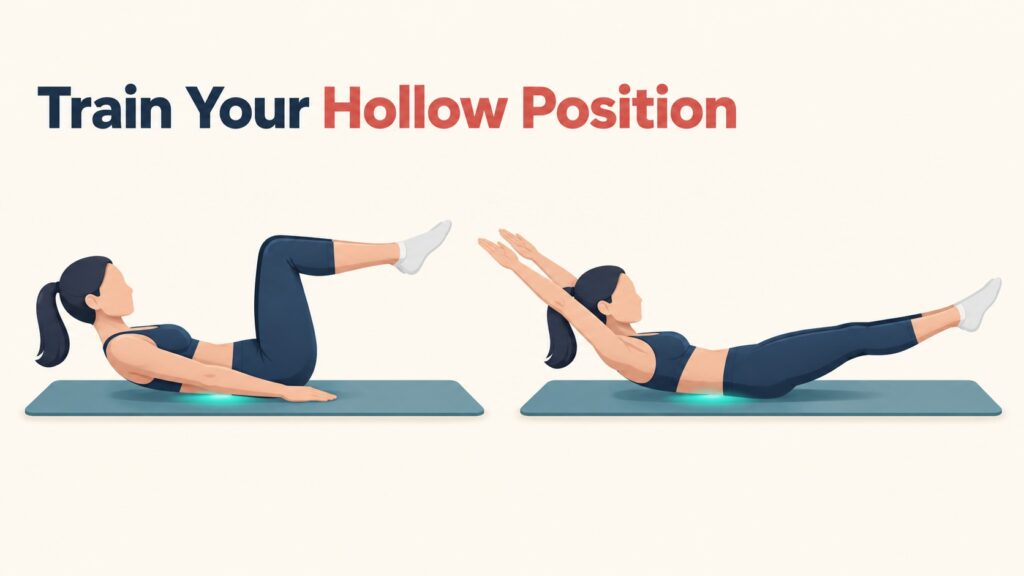
Your body needs a hollow position.
That means your stomach stays tight, your ribs do not flare toward the floor, and your pelvis gently tucks under.
Think about pulling your belt buckle slightly toward your ribs.
Your glutes help keep the hips from dropping.
Your thighs stay squeezed together if you are working a tuck, one-leg, straddle, or full variation.
A hollow-body hold is a great place to practice this.
Lie on your back.
Lift your shoulders slightly from the floor.
Raise your feet a few inches.
Press your lower back gently toward the ground.
Beginners can bend the knees and keep the arms beside the body.
A harder version uses straight legs and arms overhead.
Ten to twenty controlled seconds is enough at first.
During planche work, I do not try to squeeze every muscle with maximum force.
That made me shake so much that I looked like an old washing machine on spin cycle.
Instead, I tighten my stomach, glutes, and legs enough to keep the shape organized.
Training a Full Planche When Tired Slows Progress
This was one of my less intelligent choices.
I would do heavy dips.
Then push-ups.
Then shoulder presses.
Afterward, with my upper body exhausted and my concentration fading, I would try planche practice.
Naturally, it looked terrible.
I kept blaming my lack of talent.
The more obvious answer was that I was trying to learn a difficult balance skill after tiring every muscle needed to do it.
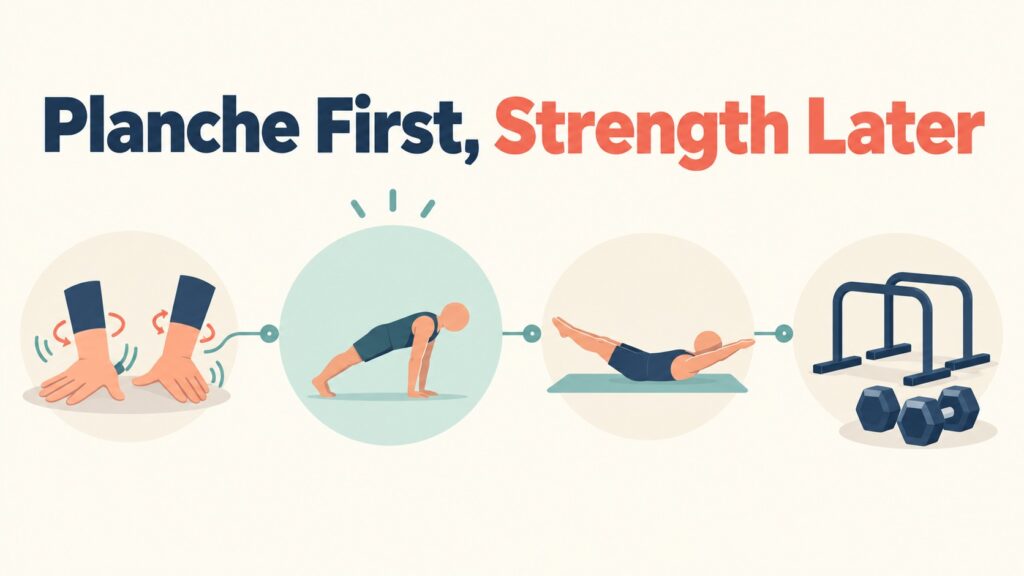
Planche training usually belongs near the start of an upper-body session.
Warm up first.
Give your wrists a few gentle circles.
Rock forward and back on your hands.
Perform a few easy shoulder movements.
Then work on the planche variation while your mind is still paying attention.
A practical session can look like this:
- 3 to 5 sets of planche leans for 10 to 20 seconds.
- 3 to 5 sets of tuck, advanced tuck, one-leg, or straddle planche holds.
- 2 to 3 hollow-body holds.
- Push-ups, dips, or pressing exercises afterward.
Rest for 90 seconds to 3 minutes between the harder holds.
That rest can feel long if you are used to fast circuits.
For planche work, it helps you approach each attempt with control instead of wobbling through another tired guess.
Five clean seconds can be more useful than fifteen seconds where the arms bend, hips sink, and feet desperately search for the floor.
Too Much or Too Little Planche Training
At one point, I wanted a full planche badly enough to train it almost every day.
My wrists did not share that enthusiasm.
Another period went in the opposite direction.
I tried a few tuck holds once in a while, usually after watching somebody hold a beautiful planche online.
Neither approach gave me much.
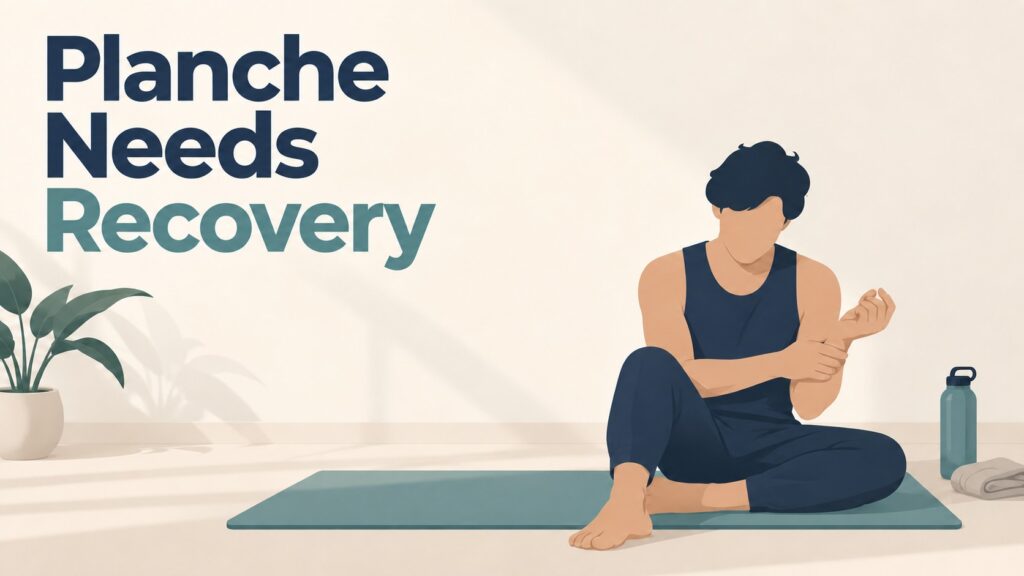
Two to four focused sessions each week is a realistic place for many people to start.
The correct amount depends on your wrists, shoulders, sleep, work, and other training.
A physical job can change the answer too.
After a long day carrying materials or working overhead, my shoulders may not be ready for the most demanding planche session.
On those days, I use gentler leans, hollow holds, or mobility instead of forcing a hard attempt.
Stop or reduce the intensity if you notice:
- sharp wrist pain;
- tingling in the hands;
- pain deep in the shoulder;
- elbows that feel irritated during locked-arm work;
- form falling apart on nearly every attempt.
Fatigue is normal.
Pain that changes how you move is different.
Keeping a short phone note helps.
Write down the variation, hold time, and whether your body position stayed controlled.
Progress is often quiet.
One week the feet lift a little easier.
Another week the shoulders lean farther forward.
Later, the advanced tuck opens enough that you finally see a path toward straddle work.
The Full Planche Is an Advanced Skill, Not a Quick Side Quest
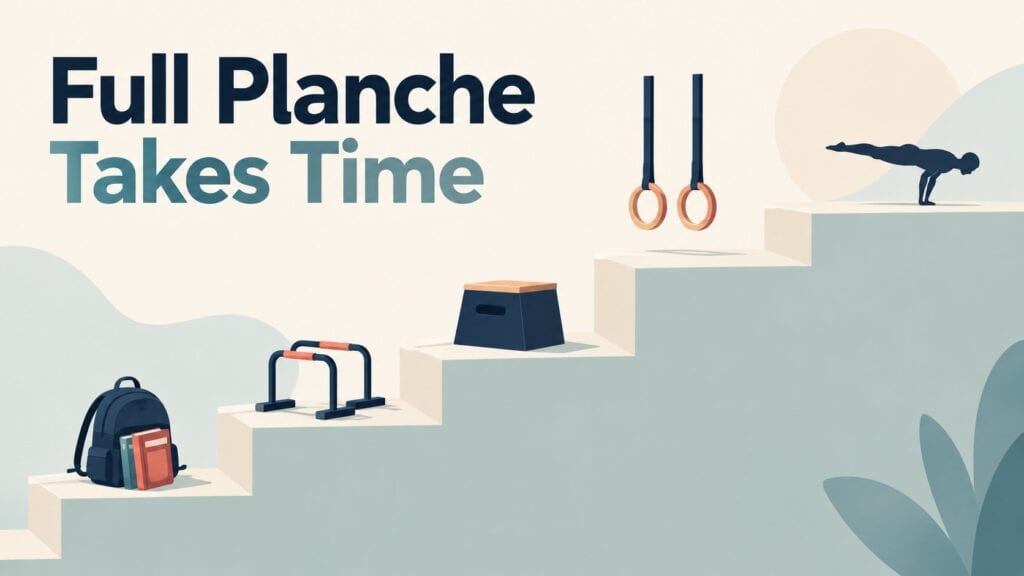
A clean full planche often takes years.
That is not a fun answer, but it is an honest one.
Bodyweight, arm length, previous gymnastics experience, wrist comfort, general strength, and training consistency can all change the timeline.
Someone online may claim they got a planche in six months.
Perhaps they started with years of handstands, rings, pressing strength, and a background you cannot see in a short video.
My progress feels slower when I look at other people.
It feels more real when I compare my current advanced tuck with the shaky version I started with.
Basic strength still deserves attention.
Push-ups build pressing ability.
Dips develop the chest, shoulders, and triceps.
Pike push-ups train the shoulders while the hips stay high.
Rows and pull-ups keep your upper body balanced.
A useful support list includes:
- push-ups with hands slightly behind the shoulders;
- controlled parallel-bar dips;
- pike push-ups, with feet raised on a box when ready;
- ring push-ups for stability work;
- hollow-body holds and leg lifts for trunk control.
At home, a backpack with books can make push-ups harder.
At a gym, dumbbells, rings, a bench, and stable parallettes offer more options.
None of these exercises magically produce a full planche.
They give you more strength to bring to your planche practice.
Your Build Can Change Your Full Planche Timeline
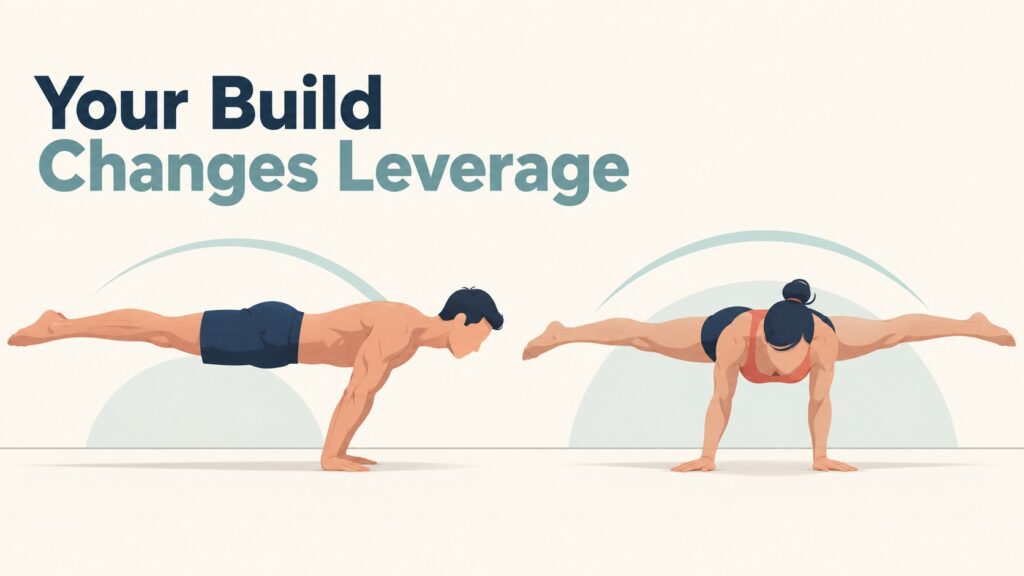
People with longer legs, more lower-body mass, tight hips, or less experience upside down may need more time with each planche variation.
I stopped comparing progress online once I looked at where other people were starting.
Someone may call it a six-month planche journey while already having years of handstand practice, strong straight arms, and a straddle flexible enough to make the position easier.
Your body is not making excuses.
It is simply changing how much forward lean and shoulder strength the full planche requires.
A wide straddle can help because opening the legs reduces how far the weight sits behind your hands.
Tight hips can limit that position, though.
When I force my legs open without enough hip mobility, my body wants to bend forward at the waist, and the planche shape disappears.
A few minutes of gentle straddle and hip mobility work can make that progression more practical.
The goal is not to copy somebody else’s timeline.
It is to make your current variation cleaner, stronger, and a little closer to the full planche.
Build the Version You Can Actually Hold
A full planche is not earned by repeatedly throwing your feet into the air and hoping physics becomes kinder.
It grows from straighter arms, a deeper lean, a stronger hollow position, and progressions that slowly make the body longer behind the hands.
Keep your planche practice controlled enough that you can see what changed.
If your full planche is taking so long, you may simply need a better bridge between where you are and where you want to be.
That slower work is rarely exciting in the moment, but it is what eventually makes a full planche look calm instead of accidental.