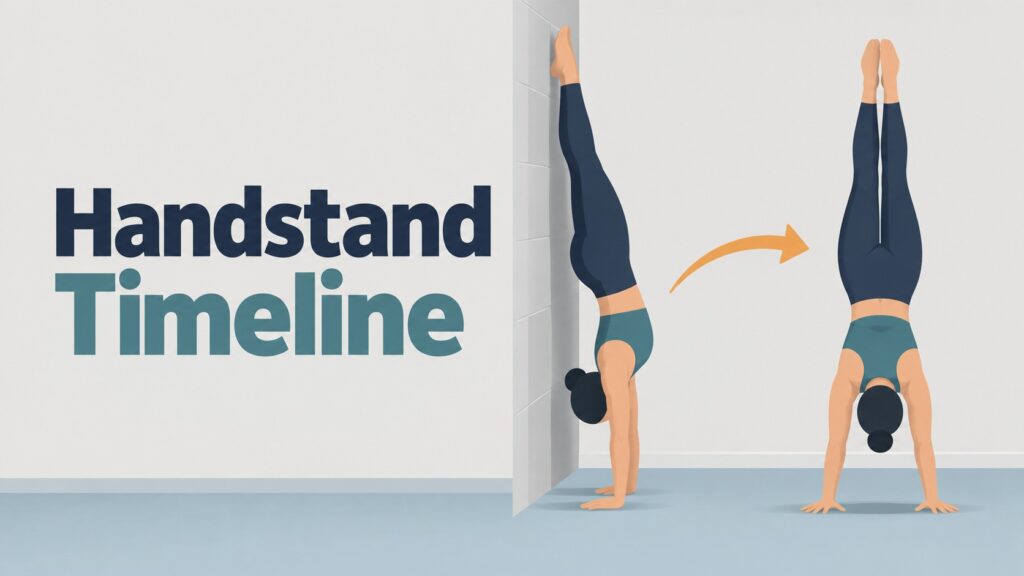
A handstand timeline looks different for every beginner.
Some people balance for a few seconds within weeks, while others spend months making peace with being upside down before the first free hold arrives.
I remember expecting my arms to do the hard part.
Then I put my feet on the wall and discovered that my wrists, shoulders, stomach, balance, and nervous system all had opinions.
My First Handstand Attempts Were Mostly Kicks and Hope
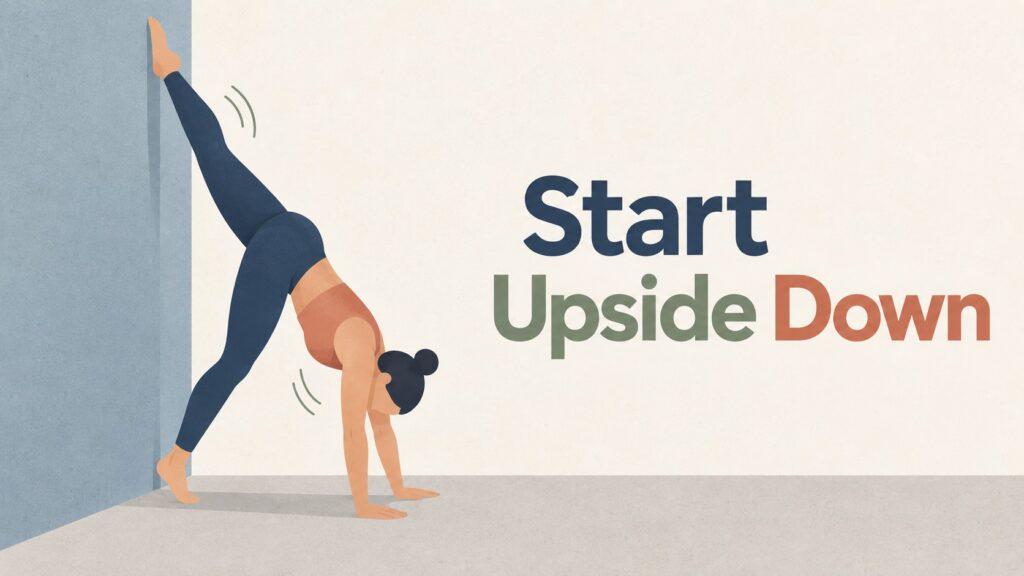
When I began working on handstands, I thought kicking up was the exercise.
I would place my hands down, throw one leg upward, miss the wall, turn sideways, and walk away as if that had been an intentional warm-up drill.
A handstand is a balance position with your hands on the floor and your feet above your head.
Your arms hold your body up.
Your shoulders push upward.
Your hands make tiny pressure changes against the floor to stop you from tipping too far forward or backward.
For beginners, the first real goal is not a long freestanding handstand.
It is becoming comfortable upside down while building a body line you can control.
A wall removes much of the balance problem.
That lets you focus on the other pieces without having to catch yourself every three seconds.
Before kicking, make sure the area around you is clear.
Use a non-slip floor, a yoga mat with enough grip, or a firm gym floor.
Avoid practicing beside a coffee table, a dumbbell rack, or a door handle that looks harmless until your foot finds it.
The First Two Weeks of Handstand Practice Usually Feel Less Elegant Than Expected
My early wall holds felt heavier than any video had prepared me for.
Blood rushed toward my head.
My hands felt too small for the task.
After a few seconds, I would come down and stare at the wall as though it had personally changed the rules.
That early stage is about exposure.
You are teaching your body that an upside-down position is safe enough to practice.
Begin with a wall-facing handstand.
Place your hands on the floor about 6 to 12 inches from a wall.
Face the wall, then walk your feet up behind you until your hips rise above your shoulders.
Your chest faces the wall.
Your heels can rest lightly against it.
This version is helpful because it encourages a straighter shape than kicking up with your back to the wall.
Hold for 10 to 20 seconds.
Come down before your arms are shaking so much that the walk down becomes a surprise event.
During these first sessions, check the basics:
- Your hands are about shoulder-width apart.
- Your fingers spread comfortably on the floor.
- Your head stays neutral, with your eyes looking at the floor between your hands rather than toward the wall.
- Your elbows stay straight but not painfully locked.
- Your shoulders push upward toward the ceiling.
- Your stomach tightens enough to stop the lower back from arching.
- Your legs stay together and active instead of hanging separately.
Two or three short practices per week are plenty at first.
I would do 3 to 5 wall holds, then move on to regular training.
By the end of the first couple of weeks, many beginners can stay upside down more calmly, even if balancing away from the wall still feels far away.
I Needed to Learn What a Straight Handstand Actually Feels Like

I used to believe I had a straight line because my feet touched the wall.
A side video revealed something else.
My lower back was arched, my ribs were pushed forward, and my feet were on the wall while the rest of me made a gentle banana shape.
The wall can hide a lot.
A good handstand aims for a long line from hands through shoulders, hips, knees, and ankles.
That does not mean you need to look stiff or uncomfortable.
It means your body is stacked so your arms do not have to fight your legs hanging behind you.
Try this wall drill after a few comfortable holds.
Face the wall.
Walk your feet up until your hands, shoulders, hips, and feet are in position.
Gently squeeze your stomach and glutes.
Then pull one heel an inch away from the wall for a second or two before touching it back down.
Switch feet.
This teaches you where the balanced line sits without asking you to hold it alone yet.
My first attempt at this was comical.
I pulled a foot away, immediately pushed too hard through my palm, and came down as though I had just escaped a very small earthquake.
The drill still worked.
Each attempt taught me where too far forward felt and where too far backward felt.
The Wall Is Helpful, but It Cannot Do All the Balancing for You
After a few weeks, it is temptig to keep adding time against the wall.
Long wall holds build shoulder endurance.
They are useful.
They do not fully teach the balance that happens when neither heel can touch anything.
I began making better progress when I used the wall as a reference rather than a crutch.
A good next drill is the wall toe pull.
Set up in a wall-facing handstand.
Shift your shoulders very slightly forward until both feet become lighter on the wall.
Let your toes leave for one second.
Bring them back gently.
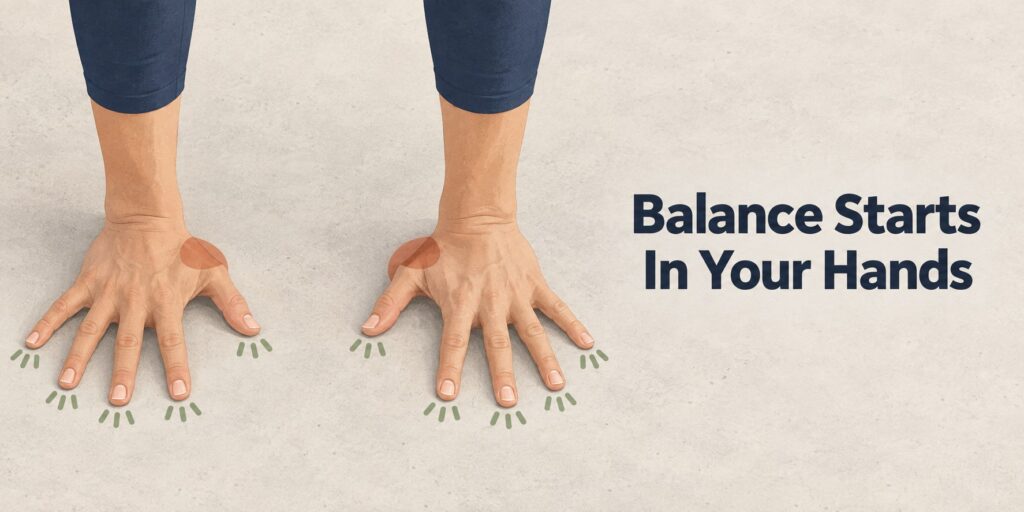
Your hands control the balance by pressing through different parts of the palm and fingers.
If you start tipping toward your back, press your fingertips into the floor.
If you tip toward your stomach, press a little more through the heel of your hand.
Those adjustments are tiny.
At first, mine were huge and panicked.
The floor does not need you to punch it.
It needs small pressure changes.
Use 5 to 8 attempts of one to three seconds.
Rest between attempts so your wrists and shoulders have time to settle.
A handstand study involving novice gymnasts found that additional feedback can help people acquire the position.
Teaching Novices the Handstand
That matches what I notice in practice.
A phone video, a coach, or even a friend who tells you that your feet were too far over can save dozens of blind attempts.
I Stopped Trying to Balance for Twenty Seconds Before I Could Balance for One
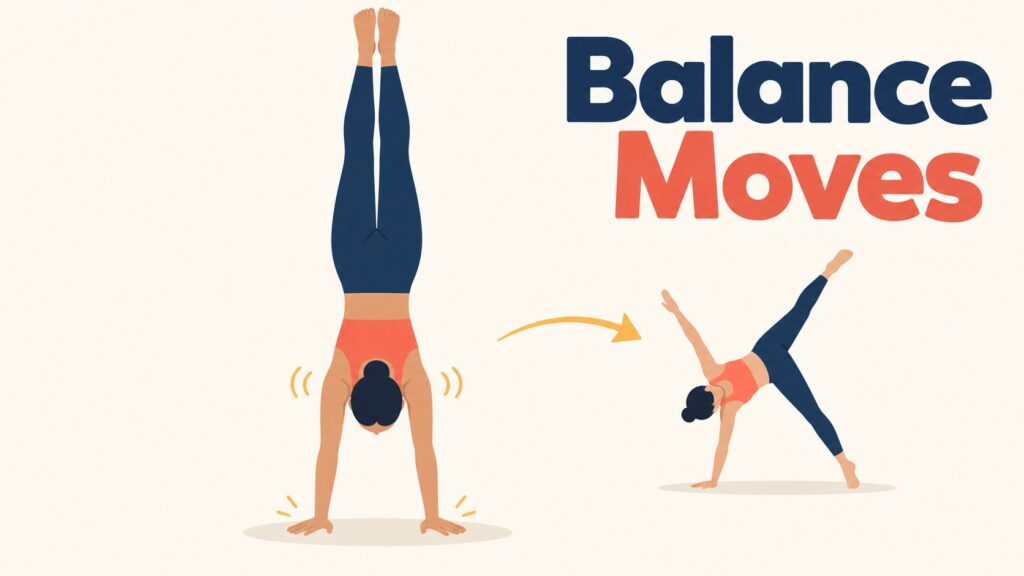
My biggest handstand mistake was treating every kick-up like it needed to become a record.
I would catch a brief moment of balance, feel excited, then stiffen up and try to freeze there.
The handstand would immediately disappear.
Balance is active.
Even advanced handstands use tiny corrections through the hands and shoulders.
For beginners, a one-second hold is not “almost nothing.”
It is proof that you briefly found the balance point.
Start with controlled kick-ups away from the wall only when you can safely step out or cartwheel out.
A cartwheel exit means turning your body sideways as you come down, placing one foot on the floor and following with the other.
Practice that exit slowly before you need it.
Begin with your stronger leg in front.
Place both hands on the floor one at a time.
Kick the back leg up while the front leg follows.
Keep the kick light.
A violent kick usually sends the legs too far over your head, then turns the landing into a hurried run or a trip toward the wall.
I learned that lesson in a narrow room at home.
The handstand was not impressive.
The sudden march backward toward the couch was memorable.
Give yourself 8 to 12 kick-up attempts.
Stop while you can still place your hands accurately.
Quality drops fast once your shoulders and wrists are tired.
Your First Free Handstand May Arrive in Weeks or Take Several Months
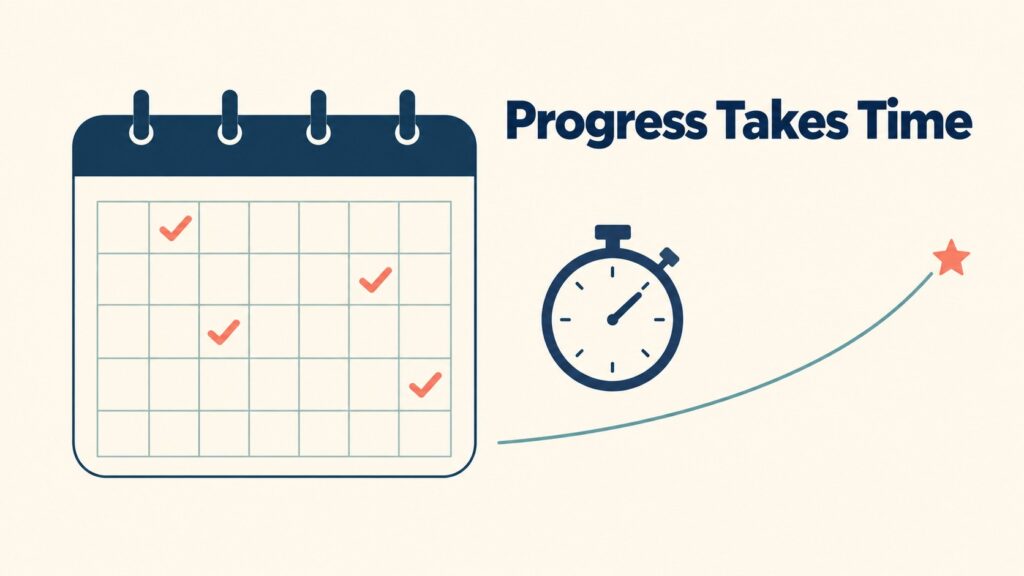
This is the part people want answered most clearly.
For a beginner who practices two or three times each week, the first one- to three-second freestanding handstand may appear in four to eight weeks.
For plenty of people, it takes two to four months.
A steady 10-second hold often takes several more months because you are no longer catching balance by accident.
You are noticing and correcting it.
Your timeline can be shorter when you already have:
- Good shoulder strength from push-ups, overhead presses, or climbing.
- Comfortable wrist mobility.
- Experience with gymnastics, yoga, calisthenics, or dance.
- Regular practice in a safe space.
It may be longer when you are nervous upside down, have sore wrists, lack a suitable wall, or only practice once every few weeks.
Height and body weight can influence the feeling, but they do not decide your outcome.
A taller person may need more patience learning the long body line.
A smaller person may find the kick-up less intimidating but still need time for balance.
The useful question is not whether somebody online learned in 14 days.
Ask whether your wall holds, toe pulls, and kick-ups look calmer than they did a month ago.
That answer tells you more.
I Started Treating My Wrists Like Part of the Skill
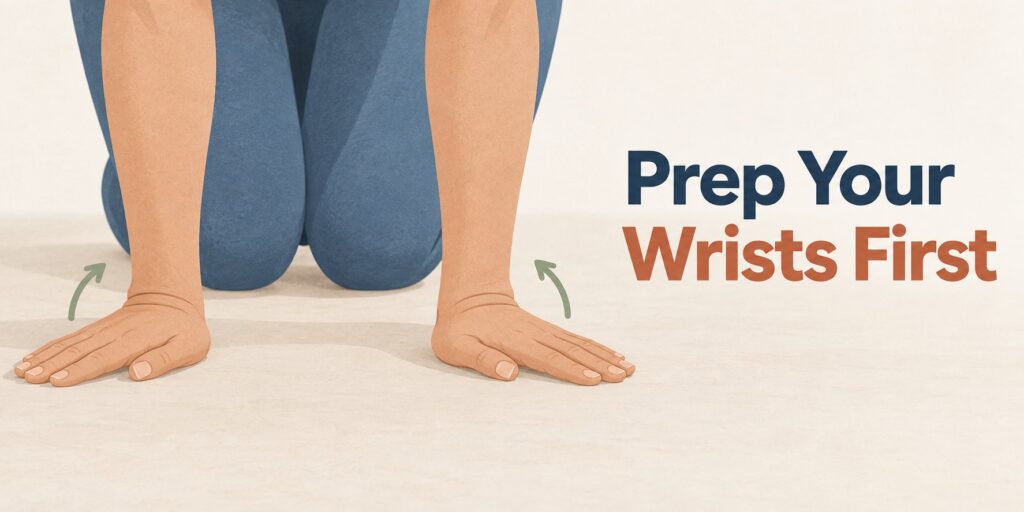
At the beginning, I treated wrist preparation as the boring thing standing between me and handstand attempts.
Then my wrists became tired after a few sets, and suddenly it looked like a very practical part of the session.
Your wrists bend backward in a handstand while carrying much of your body weight.
Warm them up for two or three minutes before going upside down.
Try:
- Slow wrist circles in both directions.
- Gentle palm stretches with hands on the floor and fingers pointing toward your knees.
- Small weight shifts forward and backward from hands and knees.
- A few high-plank holds with straight arms.
Keep the stretches gentle.
Sharp wrist pain is not a flexibility challenge.
It is a reason to stop and choose easier work for the day.
Shoulders deserve attention too.
Wall slides, light overhead reaches, and scapular push-ups can prepare them.
A scapular push-up is done in a high push-up position with straight arms.
Keep the elbows still, let the chest sink slightly between the shoulders, then push the floor away until the upper back rises.
It teaches the shoulders to stay active under body weight.
The Handstand Gets Better When I Stop Training It While Exhausted
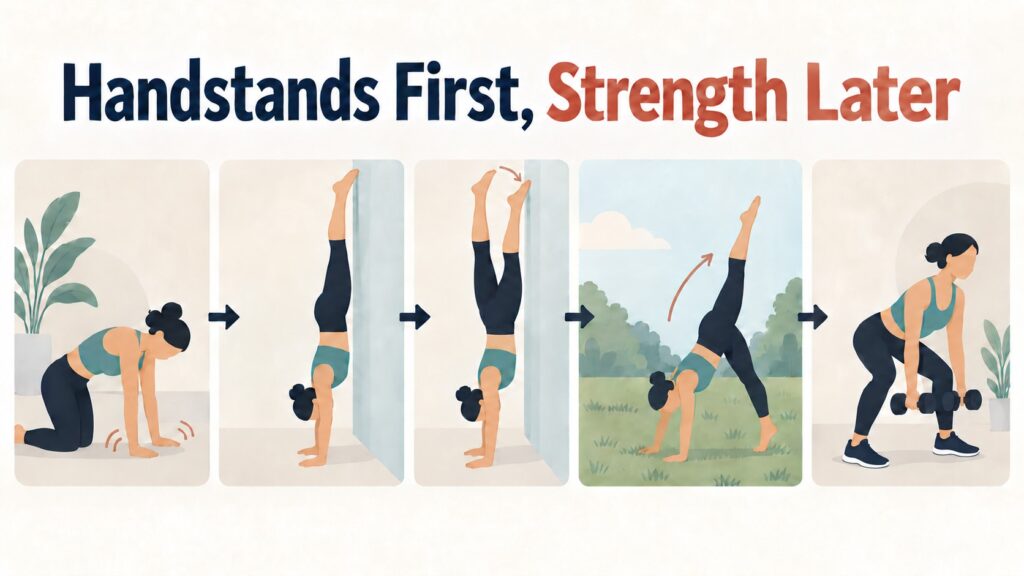
I used to leave handstands until the end of a workout.
That sounded efficient.
In reality, I would finish pull-ups, rows, presses, and arm work, then ask tired shoulders to hold me upside down with precision.
The results were predictable.
Handstand practice works best near the start of a session, after a short warm-up.
My preferred approach is simple:
- Two minutes of wrist and shoulder preparation.
- Three or four wall-facing holds.
- Five to eight wall toe pulls.
- Eight to twelve freestanding kick-ups.
- Regular strength work afterward.
You do not need every item in every session.
A day with limited space may be perfect for wall work.
A park session with soft grass and room around you may be better for practicing kick-ups and cartwheel exits.
Adjusting the practice to the setting makes it easier to keep showing up.
A Handstand Can Improve Even When It Still Looks Messy
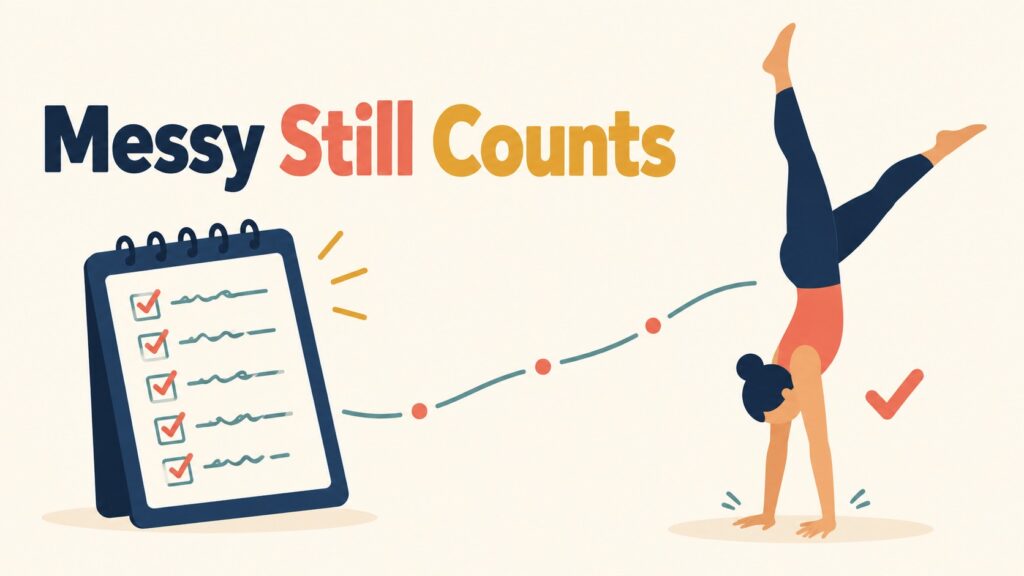
For a while, I thought progress only counted if I held a clean, long handstand without touching the wall.
That made the early months feel slow.
Then I started noticing smaller changes.
I could kick up without slamming a heel into the wall.
My hands landed in nearly the right spot more often.
The wall toe pull stopped feeling like an emergency.
My cartwheel exit became a calm choice rather than an accidental escape route.
Keep a brief note after practice.
Write the best hold, but also write one detail about the attempts.
Here are useful examples:
- Wall-facing hold: 25 seconds, ribs stayed closer in.
- Toe pulls: both feet left the wall for two seconds.
- Free attempts: caught balance twice, came down with control.
- Wrists: tired after six attempts, felt fine after rest.
Those details show why a beginner handstand timeline is rarely a straight line.
A bad day can still include useful practice.
A good day can show you the next thing to work on.
Give Your First Handstand Enough Time to Become Yours
The first few seconds away from the wall are exciting.
They are also only the beginning.
A reliable handstand comes from many ordinary sessions where you strengthen the shoulders, learn to press through your hands, and become less surprised by being upside down.
Keep the kick-ups controlled.
Build time at the wall.
Let your wrists recover when they ask for it.
The handstand timeline for beginners can be weeks for a brief free hold and months for a steady one.
Keep practicing the version you can control, and your handstand will gradually feel less like a lucky accident.