Pull-ups get talked about like they’re a clean little strength milestone.
Either you can do one, or you can’t.
Real life is messier than that.
What I keep seeing, both in my own training and in people hanging from a bar with a face that says “this looked easier on YouTube,” is that the hardest part usually isn’t the top, and it isn’t even the pulling.
It’s the part where the body starts dropping faster than the brain wants.
That ugly section in the descent tells the truth.
A paused negative pull-up is what I keep coming back to when I want to clean that up fast.
It slows the whole story down.
Instead of surviving the rep, I can actually see where tension disappears, where the shoulders drift, where the elbows stop helping, and where the torso starts behaving like a shopping bag full of bricks.
That is why this variation earns a permanent spot whenever control is missing at the weakest point.
Why the Weakest Point in Your Pull-Ups Matters More Than You Realize
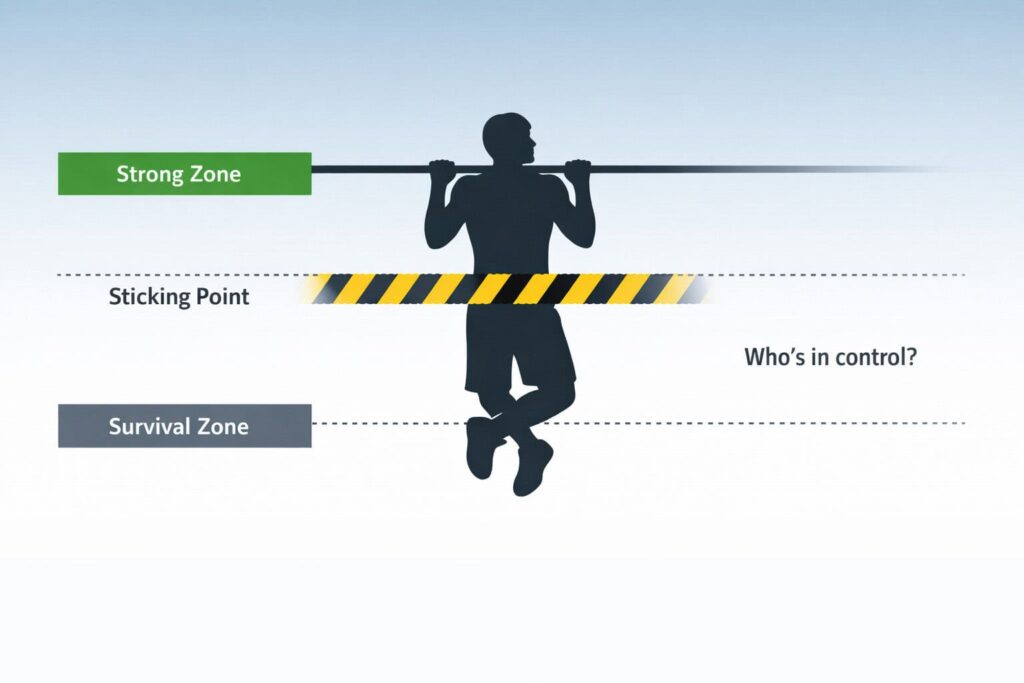
A weakest point in a pull-up is simply the portion of the movement where the body loses position, force, or coordination.
For one person it’s near the top when the chin has just cleared the bar and the elbows start opening.
For someone else it’s halfway down, when the shoulders rise, the ribs flare, and the movement turns from “controlled lowering” into “gravity has made a decision.”
That section matters because it usually affects everything around it.
When I lower well through the shaky part, regular negatives improve, assisted pull-ups look cleaner, holds get steadier, and even scapular work starts making more sense.
When that section stays sloppy, the rest of the training feels like painting over a damp wall.
It looks acceptable for a minute, then the mess shows through again.
A lot of beginners assume the pull-up is just about pulling harder.
Strength matters, obviously.
Still, a surprising amount of progress comes from learning how to stay organized while the elbows open and the body lengthens under load.
That is where paused negatives do a lot of heavy lifting without looking flashy.
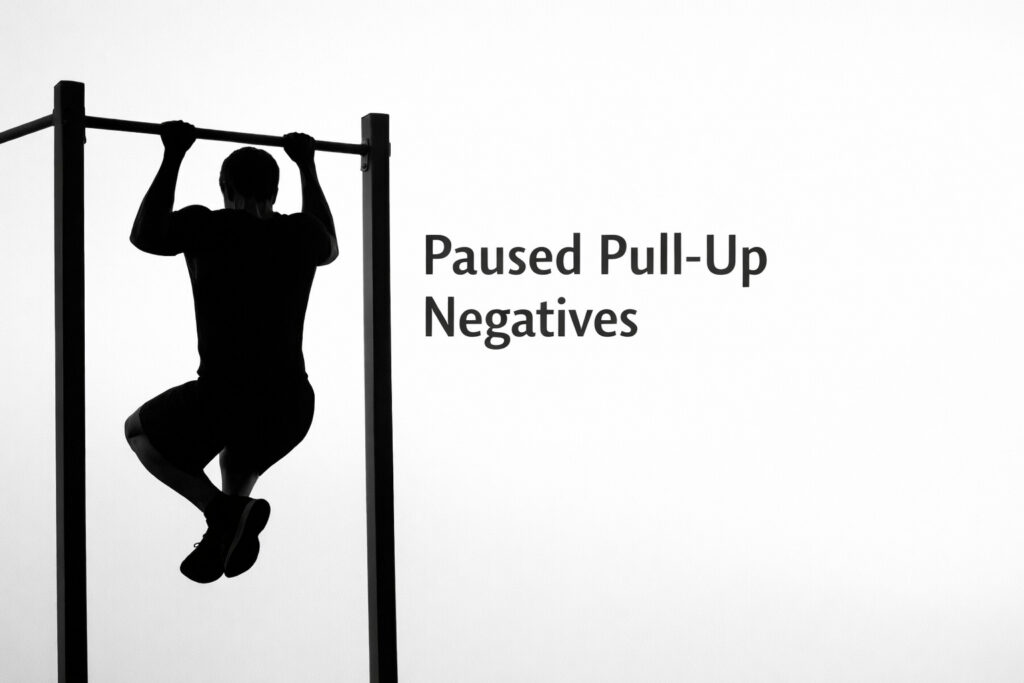
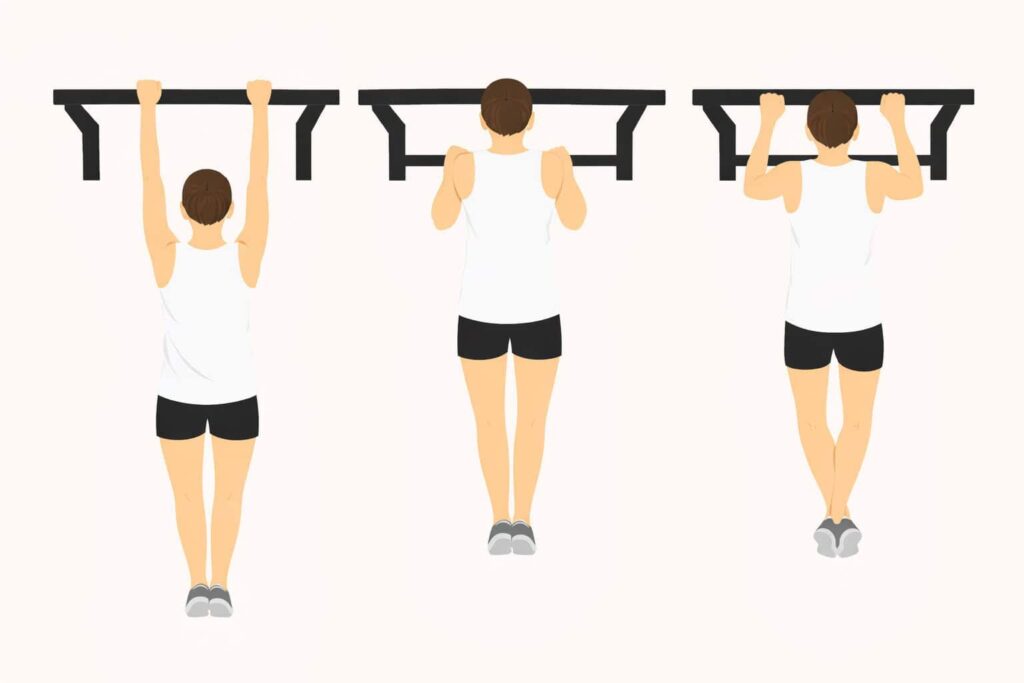
Paused Negative Pull-Ups Explained Without the Confusion
A negative pull-up is the lowering half of a pull-up.
You begin at the top position with your chin over the bar, then you descend as slowly as you can until your arms are straight.
A paused negative adds one or more stop points during that descent.
You lower a little, freeze completely for a few seconds, then continue lowering until the next stop.
That pause changes everything.
During a regular negative, momentum can hide a lot.
A paused version removes that little escape route.
Once the body has to stop in space, every weak link becomes very honest.
Grip starts talking.
Upper back starts talking.
Core starts talking.
Sometimes the elbows file a complaint too.
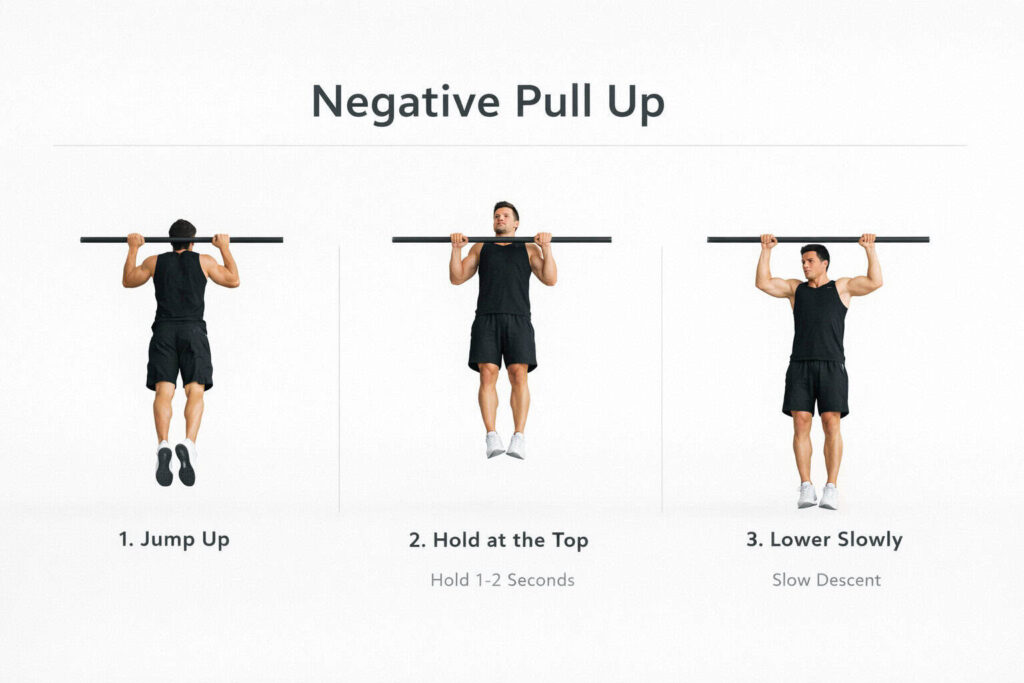
A simple version looks like this:
- Step onto a box, bench, or sturdy platform to reach the top of the bar
- Start with chin clearly above the bar
- Hold that top position for 1 to 2 seconds
- Lower for about 2 to 3 seconds
- Stop halfway down for 2 to 4 seconds
- Lower again for another 2 to 3 seconds
- Finish with straight arms and a controlled bottom
That means one rep can last 7 to 12 seconds without turning into a circus trick.
For beginners, that is plenty.
Why the pause changes the exercise so much
The pause removes the “fall through it and hope” option.
When I descend without stopping, I can sometimes keep the rep looking decent even if one shoulder is doing more, the ribs are drifting up, or the bar path is getting weird.
Add a 3-second stop in the middle and suddenly all those hidden leaks step into the light.
It also forces tension to be maintained, not just created once.
That difference is huge.
Getting into a strong top position is useful.
Staying connected while moving away from that position is where real control shows up.
Think of it like carrying a full tray across a room.
Standing still with the tray is one skill.
Walking slowly without letting everything slide onto the floor is another.
Paused negatives train that second skill.
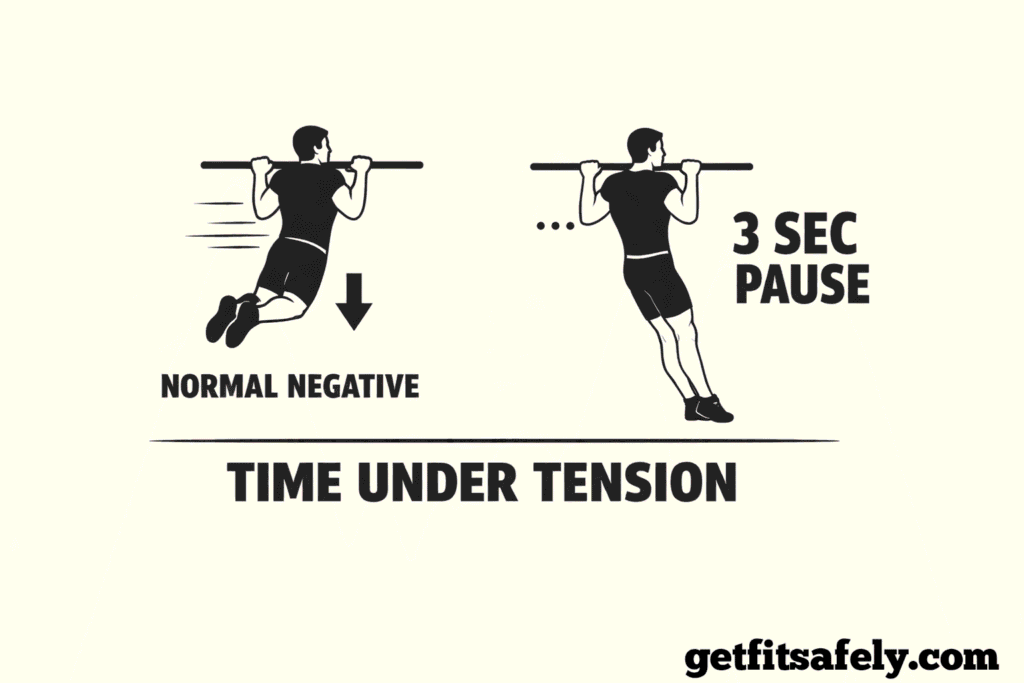
Another detail that makes them powerful is time under tension at the exact place where things tend to break down.
A normal negative might rush through the sticking zone in half a second.
A paused version asks the muscles, joints, and nervous system to spend actual time there.
That is often where improvement happens quickly, because the body finally gets enough exposure to solve the problem instead of dodging it.
Where the weakest point usually shows up
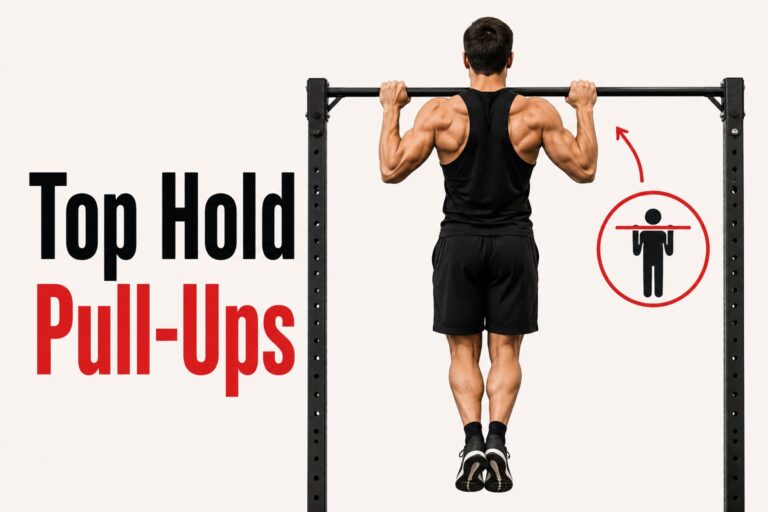
1# Just below the top
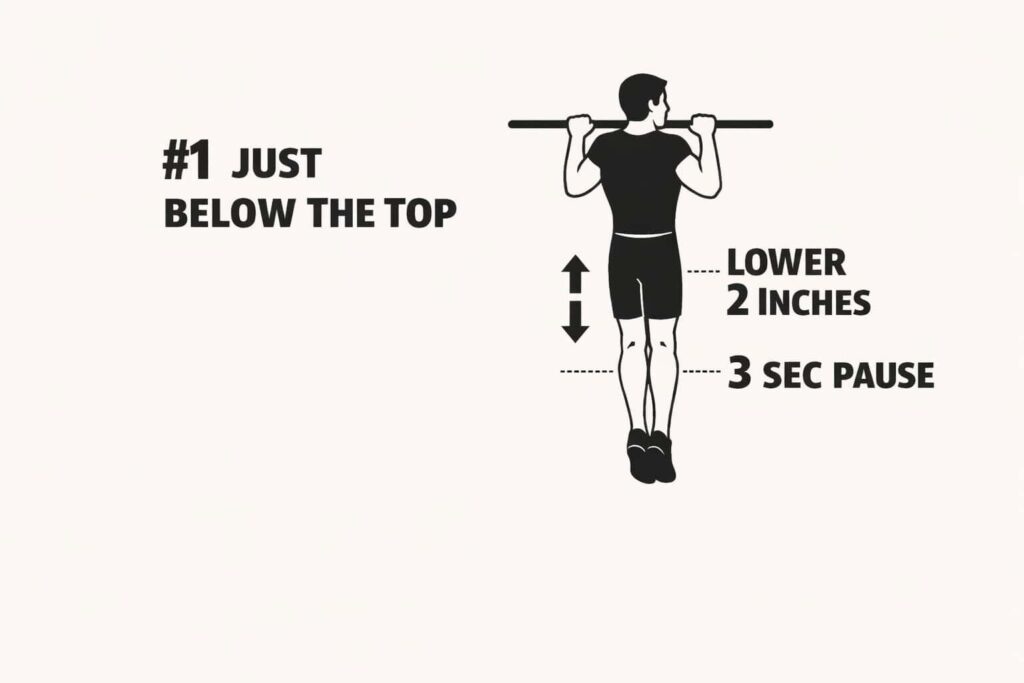
This is common when someone can jump into the top position, hold it for a second, then instantly lose shape as soon as the elbows begin to open.
The shoulders creep toward the ears.
The chest drops.
The body starts lowering as one unit, but not a strong one.
In this range, the upper back and arm flexors often struggle to keep the shoulder blades down and back enough to control the descent.
A pause here teaches the body not to panic the moment the top position starts changing.
I often use a 1-second hold at the top, then lower 2 inches, then freeze for 3 seconds.
That tiny stop sounds easy on paper.
On the bar, it feels like the movement suddenly develops opinions.
2# Mid-range
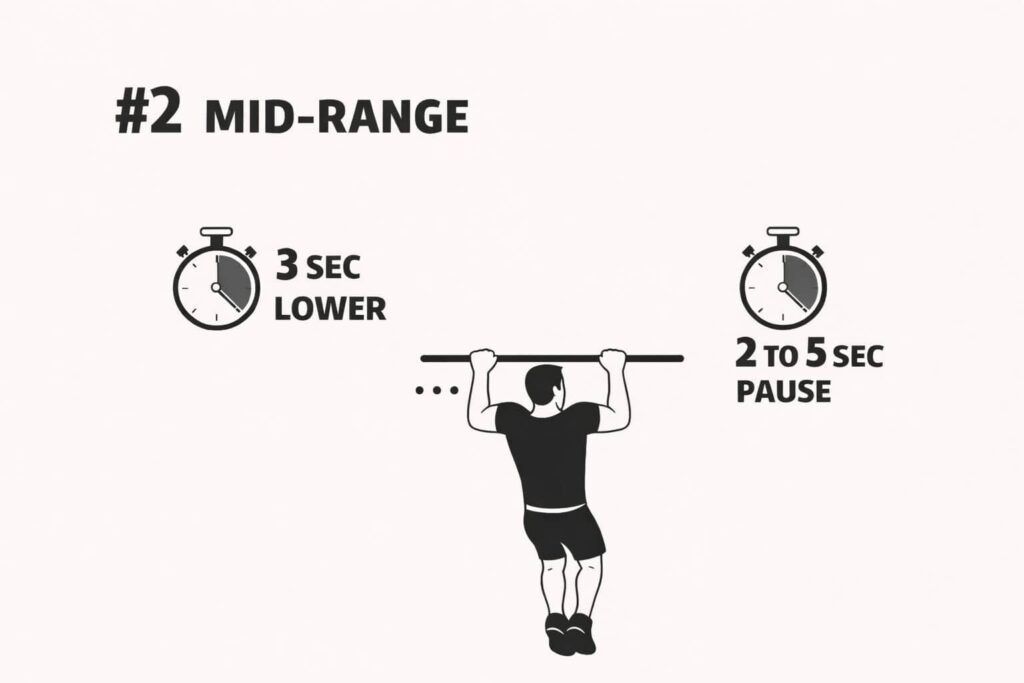
This is probably the most common ugly section I see.
At this point the elbows are more open, leverage is less friendly, and a lot of people start dropping through the middle as if somebody cut a rope.
The body may swing forward slightly, or the shoulders may roll.
A pause in the middle is brutally informative.
It shows whether the lats, biceps, forearms, and trunk are still sharing the work, or whether one area has clocked out early.
When I target this range, I usually lower from the top for about 3 seconds, stop with elbows around 90 degrees, hold for 2 to 5 seconds, then finish the descent over another 3 seconds.
That one rep is enough to make me rethink my life in a very respectful way.
3# Near the bottom
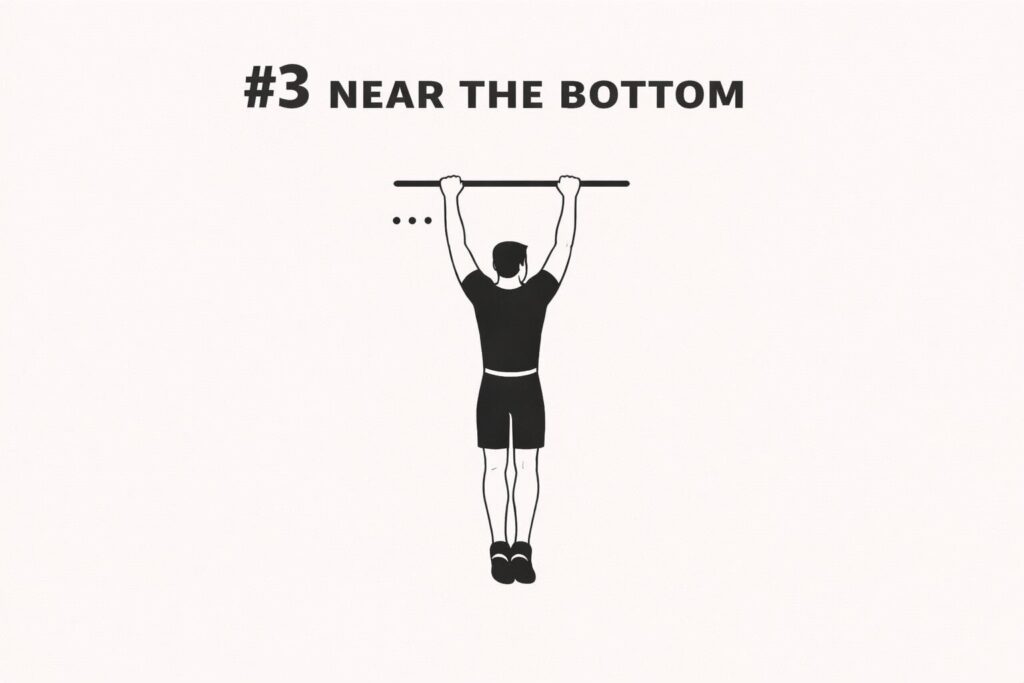
This range gets ignored because people assume the hard part is always higher up.
Yet plenty of beginners lose shoulder control just before full arm extension.
They hang into the joints instead of lowering into a stable bottom.
That can make every rep look rough and every following set feel less secure.
Pausing just above the bottom helps teach how to arrive at straight arms without collapsing.
That matters for anyone who wants stronger dead hangs, cleaner pull-up starts, or less wobbling between reps.
Paused Negatives Done Right
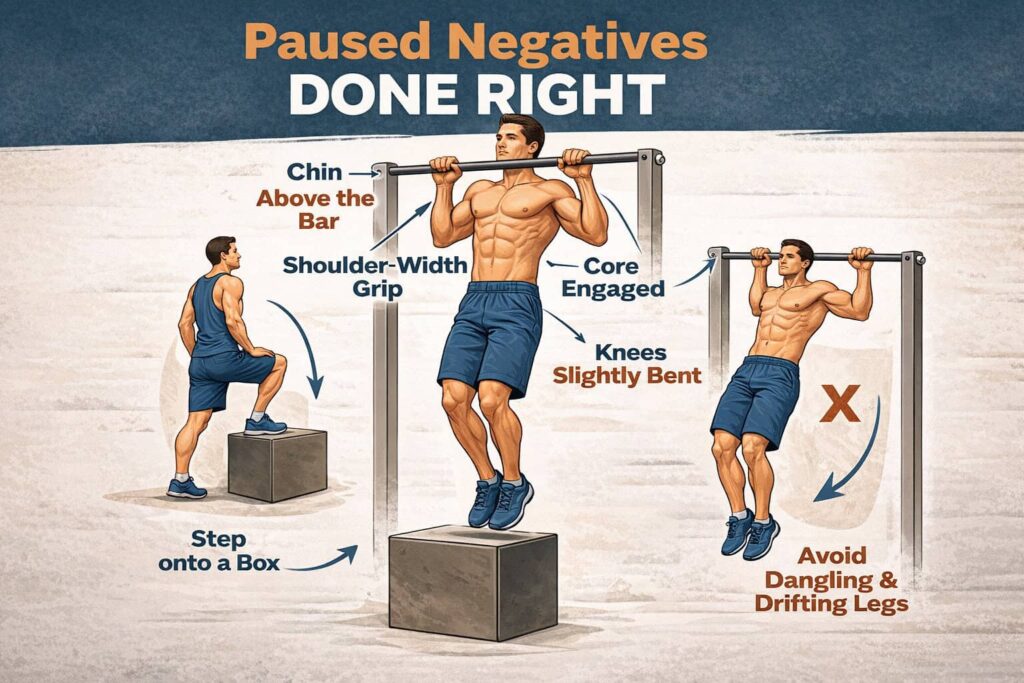
A good paused negative starts before the descent.
If the start position is loose, the rest of the rep usually follows that tone.
I use a box or bench high enough that I can step into the top instead of doing a little jump and catching myself in chaos.
That makes a difference immediately.
At the top, I want my chin above the bar, hands gripping firmly, shoulders active, and torso quiet.
That does not mean a stiff cartoon posture.
It means I am not dangling from my neck while hoping my arms sort things out.
For grip, I usually go with palms facing away from me, roughly shoulder-width apart.
A very wide grip makes control harder for most beginners and tends to turn the rep into a shoulder argument.
A very narrow grip can work, but it changes the feel of the exercise and shifts emphasis a bit.
Shoulder-width is a very good starting place.
Leg position matters more than most people expect.
When my knees bend slightly and my glutes stay lightly engaged, the body stays calmer.
When my legs drift around with zero structure, the descent often gets messy.
Nobody needs military stiffness here.
Still, a body that moves as one piece is easier to control than a body that behaves like three separate conversations happening at once.
How Long to Pause in Negative Pull-Ups
Longer is not always smarter.
A pause has to be long enough to expose weakness, but short enough that form stays recognizable.
For most beginners and lower-intermediate trainees, 2 to 4 seconds works beautifully.
Less than 2 seconds can turn into a quick hesitation.
More than 5 seconds can become a totally different challenge and may wreck rep quality if the person is not ready.
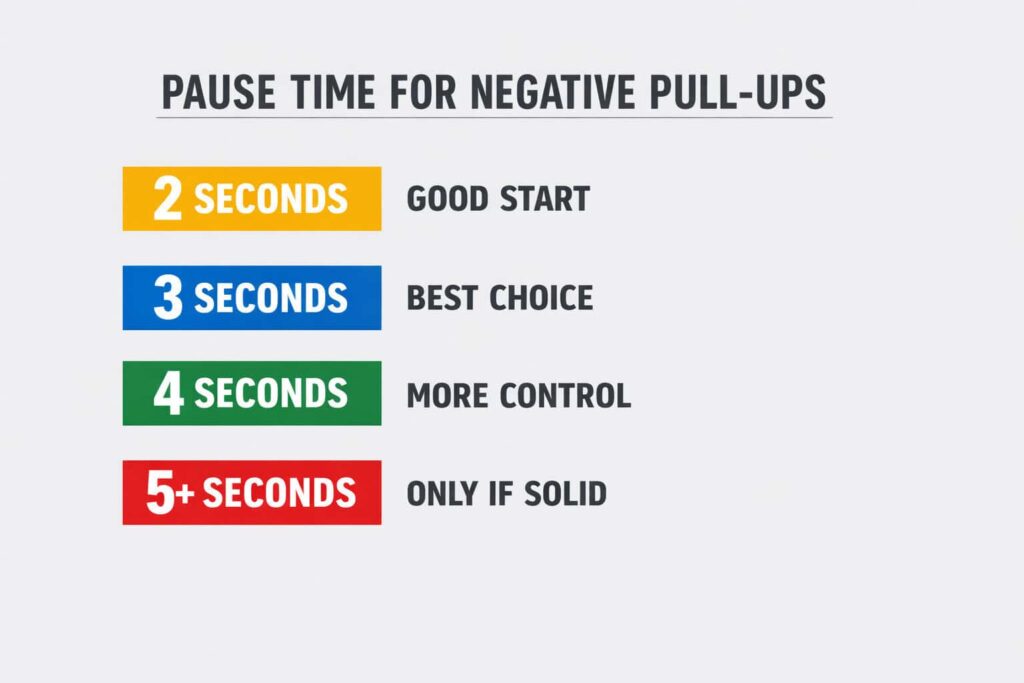
Here is how I usually think about it:
- 2 seconds: great for learning where to stop without losing everything
- 3 seconds: ideal for most training sessions
- 4 seconds: strong choice when control is improving and technique still stays clean
- 5+ seconds: useful sometimes, but only when the position remains solid and the shoulders stay organized
When I am working on a very specific trouble spot, I would rather keep the pause at 3 seconds and make the position cleaner than chase a heroic 8-second hold with a face that looks like I’m arguing with the ceiling fan.
How many reps and sets actually work
This exercise gets ugly fast if volume runs wild.
Because one rep can last 8, 10, or 12 seconds, even a small number of reps adds up quickly.
For most people, 3 to 5 reps per set is enough.
Anything beyond that often turns the final reps into slow-motion falling.
That defeats the point.
A very practical starting structure is this:
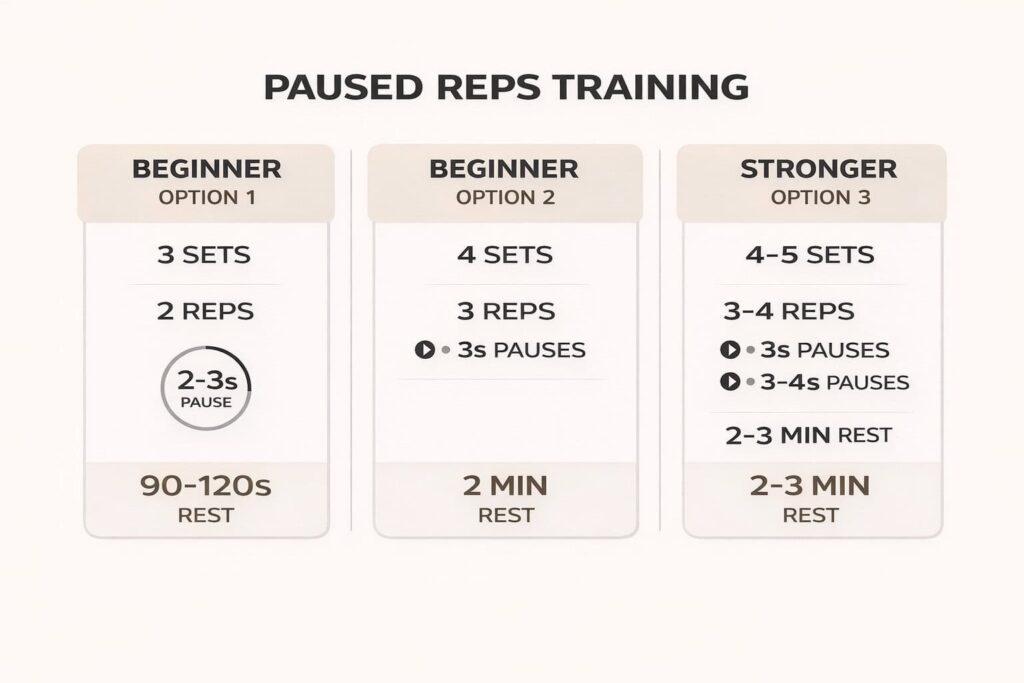
Option 1: true beginner
- 3 sets
- 2 reps per set
- 1 pause in the middle of each rep
- 2 to 3 seconds per pause
- 90 to 120 seconds of rest between sets
Option 2: beginner with decent bar comfort
- 4 sets
- 3 reps per set
- 2 pauses per rep, one just below the top and one in the middle
- 3 seconds per pause
- 2 minutes of rest between sets
Option 3: stronger trainee cleaning up control
- 4 to 5 sets
- 3 to 4 reps per set
- 2 or 3 pauses per rep
- 3 to 4 seconds per pause
- 2 to 3 minutes of rest
Personally, when I want quality, I stay conservative.
Three reps done cleanly teach more than six reps where the last three look like a coat slipping off a hanger.
Rest matters too.
If I cut rest to 45 seconds because I’m in a hurry or feeling overly optimistic, the next set usually tells me that was a poor negotiation.
What Makes Your Pull-Up Rep Fall Apart
1# Dropping into the pause instead of arriving there
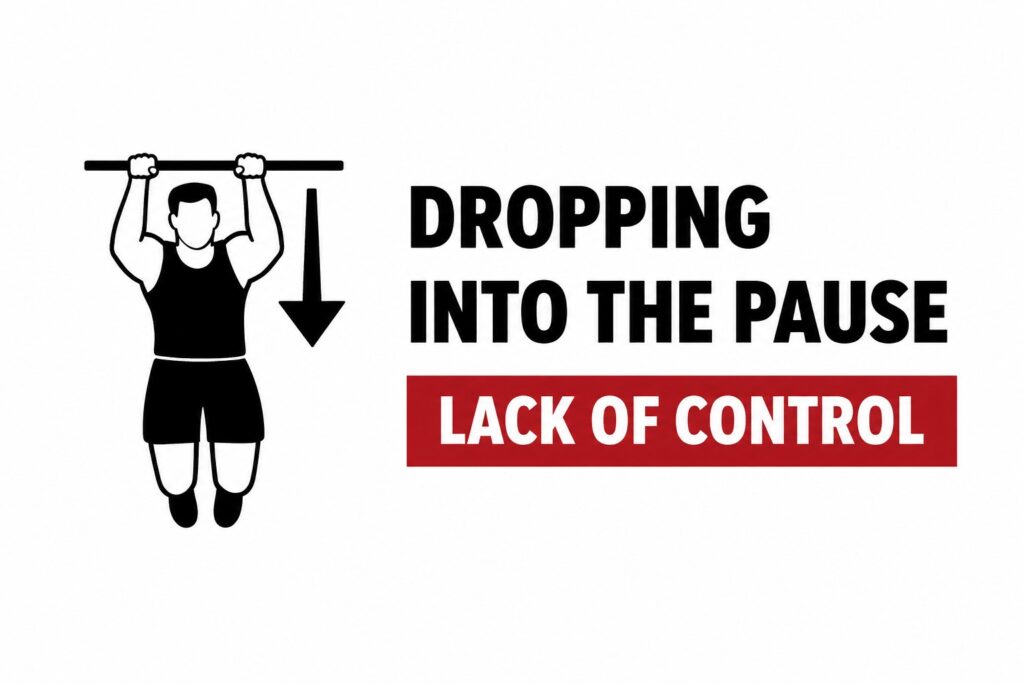
A pause is not a crash followed by a freeze.
The body should lower into the stop with control.
When I rush into the pause and then try to “save” it, the position is already compromised.
That is like parking by hitting the curb and calling it precise.
2# Using a stop point that is too ambitious
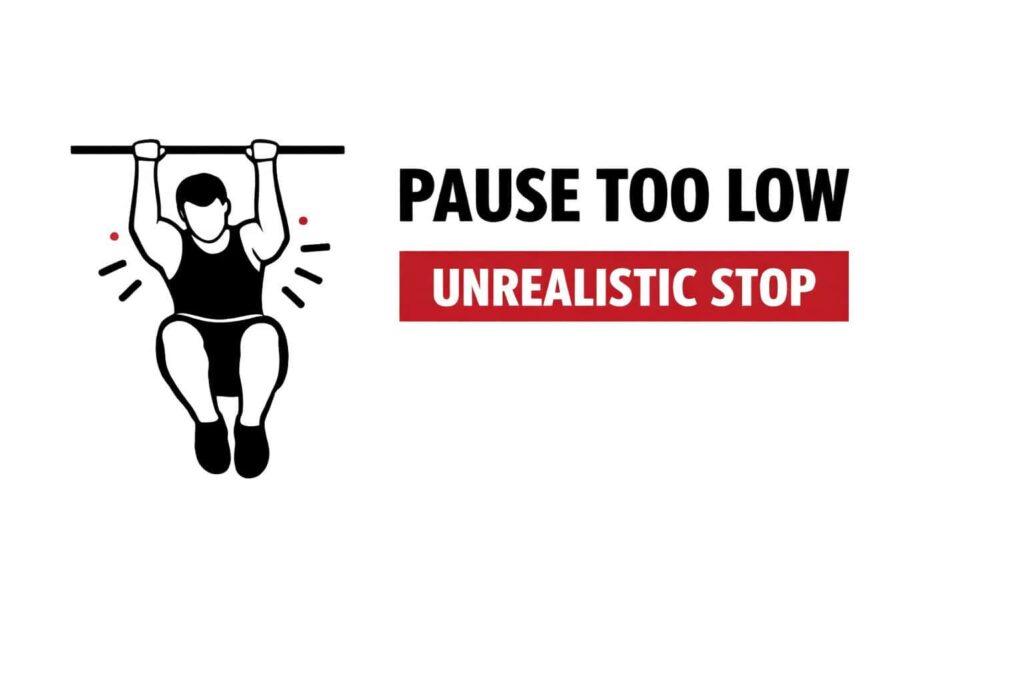
People often choose the exact range where they have almost zero chance of holding.
Ambition is nice.
Learning is nicer.
If the middle pause turns every rep into a dangling emergency, I move the stop slightly higher or shorten the descent until control improves.
3# Losing the shoulders during the last third
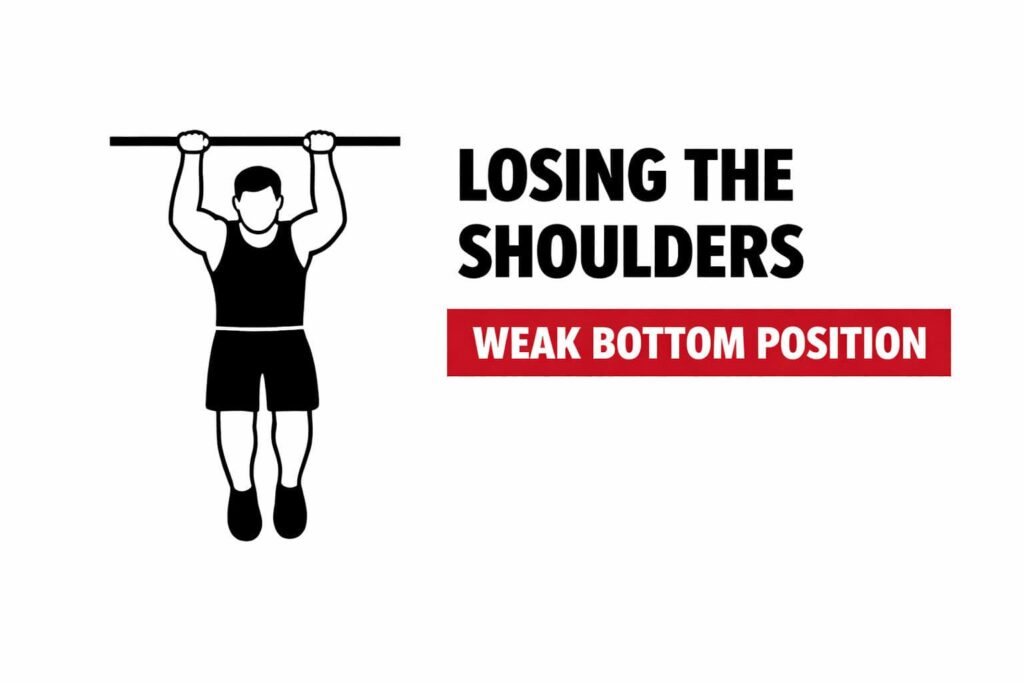
Near the bottom, many trainees give up on staying active and simply hang into straight arms.
That makes the finish sloppy and can leave the next rep feeling unstable.
I want to reach the bottom deliberately, not arrive there by accident.
4# Turning every set into a death march
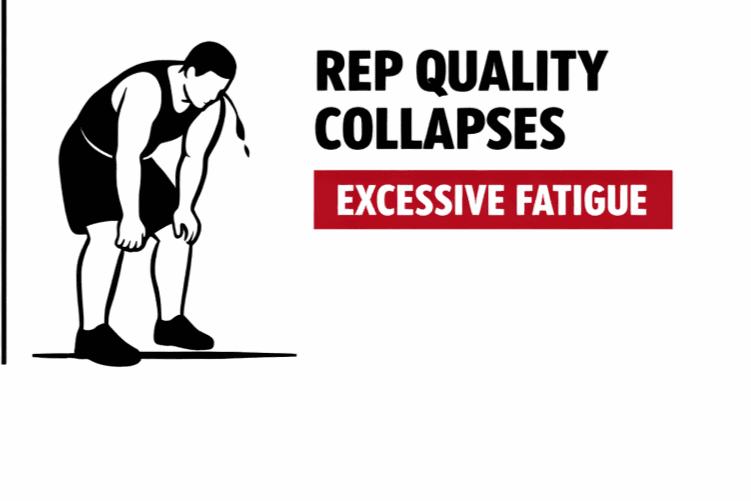
When technique falls apart, adding more reps is rarely the answer.
Paused negatives reward precision.
Once the rep quality drops hard, the session stops teaching and starts collecting fatigue.
Where this fits next to regular negatives and assisted pull-ups
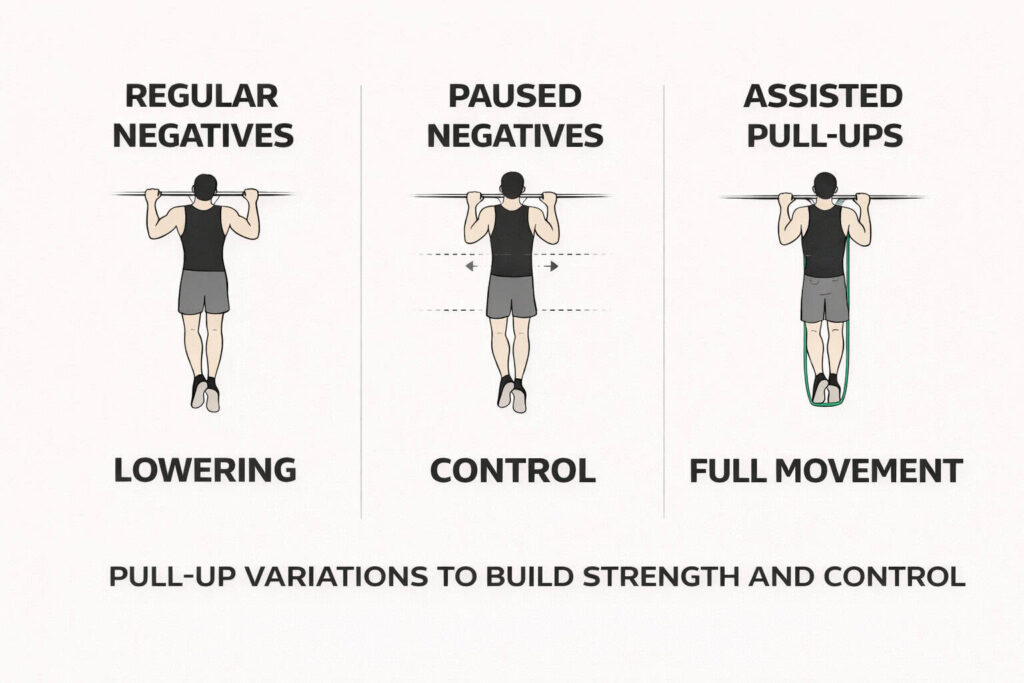
Paused negatives are not meant to replace every other pull-up variation forever.
They are a very sharp tool for one important job.
Regular negatives are great for building general lowering strength and confidence through the whole range.
Assisted pull-ups, with bands or machine support or foot assistance, help practice the upward and downward phases together.
Paused negatives sit in between.
They zoom in on the messy part and make you spend time there.
That is why I started using them when regular negatives felt too broad and assisted pull-ups used to let me get away with too much.
Back then, a session might look like this:
- 3 sets of paused negatives, 3 reps each
- 2 minutes of rest between sets
- 3 sets of band-assisted pull-ups, 5 reps each
- 90 seconds of rest
- 2 sets of dead hangs for 20 to 30 seconds
That pairing worked well because the paused negatives improved control, and the assisted pull-ups let me rehearse a fuller movement pattern without turning everything into a wrestling match.
When the Descent Stops Drifting
The earliest sign is not always “I can do more pull-ups now.”
Sometimes the first improvement is that the pauses stop feeling chaotic.
The body settles faster.
Grip feels less panicked.
The stop point becomes something I control instead of something I survive.
Another sign is that regular negatives start looking calmer without extra effort.
I notice less swinging, less rushing through the middle, and a better finish near full extension.
Top holds often improve too, because the shoulders are learning to stay involved as the body moves away from the bar.
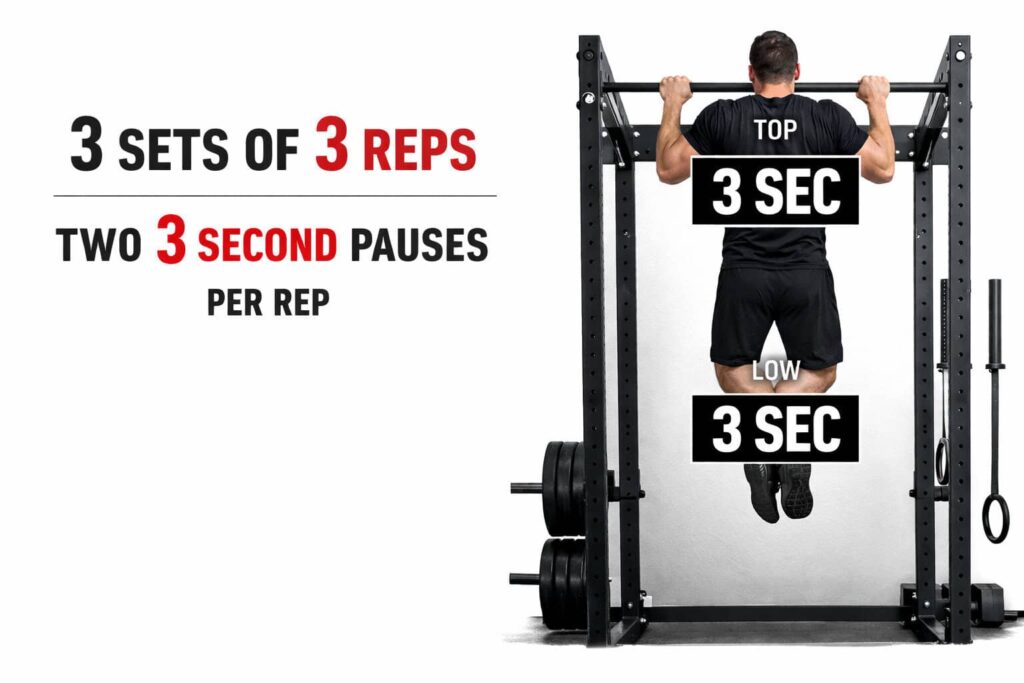
A very practical marker is this: if I can do 3 sets of 3 reps with two clean 3-second pauses in each rep, and those reps still look organized on the final set, I know I’m building something useful.
That usually carries over well to assisted pull-ups and later to full reps.
Video can help here, even a rough phone recording.
A rep that feels controlled may still reveal a shoulder shrug, a drifting lower body, or a rushed transition.
The camera is polite, but it is not generous.
When to Make Negative Pull-Ups Harder
Once the current version feels controlled, a few changes make sense.
You can add an extra pause.
You can lengthen one pause from 3 seconds to 4.
You can lower more slowly between stop points.
You can reduce assistance in the rest of the session so the carryover becomes more obvious.
Here are a few smart upgrades:
Add a third stop
Pause just below the top, at the middle, and just above the bottom.
That covers the full descent and builds awareness across the entire range.
Increase total lowering time
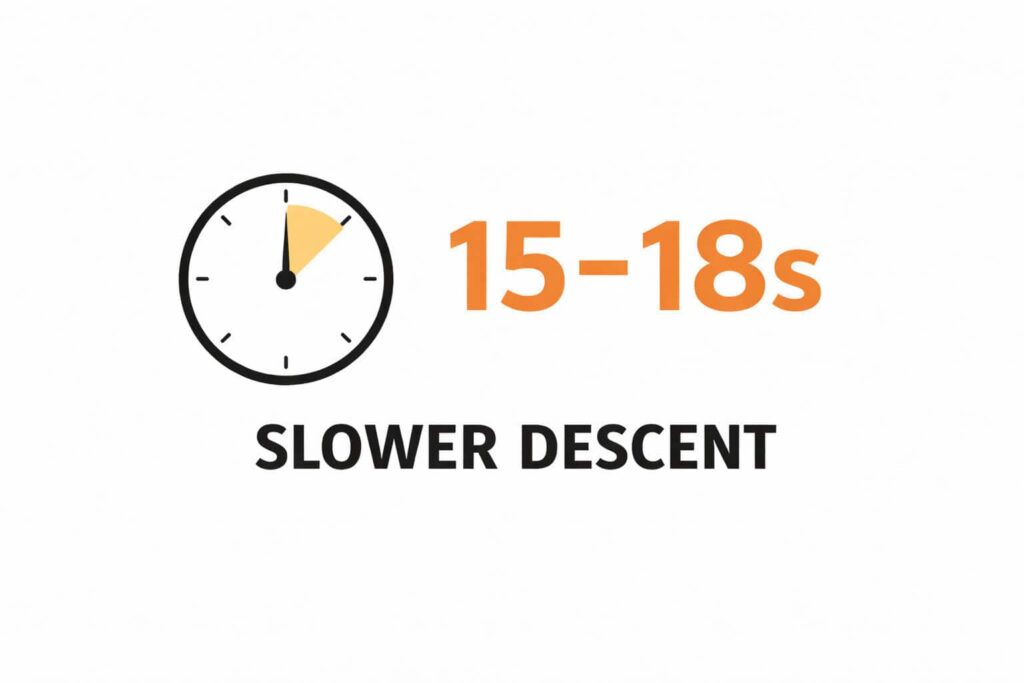
Move from 2-second descents between pauses to 3-second descents.
That turns a 12-second rep into something closer to 15 or 18 seconds.
Use a towel or thicker bar occasionally
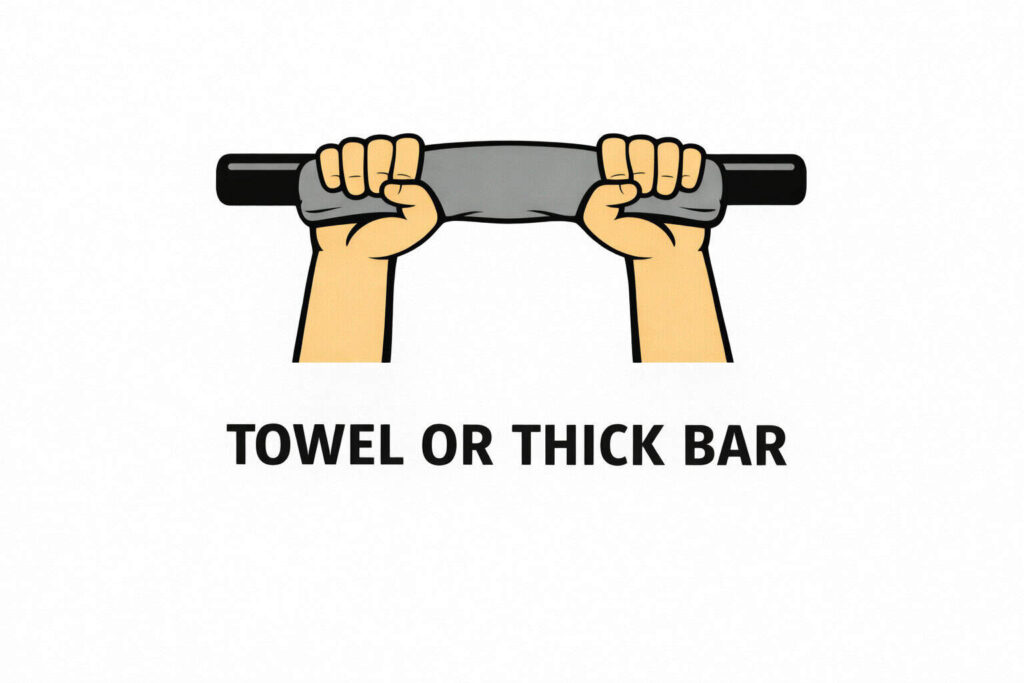
This makes grip work harder, but I use it sparingly.
Too much grip challenge can distract from the shoulder and elbow control I’m trying to build.
Pair with a stronger top hold
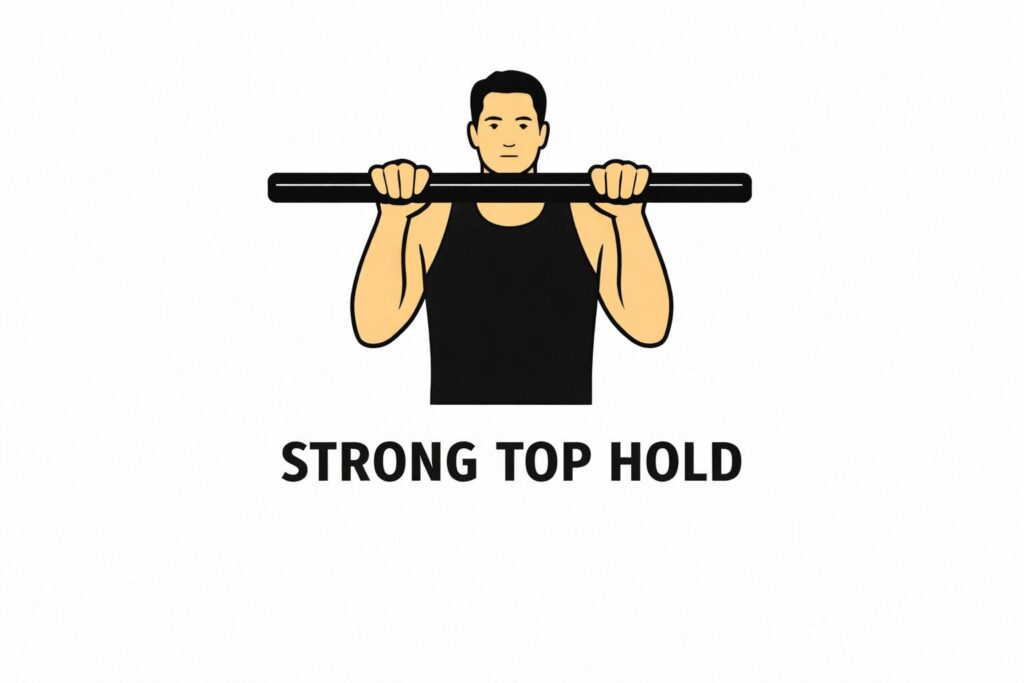
Begin each rep with a 3-second hold above the bar before the descent starts.
That teaches ownership of the top position before the elbows begin opening.
What I avoid is changing five things at once.
When a rep improves, I want to know why.
Otherwise the session becomes a mystery novel with no ending.
Final Thoughts
Paused negative pull-ups work because they force attention onto the exact part of the rep that usually gets blurred over.
That makes them one of the fastest ways I know to build control where control actually matters.
They teach patience without making the workout dull.
They expose weakness without requiring fancy equipment.
They improve body awareness without turning the session into a lecture about biomechanics that nobody asked for.
More importantly, they make the pull-up feel less mysterious.
Instead of wondering why the rep falls apart, I can see where it happens, spend time there, and gradually make that section less shaky.
That is a very satisfying shift.
A clean pull-up usually does not appear out of nowhere.
It gets built in those awkward little moments where the body wants to drop and you calmly tell it, “Not yet.”
And then, little by little, the bar stops feeling like a negotiation.