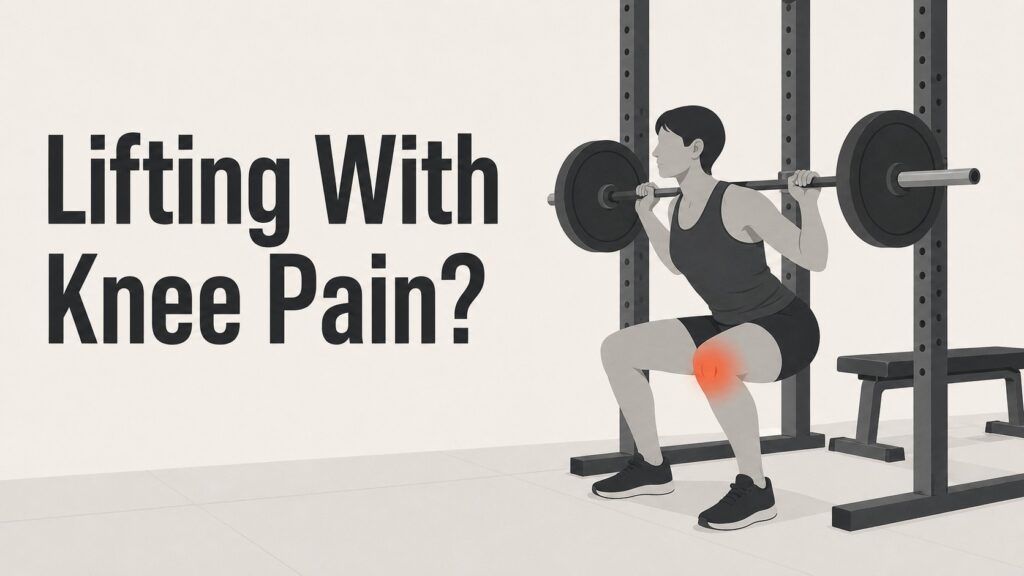
Knee pain when lifting weights can turn an ordinary squat session into an investigation.
Instead of forcing another set, I use these 10 fixes to find out what my knees will tolerate that day and what needs to change.
Last Tuesday, the empty bar felt fine.
With the first working weight, however, a dull ache appeared around the front of my right knee as I stood up.
My original plan had five squat sets, leg presses, and walking lunges.
That plan stayed written in my phone while the actual session took a more useful direction.
Why Your Knee May Hurt While Lifting
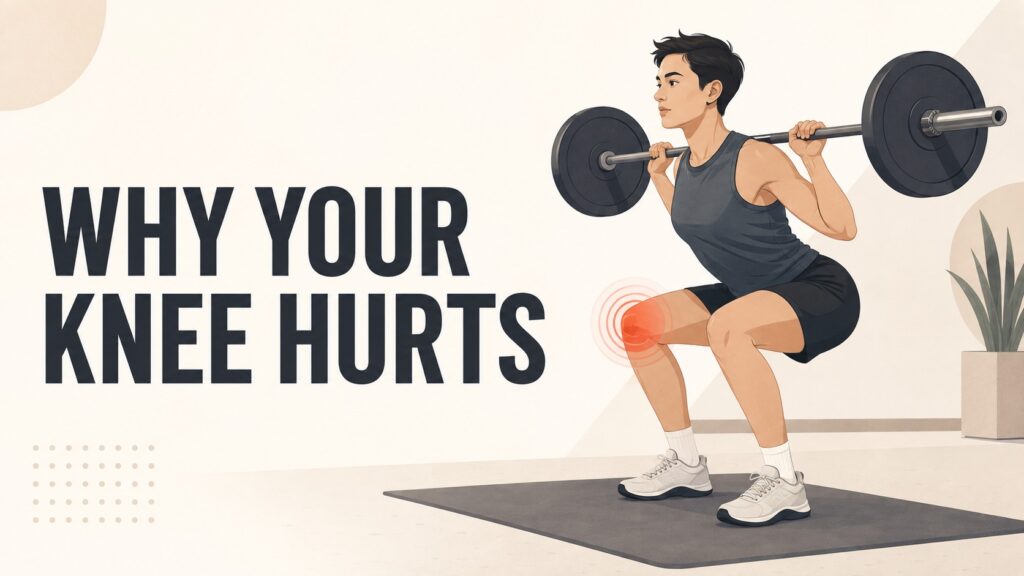
Knee pain during weight training does not point to one automatic diagnosis.
A sudden increase in weight, sets, squat depth, running volume, or weekly leg sessions may exceed what the knee currently tolerates.
Foot position, unstable shoes, poor control, limited ankle movement, or an existing tendon or joint problem may also contribute.
The location and timing of the pain provide useful information, but a qualified healthcare professional is needed to identify the actual cause.
Fix 1: Identify Where and When the Knee Hurts
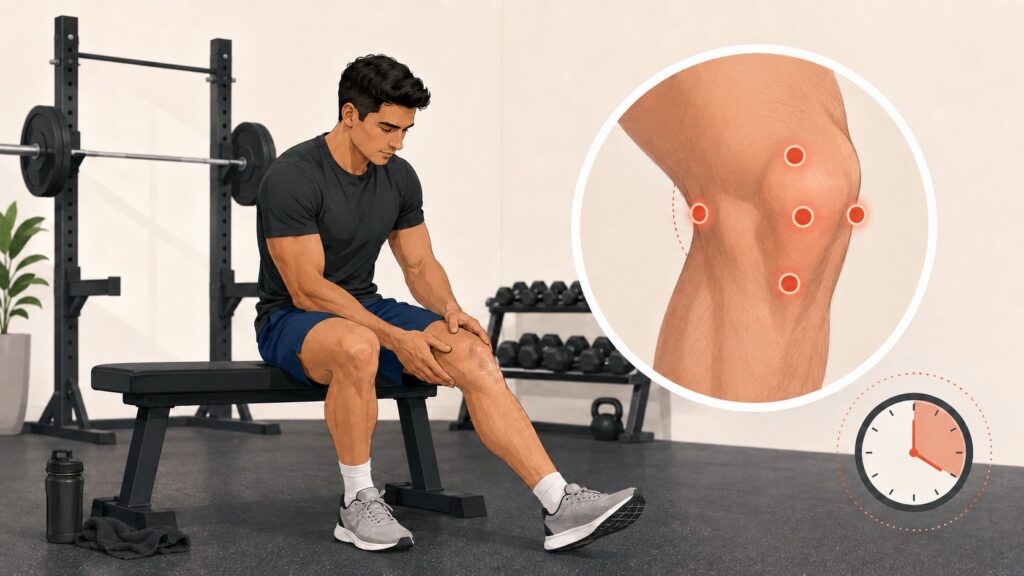
Before changing an exercise, I need more information than “my knee hurts.”
I rack the bar and try three slow bodyweight squats beside the bench.
Each repetition tells me when the discomfort begins, whether it changes with depth, and whether the knee feels stable.
A quick check includes:
- Where the discomfort sits: front, inner side, outer side, back, or directly on the kneecap.
- Which phase brings it on: lowering, reaching the bottom, standing, locking the knee, or resting afterward.
- Whether there is swelling, warmth, catching, locking, buckling, or a recent impact.
- Whether stairs, walking, sitting, or getting out of a chair also cause symptoms.
Sharp pain, a knee that gives way, major swelling, an inability to bear weight, or symptoms following a hard fall end my gym experiment.
Persistent pain that keeps returning also needs proper evaluation, even if one clever foot position makes today’s set tolerable.
Fix 2: Give the Warm-Up a Real Job
My old warm-up was five minutes on a bike while answering messages, so my legs moved while my attention remained in the parking lot.
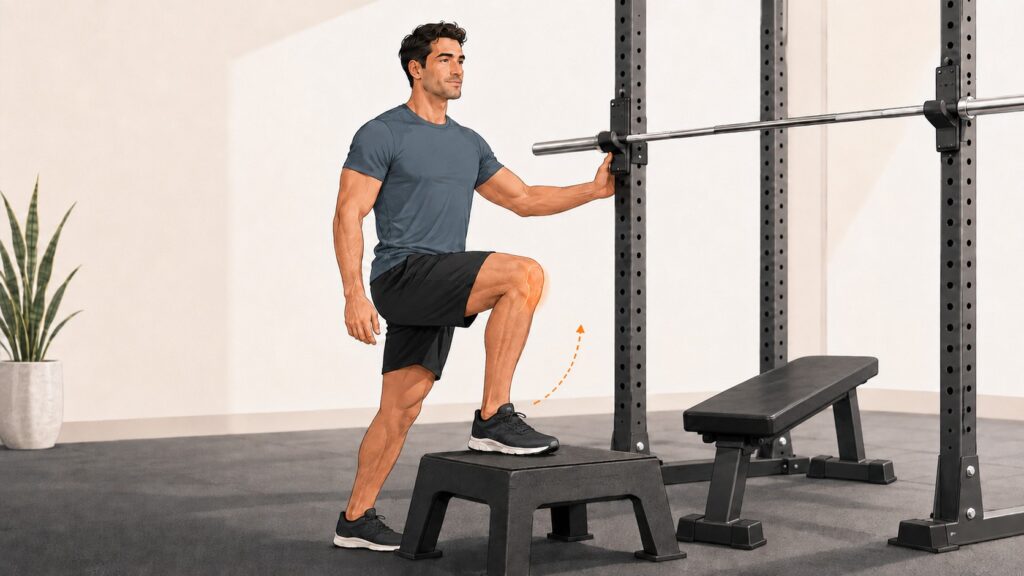
I begin with easy cycling or walking for five to eight minutes, then perform controlled repetitions without added weight.
Before squatting, that might mean:
- 8 bodyweight squats to a high bench.
- 8 low step-ups per leg, driving through the whole foot.
- 10 easy calf raises while holding the rack.
- 2 squat sets with an empty bar, adding depth only when the motion remains comfortable.
The warm-up provides feedback, not permission to push through worsening pain.
On this particular day, the ache decreases during shallow squats but returns when I descend below the bench.
That gives me a usable boundary for the next decision.
Fix 3: Remove Weight Before Removing the Exercise
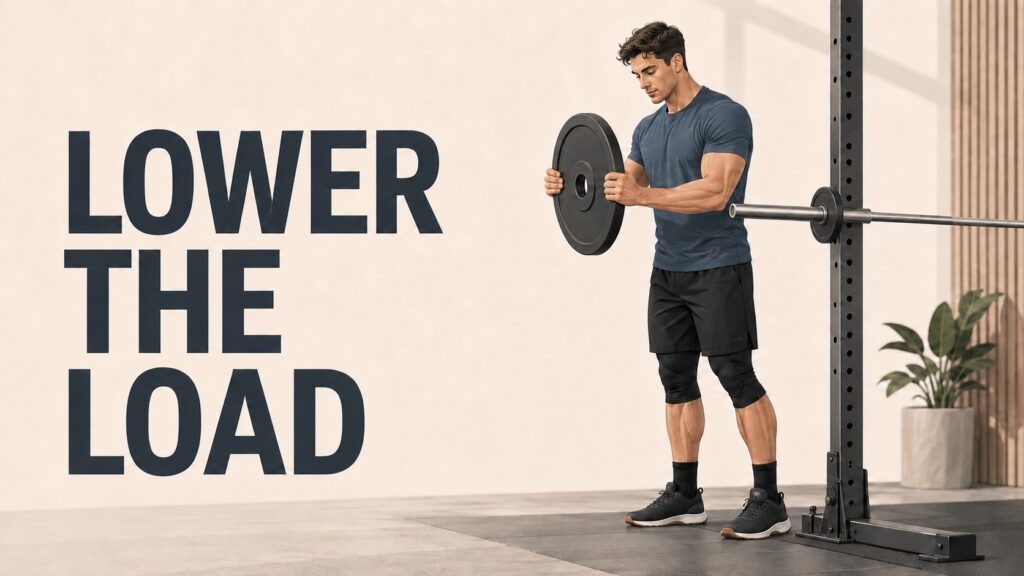
Plates are the easiest variable to change, although they are often the last variable lifters want to touch.
I once kept my planned load because the previous week had gone well, then felt the knee on the gym stairs after three stubborn sets.
Today I reduce the bar from 265 pounds to 185 and perform five controlled repetitions.
The quadriceps on the front of the thighs straighten the knees, while the glutes extend the hips and the trunk keeps the bar balanced.
The lighter load lets those muscles work with less force passing through an irritated area.
Useful reductions can include:
- Lowering the weight by 20 to 40 percent.
- Performing 2 or 3 working sets instead of 5.
- Stopping each set with 3 or 4 controlled repetitions still available.
- Resting 2 minutes so fatigue does not alter the next repetition.
Discomfort should not climb from rep to rep or remain noticeably worse after the session.
If lowering the load does not help, I move to another fix rather than bargaining with the bar.
Fix 4: Use a Range the Knee Accepts Today
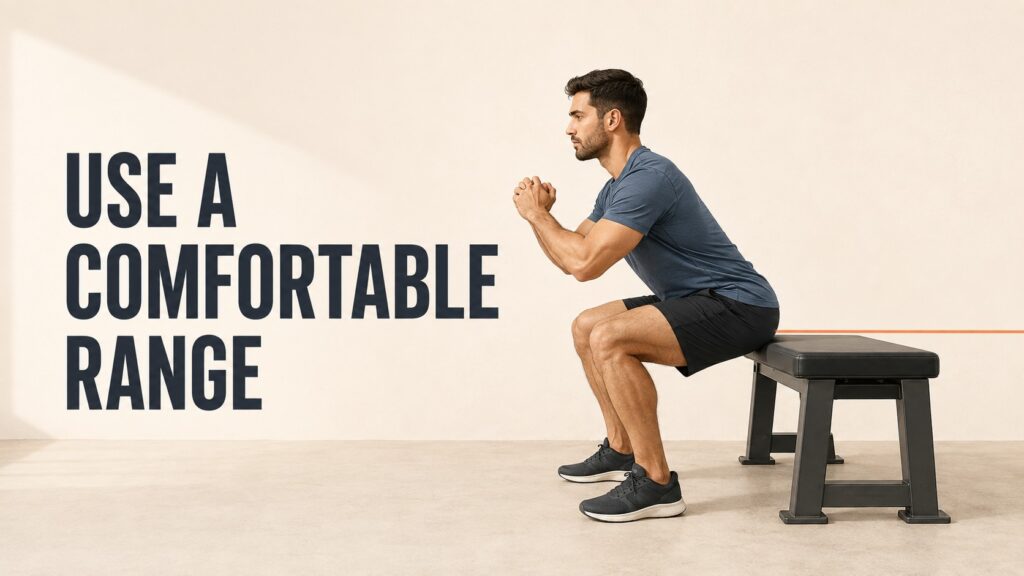
Squat depth is a training variable, not a character test.
Placing a bench behind me creates a clear stopping point before the painful portion.
I reach the hips slightly back, bend the knees, touch the bench with control, and stand without rocking.
Both feet stay planted, and the pressure remains spread between the heel, the base of the big toe, and the base of the little toe.
A higher target shortens the distance traveled and may keep a useful leg exercise in the session.
Other range changes include:
- Lowering only partway on a split squat.
- Stopping the leg press before the pelvis curls away from the pad.
- Limiting knee extension to the comfortable portion instead of forcing the machine through every numbered notch.
Pinching, catching, or a hard block is a reason to stop rather than bounce past it.
As symptoms settle across later sessions, I can gradually lower the bench or add a little depth before adding more weight.
Fix 5: Adjust Foot Position Without Chasing a Perfect Stance
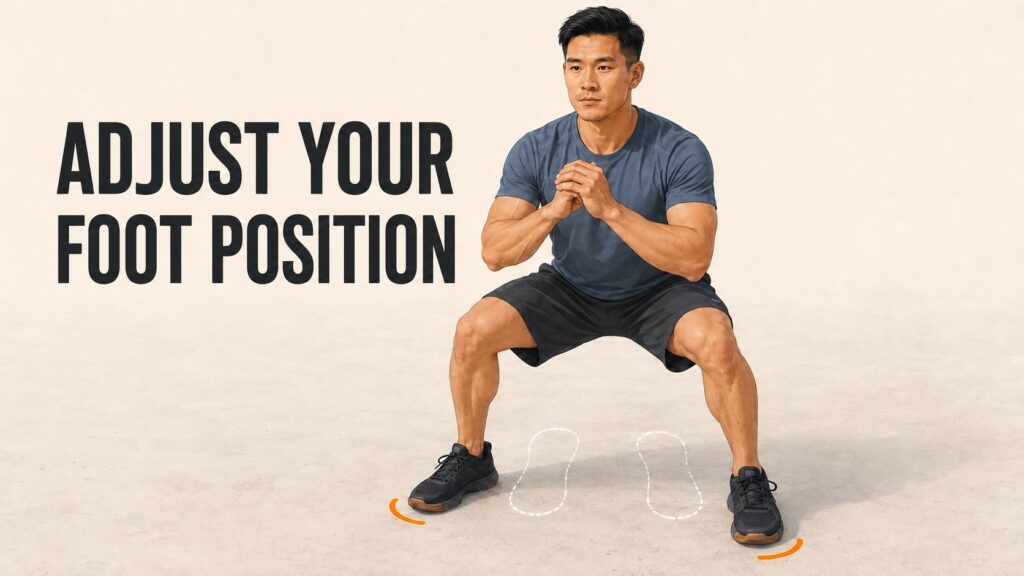
Two chalk marks on the floor show where my feet began.
Moving each foot about an inch wider and turning the toes slightly outward makes the next squat more comfortable.
That does not prove everyone needs a wide stance.
It only tells me that my original position was not the best option during this set.
During a squat, the knees can travel forward and should generally follow the direction of the toes rather than collapsing abruptly inward.
The torso may lean somewhat as the hips move back, especially in a barbell squat.
I test changes in tiny doses:
- Shift the feet a little wider or narrower.
- Turn the toes a few degrees outward rather than forcing them straight ahead.
- Keep the entire foot in contact with the floor.
- Watch whether one heel lifts or one side takes most of the load.
One modest adjustment followed by three unloaded repetitions tells me more than changing four things at once.
Fix 6: Slow the Descent and Keep the Knee Path Controlled
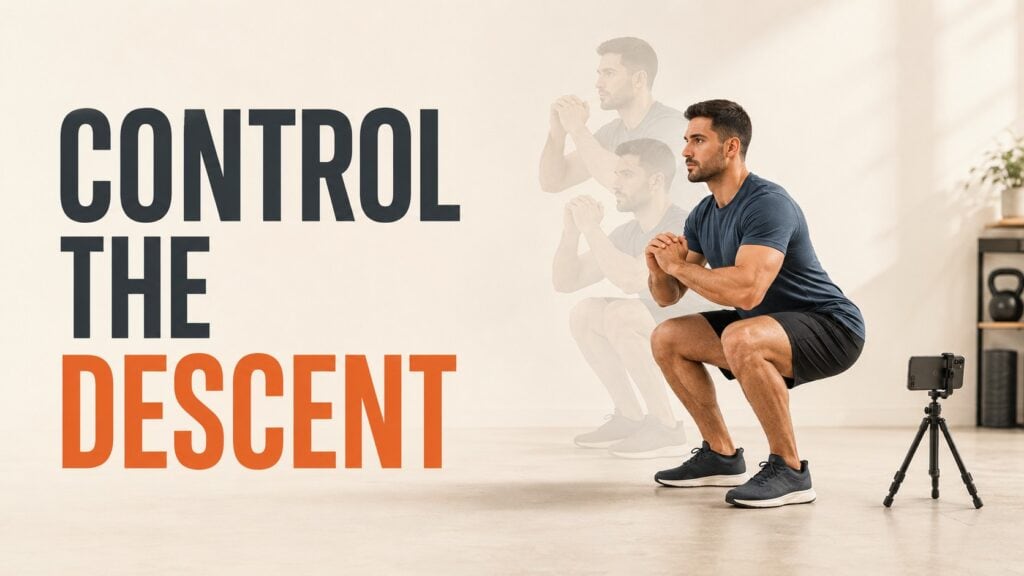
The phone camera reveals something I did not notice under the bar.
As fatigue arrives, I drop quickly into the bottom and my right knee moves inward just before I stand.
Slowing the lowering phase to about three seconds makes the path easier to control.
During that descent, the knees and hips bend as the quadriceps and glutes manage the downward movement.
Useful checkpoints are:
- Knees travel in the general direction of the toes.
- Feet remain stable rather than rolling onto their inner edges.
- The descent stays controlled instead of ending with a sudden drop.
- Hips and shoulders rise together instead of the hips shooting up first.
I want a repeatable path, not knees forced outward into a pose for a textbook photograph.
Once control disappears, the set has finished even if the repetition target says otherwise.
Fix 7: Replace the Painful Exercise, Not the Training Goal
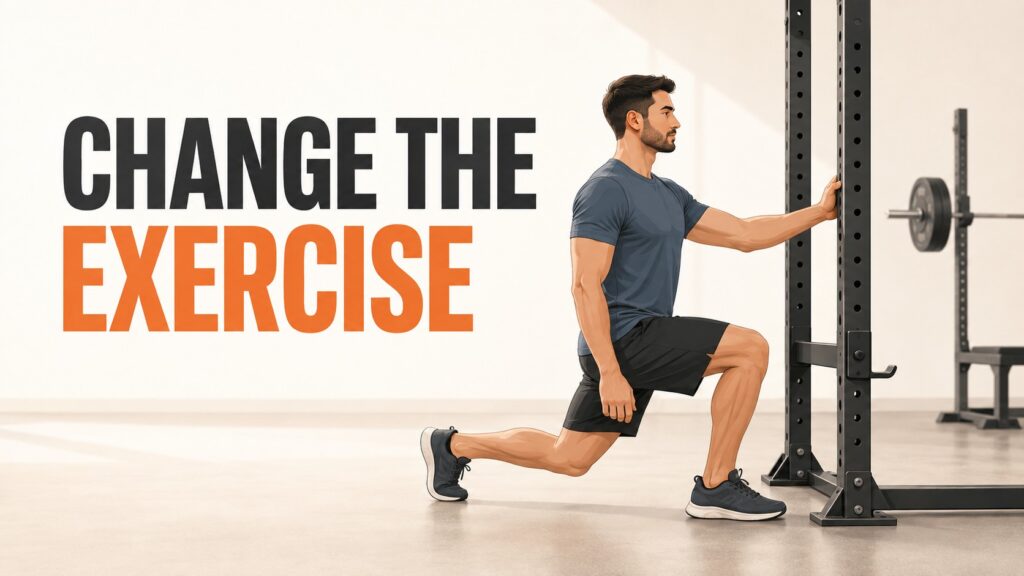
The squat still irritates the knee after the lighter load and shorter depth, so the bar goes back on the rack.
I choose movements that distribute the work differently and test each one without heavy weight.
To perform a reverse lunge, I step one foot backward, lower both knees only as far as comfortable, keep most of the pressure through the front foot, and return to standing.
Holding the rack provides balance, which lets the legs work without turning every repetition into a tightrope act.
Other substitutions worth testing include:
- A supported reverse lunge instead of a forward walking lunge.
- A hip thrust, where the upper back rests on a bench and the hips rise by squeezing the glutes.
- A Romanian deadlift, where slightly bent knees remain steady while the hips move backward and the hamstrings take most of the load.
- A seated or lying leg curl, where the hamstrings bend the knees against the machine pad.
- A cable pull-through, where the hips move backward before the glutes bring the body upright.
Several of these alternatives emphasize the glutes and hamstrings with less loaded knee bending than squats or walking lunges, but I still keep the first set light.
A replacement earns its place only when symptoms remain manageable during the exercise and do not worsen afterward.
Fix 8: Train the Muscles Around the Knee
Avoiding every knee-bending movement can reduce irritation briefly, but it does not build much capacity.
Once exercise is tolerable, I train both the knee and hip muscles rather than searching for one heroic corrective drill.
A 2024 best-practice guide for patellofemoral pain recommends exercise therapy and education as the primary interventions, with knee-targeted exercise, optional hip-targeted exercise, and additional support tailored to the individual.
That guidance applies specifically to patellofemoral pain and cannot diagnose every painful knee, but it supports well-chosen strengthening as part of recovery.
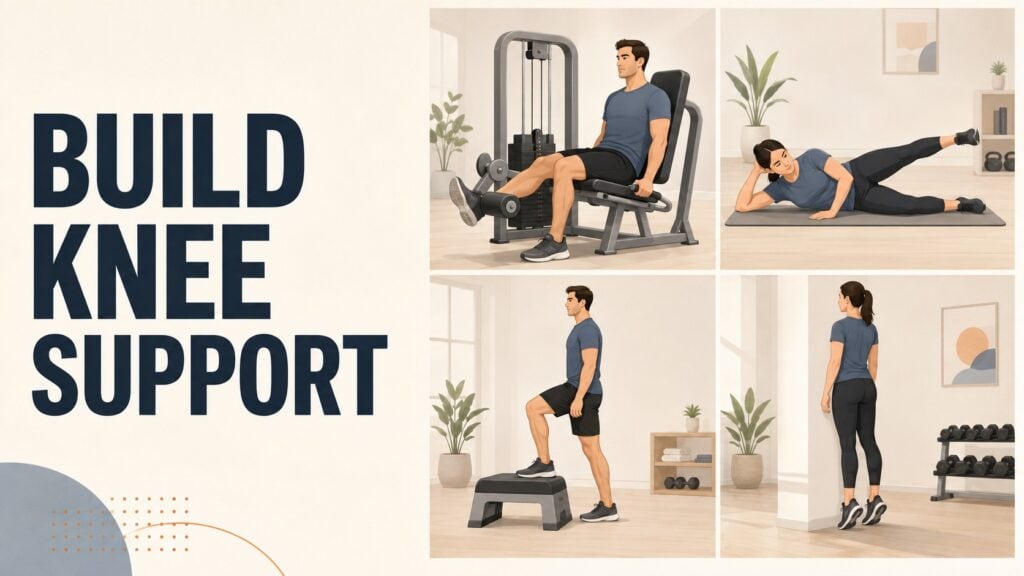
The guide does not prescribe one universal exercise list, so these are manageable starting options rather than a treatment plan:
- Seated leg extension: straighten the knee against the machine pad through a comfortable range, then lower under control for 2 sets of 10.
- Side-lying hip abduction: lie on one side, keep the upper leg straight, raise it without rolling backward, and perform 2 sets of 12 per side.
- Low step-up: place the whole foot on a low platform, stand by pushing through that leg, and complete 2 sets of 8 per side.
- Standing calf raise: rise onto the balls of both feet, pause briefly, and lower slowly for 2 sets of 12.
The side-lying exercise looks easy until my pelvis begins rolling backward, while the low step-up quickly reveals whether I am using the working leg or pushing off the floor with the other foot.
Keeping both movements controlled is more useful than adding resistance before I can perform them properly.
Fix 9: Check Shoes and the Surface Under Them
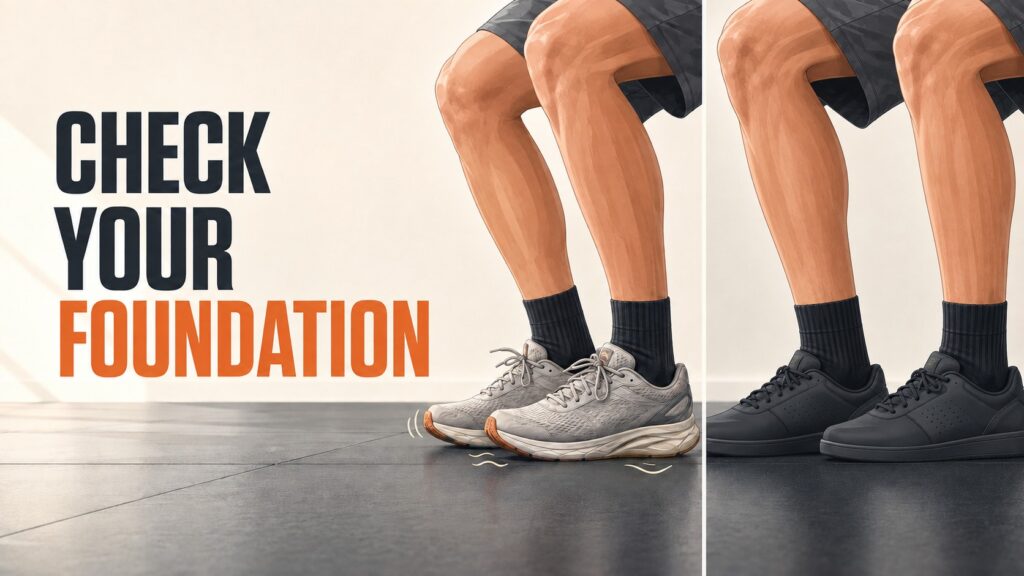
Halfway through the session, I notice my soft running shoes compress and wobble during the squat.
Changing to firm, flat training shoes gives the feet a more stable base.
For lifters whose ankle movement limits squat depth, a weightlifting shoe with a solid raised heel may help the knees travel forward while the heels remain planted.
I check:
- Whether the sole is firm enough for lifting.
- Whether the shoe fits securely instead of letting the foot slide.
- Whether the floor is level and free from loose plates or mats.
- Whether worn soles tilt one foot differently from the other.
Changing shoes helps my stability today; it does not cancel the need to manage load and symptoms.
Fix 10: Judge the Session by the Next 24 Hours
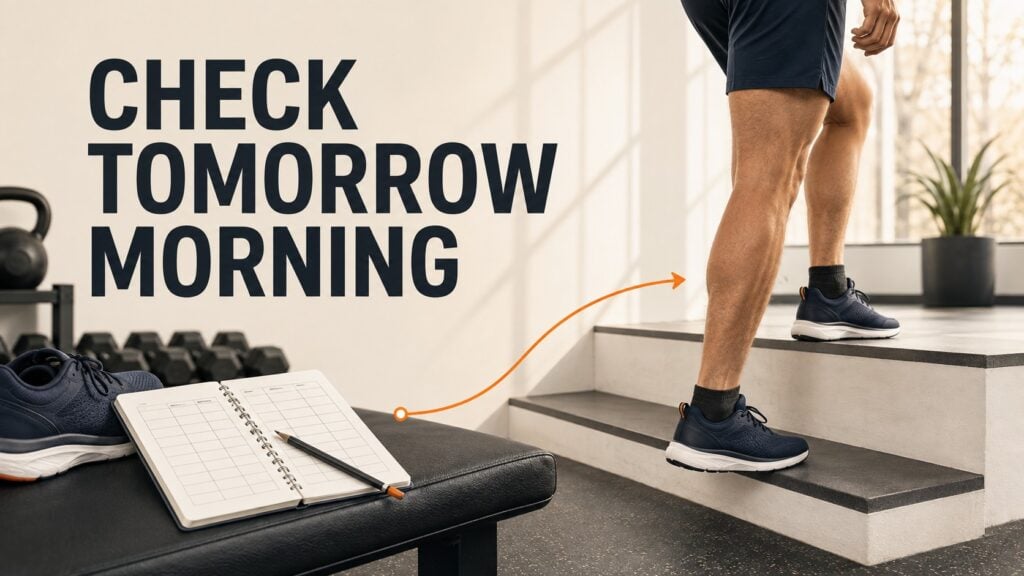
Leaving the gym pain-free is useful, but tomorrow morning supplies the final review.
Knees sometimes tolerate an exercise during training and complain later while climbing stairs or rising from a chair.
I record the movement, weight, depth, sets, and next-day response so vague memories do not choose next week’s load.
A practical progression looks like this:
- Repeat a tolerable exercise and range for two or three sessions.
- Add one variable at a time: a few repetitions, a little depth, or a small amount of weight.
- Keep increases modest, especially after a break or a sudden jump in training volume.
- Reduce the next session if daily activities are clearly more painful afterward.
Doing heavy squats Monday, hard lunges Tuesday, and hill sprints Wednesday may be three different activities in the calendar, but the knees still receive three demanding days.
When Knee Pain Needs More Than Gym Adjustments
These fixes are ways to modify training, not a diagnosis or a substitute for medical care.
I stop lifting and seek professional advice when pain is severe, follows a traumatic twist or impact, or comes with major swelling, redness, heat, fever, locking, repeated buckling, or an inability to bear weight.
Numbness, a visibly changed joint shape, or calf swelling also deserves prompt attention.
Pain that persists for several weeks, repeatedly returns, or interferes with sleep and ordinary walking should be assessed even without an obvious injury.
A Better Ending Than Forcing the Plan
That Tuesday session finishes with supported reverse lunges, Romanian deadlifts, and light calf raises.
It is not the workout stored in my phone, but I leave knowing which movements the knee accepted and which one needs another look.
Knee pain when lifting weights is information worth investigating, and these 10 fixes help me adjust the session without pretending every ache has an easy answer.
FAQ:
Is Knee Clicking During Squats Always a Problem?
Clicking without pain or swelling is often harmless.
Have it assessed if the noise appears with pain, swelling, pressure, or loss of normal movement.
Can Knee Sleeves Fix Knee Pain?
Knee sleeves may provide warmth, compression, and a feeling of support, but they do not correct the underlying cause of pain.
Remove the sleeve if it causes numbness, tingling, or excessive pressure, as Cleveland Clinic advises.
Can I Train My Upper Body With Knee Pain?
Usually, if the chosen movements do not irritate the knee.
Seated or chest-supported exercises may be easier to manage than standing movements or heavy bench presses that require strong leg drive.
Can My Knees Move Past My Toes During a Squat?
Yes, the knees can naturally move past the toes during a squat.
Keep the heels planted and let the knees travel in the direction of the toes.
Reduce the depth if this position increases discomfort.