You know, in the vast world of workouts, I’ve tried just about everything under the sun.
Every exercise has its purpose, but let’s be real—some moves just hit different.
Today, I want to chat about two exercises that have been game-changers for me: Dips and Push-ups.
I’ve often found myself wondering, if I had to pick one, which would it be?
So let’s put them head-to-head and see which one comes out on top.
Introduction to Dips: Benefits and Considerations
First up, let’s talk about Dips.
I’ll admit, the first time I tried Dips, they absolutely humbled me.
I remember gripping those parallel bars, thinking, “How hard can this be?”
But what makes them so rewarding.
When you perform a Dip, you’re lifting your entire body weight—no small feat.
You lower yourself until your arms hit that 90-degree angle, and then push back up, engaging your chest, shoulders, and triceps.
It’s like a full upper-body workout packed into one move.
What I love about Dips is how they challenge me every single time.
They’ve helped me build serious strength and improve my core stability.
But I’ll be honest—they can be tough on the shoulders if you’re not careful.
I’ve had days where I felt a little tweak because I wasn’t paying attention to my form.
Don’t let the difficulty scare you off, though.
With practice and gradual progression, Dips can lead to some impressive gains.
How to Perform Dips Correctly

- Get Set Up: Stand between two parallel bars or use a dip station. Grip the handles firmly.
- Lift Yourself Up: Push down to straighten your arms and lift your body. Keep your body upright—no leaning forward. Legs can be straight or slightly bent with feet crossed for balance.
- Lower Yourself: Slowly bend your elbows to lower your body until your arms are at a 90-degree angle. Control is key here—don’t just drop.
- Push Back Up: Press through your palms to lift yourself back to the starting position.
Focus on engaging your chest and triceps.
Common Mistakes in Dips
I’ve made my fair share of mistakes with Dips. Here are some things to watch out for:
- Shoulder Shrugging: Early on, I used to let my shoulders creep up towards my ears. Not only did this feel awkward, but it also put unnecessary strain on my shoulders. Keep those shoulders down and back.
- Going Too Fast: I get it—sometimes we just want to power through. But rushing can compromise form. Take it slow and controlled.
- Exceeding 90 Degrees: Dropping too low can stress your shoulders. Stick to that 90-degree bend.
- Partial Reps: Not fully extending at the top cheats your muscles. Make each rep count.
- Using Momentum: Swinging your body makes the exercise easier but less effective. Stay steady and controlled.
2. An Overview of Push-Ups
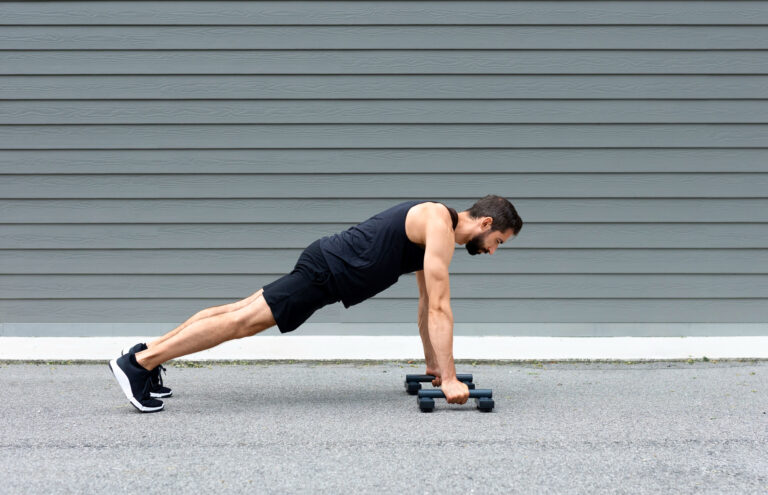
Now, let’s turn to the good old Push-up.
I’ve got a soft spot for Push-ups because they’re so accessible.
Whether I’m at home, traveling, or at the gym, I can always drop down and crank out a few sets.
Push-ups are deceptively simple but incredibly effective.
They work your chest, shoulders, triceps, and core.
Plus, there are endless variations to keep things interesting.
What I appreciate about Push-ups is how they grow with you.
When I first started, standard Push-ups were challenging enough.
Over time, I started experimenting with variations like diamond Push-ups and decline Push-ups to keep pushing my limits.
But don’t be fooled—they require proper form to be effective.
I’ve caught myself with sagging hips or flared elbows more times than I’d like to admit.
It’s all about body awareness and making sure each rep is solid.
How to Perform Push-Ups Correctly
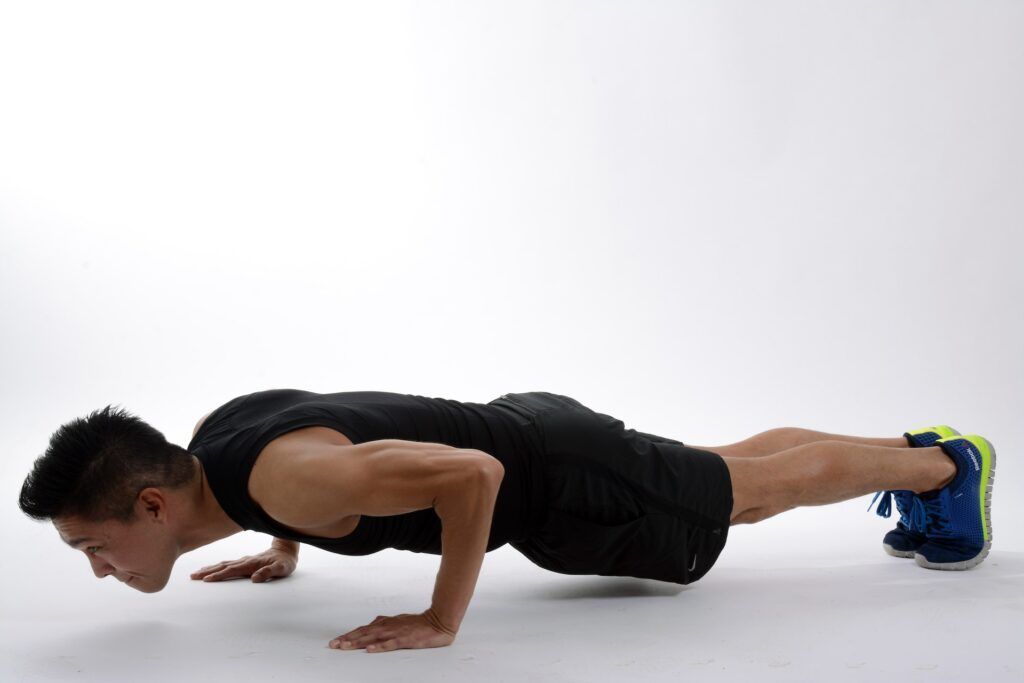
- Starting Position: Place your hands slightly wider than shoulder-width apart on the floor.Your feet can be together or a bit apart.
- Body Alignment: Engage your core so your body forms a straight line from head to heels. No sagging or piking.
- Lower Down: Bend your elbows to lower your body until your chest is just above the floor.Keep elbows tucked close.
- Push Up: Press through your hands to straighten your arms, returning to the starting position.
Avoid locking your elbows at the top.
Common Mistakes That Can Compromise Your Push-Ups
Here’s what I’ve learned over time:
- Elbows Flaring Out: This puts unnecessary stress on your shoulders. Keep them tucked closer to your sides.
- Sagging Hips or Lifting Your Butt: Your body should stay in a straight line, which engages your core and prevents back strain.
- Not Lowering Enough: To really work those muscles, bring your chest as close to the floor as possible.
- Halfway Extensions: For full benefits, extend your arms fully, but avoid locking your elbows.
- Neck Misalignment: Keep your neck in a neutral position—I usually focus on a spot just ahead on the floor.
Benefits of Dips
So, why are Dips worth your time?
- Targeted Strengthening: They seriously work your triceps and lower chest.I’ve noticed significant definition since incorporating them regularly.
- Functional Strength: Lifting your body weight translates to real-world strength.It’s helped me in other activities, like climbing and even carrying heavy groceries!
- Progression: There’s always room to level up.Adding weight or tweaking technique keeps things challenging.
Drawbacks of Dips
But let’s keep it real:
- Challenging for Beginners: Dips require a baseline of strength.I remember struggling at first.
- Shoulder Stress: Without proper form, you risk injury.It’s crucial to listen to your body and maybe consult a trainer if you’re unsure.
Benefits of Push-Ups
Why I love Push-ups:
- Full Upper Body Workout: They hit multiple muscle groups and engage the core.
- Adaptability: So many variations mean you can adjust the difficulty as needed.
- Convenience: No equipment necessary.I’ve done Push-ups in hotel rooms, parks—you name it.
Drawbacks of Push-Ups
A couple of things to consider:
- May Plateau on Strength Gains: Since you’re lifting a portion of your body weight, there might be limits to strength progression.
- Progression Can Be Subtle: Sometimes it’s hard to gauge improvement, especially if you’re not switching up variations.
Similarities Between Dips and Push-Ups
Both exercises:
- Build Upper Body Strength: Great for chest, shoulders, triceps, and core.
- Functional Movements: They improve everyday movements and overall fitness.
- Require Proper Form: Technique is key to avoid injury and maximize benefits.
5 Differences Between Dips and Push-Ups
1. Muscle Focus
- Dips: Emphasize triceps and lower chest.
- Push-Ups: Provide a more balanced chest workout and engage the core more actively.
2. Technique and Difficulty
- Dips: More advanced, require significant strength and shoulder mobility.
- Push-Ups: Beginner-friendly with easy modifications.
3. Equipment and Practicality
- Dips: Need parallel bars or a dip station.
- Push-Ups: No equipment needed.
4. Body Weight Lifted
- Dips: Lift nearly 100% of body weight.
- Push-Ups: Lift about 60-70% of body weight.
5. Progression and Variability
- Dips: Progression can be straightforward by adding weight.
- Push-Ups: Offer a wide range of variations for progression.
Push-Ups vs. Dips: Which One Is Better?
So, which should you choose?
Honestly, I include both in my routine.
But if I had to pick based on my personal experience:
- For Overall Versatility: Push-ups win.They’re accessible and adaptable.
- For Targeted Strength Gains: Dips take the cake.They’ve really helped me build tricep and chest strength.
At the end of the day, it depends on your goals.
If you’re starting out or want a convenient exercise, go with Push-ups.
If you’re looking to intensify your upper body workout and have the necessary equipment, incorporate Dips.
Dips Variations

To keep things interesting, I’ve tried:
- Bench Dips: Great when I didn’t have access to a dip station.
- Weighted Dips: Adding a weight belt upped the challenge.
- Ring Dips: Using gymnastic rings added instability and core engagement.
- Leg Raise Dips: Raising my legs in front added an ab workout.
Push-Ups Variations
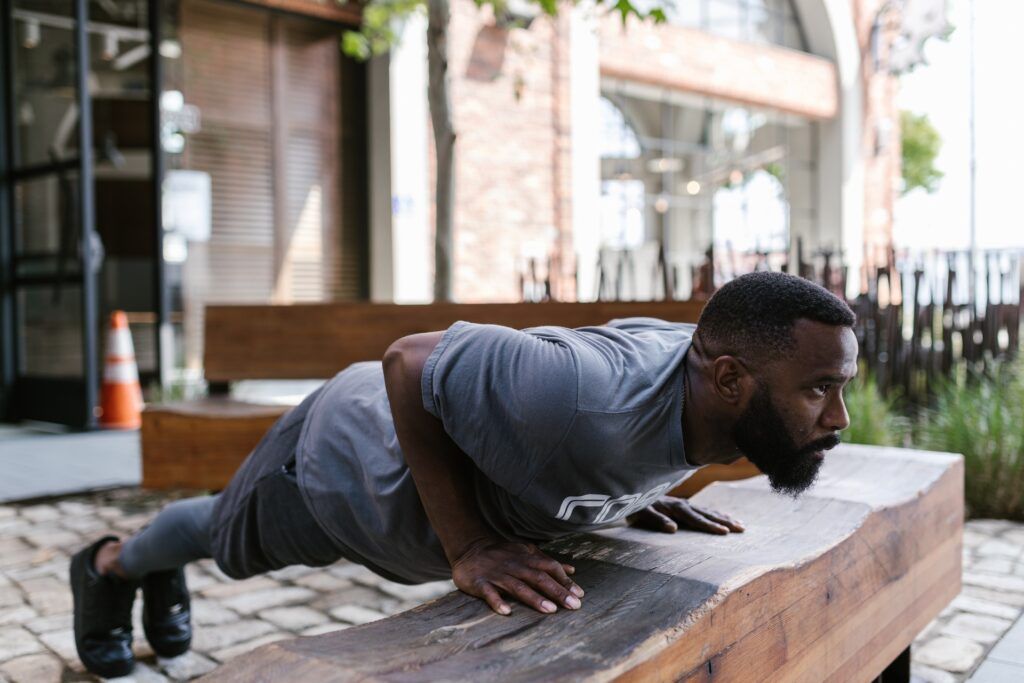
Some of my favorites:
- Knee Push-Ups: Perfect when I was starting out.
- Diamond Push-Ups: Really hit the triceps.
- Incline/Decline Push-Ups: Adjusting the angle to vary difficulty.
- One-Arm Push-Ups: Still working on mastering these!
Can Push-Ups and Dips Be Done on the Same Day?
Absolutely!
I’ve often combined them for a killer upper body session.
Here’s how I do it:
Warm-Up
- 5-10 minutes of light cardio and dynamic stretching.
Workout
- Push-Ups: 3 sets of 15-20 reps.
- Dips: 3 sets of 10-15 reps.
Circuit Option
- Alternate between 10 Push-ups and 5 Dips, rest for a minute, repeat 3-4 times.
RELATED;>>> How Deep Should I Go When Performing Dips for Muscle Gain?
Conclusion
Both Push-ups and Dips have their place in a well-rounded fitness routine.
They’ve both helped me in different ways, and I wouldn’t want to give either up.
My advice?
Give them both a try.
Listen to your body, focus on form, and enjoy the process.
Building strength is a journey, and these exercises can be solid companions along the way.
FAQs
Can one exercise replace the other?
Not entirely. They target muscles differently. For balance, include both.
What equipment do I need for Dips?
A dip station or parallel bars. In a pinch, sturdy chairs can work.
Which muscles are primarily worked?
Chest, triceps, and front shoulders. Core muscles are also engaged.
Are there advanced variations?
Yes!
Weighted Dips and one-arm Push-ups are advanced options I’ve explored.
How can I track progress?
Note the number of reps, improvements in form, and how you feel during workouts.
How can I modify exercises if I have joint issues?
For knee issues, try incline Push-ups. For shoulder issues, you might need to modify or avoid Dips.
Complementary exercises?
Absolutely. Include leg exercises like squats, back exercises like pull-ups, and core work like planks.
Improving endurance?
Consistency is key. Gradually increase reps and consider circuit training.
Frequency for improvements?
I aim for 2-3 times per week, but listen to your body.
Breathing pattern?
Inhale as you lower, exhale as you push up.

