Dips have been around since folks started lifting heavy things for fun.
This natural movement uses your own body weight to hit the triceps, chest, and front shoulders.
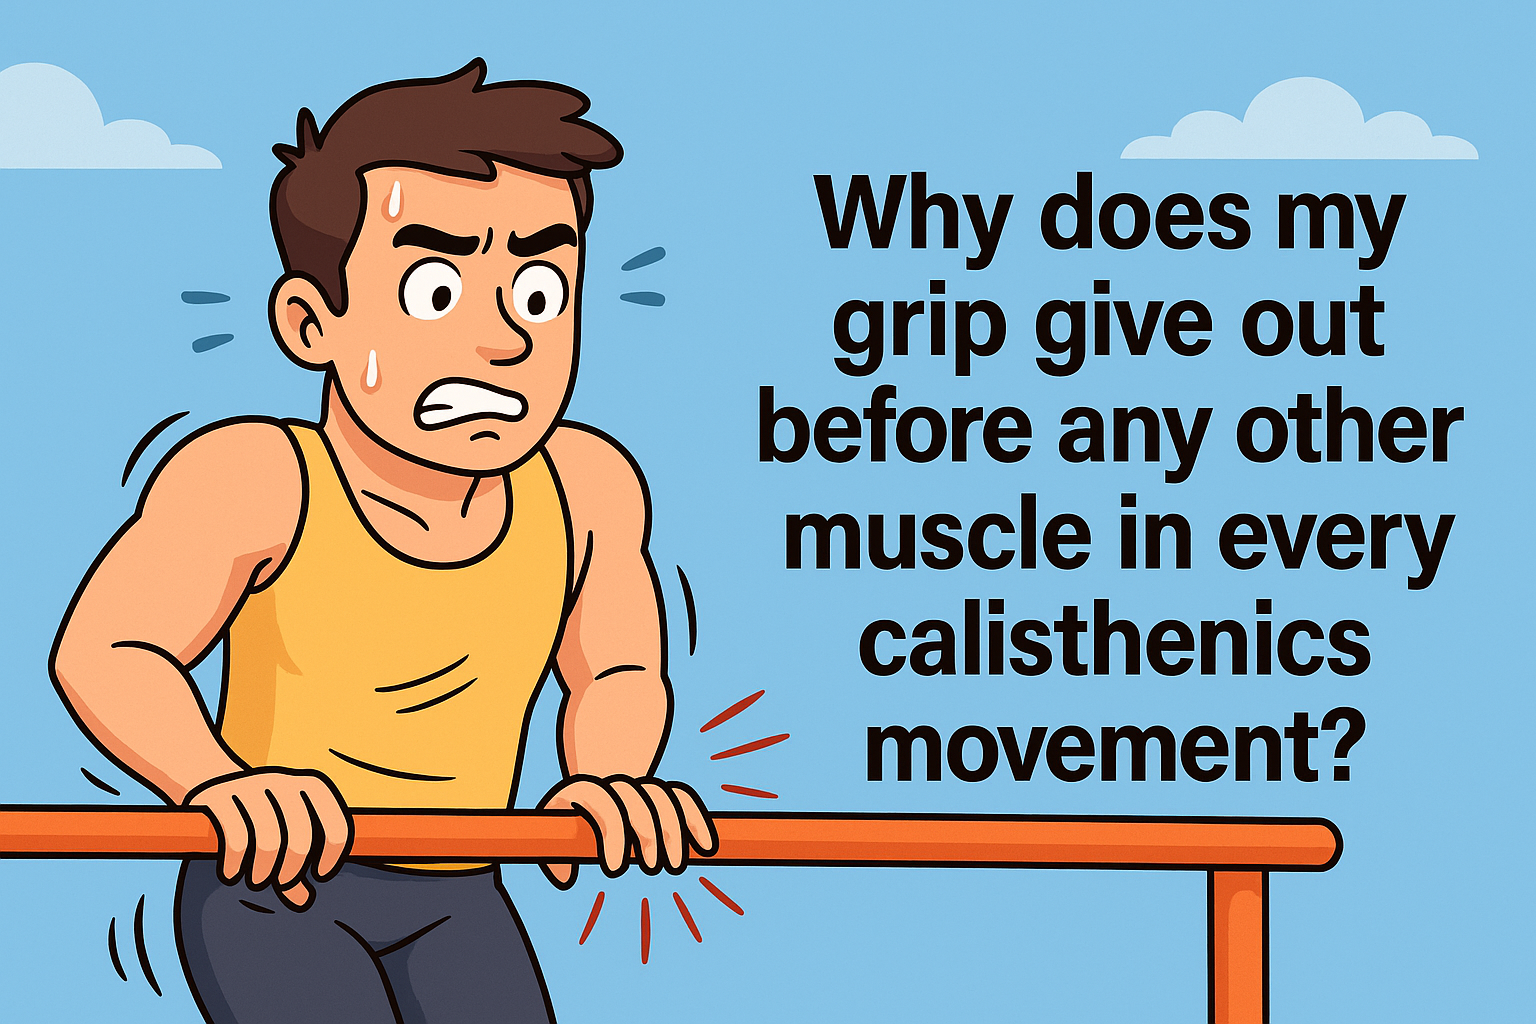
I remember the first time I tried dips—it looked so simple, but halfway through, my arms felt like jelly.
That’s when I realized dips are no joke.
Over time, dips have evolved from gymnastic moves to military training staples, and now they’re one of the most respected (and sometimes feared) exercises in the gym.
But what makes dips so special, and why are they so effective for building muscle mass?
The secret lies in their complexity.
What seems like a straightforward up-and-down motion actually recruits multiple muscles, demands serious body control, and challenges your strength and endurance in ways you might not expect.
I underestimated them until I made dips a regular part of my routine and felt the difference.
Executing dips properly is almost an art form.
It’s not just about technique—it’s about understanding your body and knowing how far you can push it.
I’ve noticed that the more I focus on my form, the better my results and the less sore I feel afterward.
Then there’s the big question: How low should you go?
What’s the sweet spot to maximize each rep without risking shoulder injuries?
For a while, I thought the deeper, the better, but I quickly learned there’s a safe range that works best.
In the next sections, we’ll tackle these questions and clear up any confusion.
Whether you’re new to dips or looking to perfect them, this guide will help you get the most out of this powerhouse exercise while keeping you safe and injury-free.
The Science of Dips: Anatomy and Physiology of the Movement

Dips are a compound exercise, meaning they work multiple muscle groups at once.
The main players are the triceps, chest (pectoralis major), and front shoulders (anterior deltoids).
But what surprised me when I first started was how much my other muscles—like the serratus anterior and core—had to jump in to keep me stable.
As you lower into a dip, your elbows bend, engaging your triceps.
At the same time, your shoulders extend, firing up your chest and shoulder muscles.
Meanwhile, your core and serratus anterior are working hard to keep your body aligned and steady.
This complex combo makes dips incredibly effective for building muscle mass.
But it also raises an important question: How deep should you go when performing dips?
There’s no one-size-fits-all answer.
The ideal depth depends on your flexibility, strength, body structure, and training goals.
Generally, aim to lower yourself until your elbows are level with or slightly below your shoulders.
This depth optimizes muscle engagement and keeps your shoulders safe from excessive strain.
While going deeper might seem like a good idea, it’s a fine line.
Going too low increases the range of motion but can also put unnecessary stress on your shoulders, leading to potential injury.
I’ve seen it happen, and trust me, you don’t want to go there.
So when doing dips, it’s not about how low you can go but finding the right balance between effective muscle engagement and protecting your joints.
A well-executed dip isn’t just about showing off strength—it’s about understanding your body’s limits and respecting them to train safely and efficiently.
By mastering the depth and technique, you’ll not only maximize your gains but also keep your body healthy and injury-free.
Debunking Common Myths About Dips
The fitness world is full of myths, especially about exercises like dips.
I’ve heard them all, and honestly, I used to believe some myself.
Let’s bust some of the most common misconceptions so you can get the most out of your training.
MYTH 1: Dips are dangerous for the shoulders
I’ve heard this one so many times.
While there’s a kernel of truth—dips can stress your shoulders if done improperly—it’s not the whole story.
With proper form and the right range of motion, dips are safe and super effective.
It’s all about knowing and respecting your body’s limits.
MYTH 2: The deeper you go, the more muscles you work
I used to think this too, believing that going lower meant more gains.
But I soon realized that going too deep just puts extra stress on the shoulders without much benefit.
Controlled depth is where it’s at.
It’s about balancing range of motion and safety, not seeing how low you can go.
MYTH 3: Dips are only for the triceps
I used to see dips as just another triceps exercise.
But once I honed my form, I noticed how much my chest, shoulders, and even core were getting in on the action.
Dips are more than a triceps burner—they’re an upper-body powerhouse.
Clearing up these myths helped me get so much more out of dips.
When you know what you’re doing, dips can elevate your training to a whole new level.
A well-executed dip can be a game-changer in your strength journey.
Dips and Muscle Growth: An Inseparable Connection
Dips are hands down one of the most effective bodyweight exercises for building muscle.
What makes them so powerful is how they hit multiple muscle groups at once, giving you a full upper-body workout in a single move.
But the real magic behind dips is the combo of intensity and range of motion.
When you drop into a dip, it’s not just one muscle doing the work.
Your chest, triceps, shoulders, and core all team up to lift and lower your body.
This collective effort creates serious muscle engagement, which is the foundation for growth.
I’ve noticed that after a solid set of dips, my muscles burn in a way that other exercises just can’t match.
Another key factor is the range of motion.
Compared to many other upper-body moves, dips give you a greater stretch, activating more muscle fibers.
That extra range really helps maximize muscle stimulation, leading to better gains over time.
For me, dips have been a total game-changer in building upper-body strength and size.
They might look simple, but don’t underestimate the power of this classic exercise.
Executing a Dip Correctly
Getting the technique right during dips can be the difference between an average workout and truly maximizing your potential.
Here’s how to nail each rep:
Hand Placement: Start by placing your hands on parallel bars, aligned with your shoulders.
This is your foundation, so it’s crucial to keep everything balanced from the start.
Initiating the Movement: Begin by bending your elbows and lowering your body.
Keep your chest up and back straight.
Trust me, it’s easy to let your body lean forward, but that puts unnecessary pressure on your shoulders.
Stay upright and controlled.
Dip Depth: Aim to lower yourself until your elbows are level with your shoulders or just a bit below (around a 90-degree bend).
But don’t go too far—going too low can overstress your shoulders, and that’s a quick way to get hurt.
I’ve learned that sometimes less is more when it comes to protecting those joints.
Ascending: After hitting the right depth, push yourself back up using your triceps, chest, and shoulders.
Rise until your arms are almost fully extended, but don’t lock out your elbows.
Keeping them slightly bent maintains tension on the muscles.
Repeat: Continue your reps, focusing on proper form from start to finish.
It’s easy to let technique slip as you get tired, but staying disciplined will give you better results and help prevent injury.
Breathing: Don’t forget to breathe.
Inhale as you lower yourself, and exhale as you push back up.
This rhythm helps you stay controlled and focused throughout the movement.
Consequences of Incorrect Dip Execution
Messing up your dip form can lead to a range of issues, from mild discomfort to serious injuries.
Here’s what can go wrong:
Shoulder Injuries: Going too deep or flaring your elbows can put excessive pressure on your shoulders.
This can lead to strains, tears, or even dislocations.
Trust me, shoulder injuries are no fun.
Wrist Problems: Incorrect hand placement or putting too much weight on your wrists can cause pain or discomfort.
Make sure your wrists are aligned and not overextended.
Limited Muscle Growth: Poor form not only increases injury risk but also limits your muscle gains.
If you’re not performing the exercise properly, you won’t effectively stimulate your muscles.
How to Position Your Legs During Dips
Leg positioning during dips might seem trivial, but it plays a role in your stability and form.
Here’s how to do it right:
Parallel Bar Dips: When you’re on parallel bars, your legs are hanging.
Keep your knees slightly bent and cross your feet behind you.
This helps balance your body and keeps your center of gravity stable.
I’ve found this position feels most natural and keeps me steady.
Bench Dips: If you’re doing dips on a bench, keep your feet flat on the ground with your knees bent at about 90 degrees.
Your legs provide minimal support—most of your weight should be on your arms.
Just avoid pushing off with your legs; let your upper body do the work.
Assisted Dips: Using an assisted dip machine?
Your knees will rest on a platform that supports some of your weight.
Keep your legs bent throughout the movement.
This setup helps you build strength until you’re ready for unassisted dips.
How to Optimize Dips with Proper Torso Inclination
Getting the angle of your torso right during dips can make a huge difference in which muscles you’re targeting and keeping your shoulders safe.
Here’s the lowdown:
Triceps-Focused Dips: To zero in on your triceps, keep your torso as upright as possible.
This position isolates the triceps more effectively.
But remember, don’t overdo it—avoid locking your elbows at the top and don’t go too low to keep your shoulders happy.
Chest-Focused Dips: Want to engage your chest more?
Lean your torso slightly forward.
This shifts the emphasis onto your chest muscles.
But be cautious—not too much lean, or you’ll strain your shoulders.
I’ve found that a slight forward angle hits the chest without compromising shoulder safety.
In both cases, keep your shoulders down and away from your ears throughout the movement.
This helps stabilize your shoulder joints and reduces injury risk.
If you have tight shoulders or limited flexibility, dips might feel uncomfortable.
In that case, work on shoulder mobility exercises before going all-in on dips.
Avoid Back Curvature
When performing dips, it’s crucial to keep your back straight and stable.
An exaggerated arch (lordosis) can put unnecessary stress on your lower back.
But keeping your back “straight” doesn’t mean rigid.
Maintain a neutral spine with the natural curves of your back gently intact.
Think of it like this: your back should feel strong but relaxed, not stiff.
I used to overcompensate by tensing up, but learning to maintain a natural spine position made a big difference in my form and comfort.
Look Straight Ahead
Keeping your head neutral and aligned with your spine is key during dips.
When your head is properly aligned, you reduce pressure on your neck and spine, avoiding potential strains.
Moving your head forward or backward can create tension and increase the risk of neck or back pain.
To maintain a neutral head position, imagine balancing a book on your head.
This visualization helps keep your gaze straight ahead—neither down nor up.
The Importance of Core Activation
Your core plays a fundamental role during dips.
Even though the focus is on your triceps and chest, the core is heavily involved in maintaining stability and control.
During dips, your core acts as a stabilizer, keeping your body upright and controlling movement.
Before you start, engage your abs.
Think about bracing as if someone might punch you in the gut (but hopefully they won’t).
As you perform dips, keep that core engaged.
This not only helps with control but also improves your overall posture.
If you struggle with stability during dips, incorporating core-strengthening exercises like planks can make a big difference.
The Role of the Latissimus Dorsi
While dips mainly target the triceps and chest, your back muscles, including the latissimus dorsi (lats), play a supportive role.
During dips, your lats act as stabilizers, helping control your body’s movement, especially on the way down.
They contribute to maintaining balance and proper form.
Strong lats can actually improve your dip performance.
If you notice weakness or imbalance, adding exercises like pull-ups or rows to your routine can strengthen your lats and enhance your dips.
The Role of the Deltoids in Dips
Your shoulder muscles, or deltoids, are definitely in the game during dips.
The front part of your shoulders (anterior deltoids) especially helps stabilize and control the movement.
If you lean forward during dips, your chest and front deltoids get more involved.
The back part of your shoulders (posterior deltoids) and muscles around your shoulder blades also chip in for stability and control.
This all adds up to a more balanced workout and better posture.
Don’t Drop, Control the Movement!
During dips, controlling the descent is crucial.
Don’t just drop down—lower yourself in a slow, controlled manner.
This not only effectively engages your muscles but also reduces the risk of shoulder and elbow injuries.
Imagine resisting gravity as you go down.
It’s not about speed; it’s about control.
Performing dips slowly and with intention maximizes muscle gains and keeps you safe.
You’ll see, keeping each rep controlled will push your strength to new levels.
Customizing Your Dip Execution
Everyone’s different—strength, flexibility, fitness level, and goals vary.
That means your ideal dip might look a bit different from someone else’s.
Here are some ways to tailor dips to you:
Dip Depth: As we’ve discussed, the right depth depends on your flexibility and shoulder health.
If you’re a beginner or have shoulder concerns, start with a shallower dip and gradually increase depth as you get stronger.
Repetition Range: The number of reps affects intensity and muscle impact.
If muscle growth is your goal, aim for a rep range that brings you close to muscle fatigue by the end of each set.
Tempo and Control: Playing with the speed of your dips can enhance muscle activation.
Try slowing down the lowering phase or pausing at the bottom to intensify engagement.
Added Resistance: Once bodyweight dips become easier, you can up the challenge with extra weight.
Use a weighted vest, dip belt with plates, or hold a dumbbell between your legs.
Adding resistance promotes further muscle growth and strength.
Dip Grips: Variations for Different Goals
Changing your grip during dips can shift the focus to different muscles.
Here’s how:
Neutral Grip: The standard grip—hands shoulder-width apart on parallel bars with palms facing each other.
This targets the triceps and chest evenly.
Close Grip: Placing your hands closer together emphasizes the triceps more.
It’s a subtle change but makes a noticeable difference.
Wide Grip: Setting your hands wider apart puts more emphasis on the chest muscles.
I like to mix this in when I want to give my chest extra attention.
Reverse Grip: Flipping your grip so palms face forward can engage muscles differently.
It’s a way to vary the exercise and challenge your muscles in new ways.
Beyond Dips: Integration with Other Exercises
Dips are versatile and pair well with other bodyweight moves for a balanced workout.
Here are some exercises that complement dips:
Pull-ups: These target your back and biceps.
Combining dips and pull-ups gives you a comprehensive upper-body session.
Squats: Don’t neglect the lower body.
Adding squats works your legs and creates a full-body routine.
Planks: Strengthening your core with planks improves stability, which helps during dips.
Push-ups: Alternating between dips and push-ups engages your muscles differently, promoting balanced growth.
Can Dips Replace Push-ups?
Dips and push-ups are both awesome bodyweight exercises, but they’re not exactly interchangeable.
Push-ups primarily hit the chest, front shoulders, and triceps, with some core involvement.
Dips focus more on the triceps but also engage the chest and shoulders.
Dips generally require more strength and may be more challenging.
Including both in your routine is the best approach since they complement each other and target muscles in slightly different ways.
Conclusion
So there you have it—a deep dive into the world of dips.
What seems like a simple exercise is actually packed with complexity and potential.
We’ve explored various techniques and how small tweaks in grip, elbow position, and body angle can change the game.
But remember, dips are just one piece of your training puzzle.
Each exercise has its own unique benefits, and together, they help you build a stronger, more balanced body.
Keep challenging yourself, try new things, and most importantly, pay attention to what your body needs.