There are moments when you’re convinced you’re doing everything right
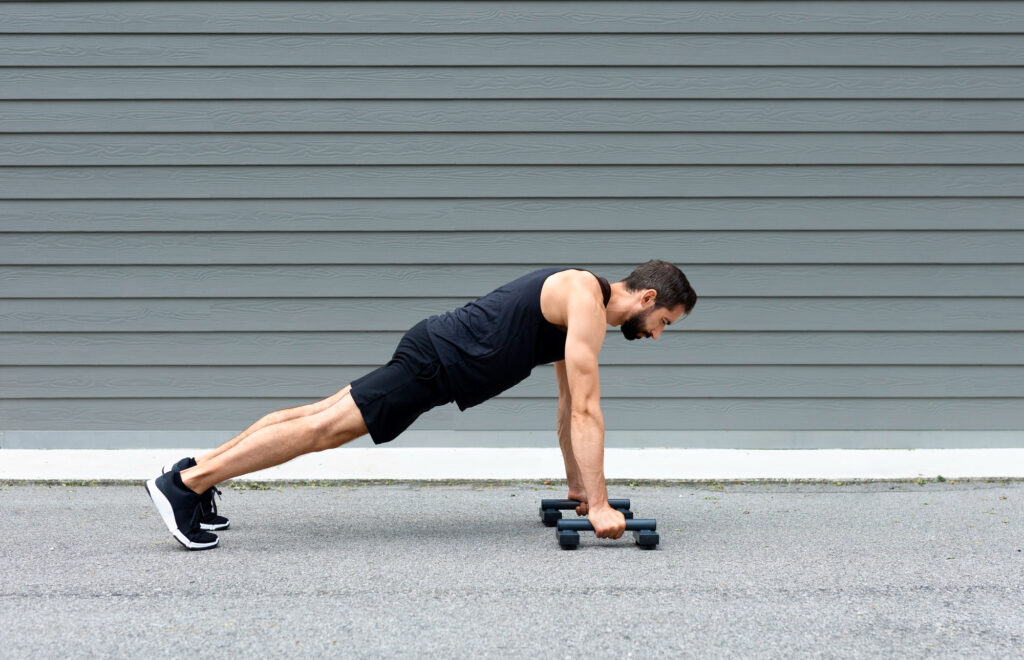
You’ve got the cool handles.
Not those two wobbly planks, but the tall, serious ones from an underground calisthenics gym.
Neutral grip, straight posture, wrists aligned like the sacred anatomy books say.
You go down slowly.
You go down well.
Chest close to the floor, full control.
And right there… something feels off.
The wrist starts getting fussy.
Not real pain, but not exactly a “clean” feeling either.
A slight misalignment, a suspicious tension.
And you start thinking:
“Wasn’t this supposed to be the safest grip?”
That’s when the serious questions begin.
Because sometimes it’s not the tool that fails you.
It’s how your body reacts when you force it to follow rigid rules.
The trap of the neutral grip: on paper it’s perfect, in reality… it depends
We’ve all fallen for it.
The neutral grip seems like the Holy Grail of biomechanics.
The hands aren’t bent.
No stress on the carpal bones.
The force flows straight through the forearm.
Theoretically, it’s the most natural and protective position for the wrists.
But here’s the issue:
Neutral doesn’t mean adaptable.
When you grab fixed handles, you lock the movement.
The hands can’t rotate.
The shoulders can’t adjust the angle.
The elbows are forced into a rigid, pre-set line.
It’s like trying to pivot with your shoes bolted down.
The body wants to flow.
It wants to make micro-adjustments.
Especially when you go deep and the joints enter more sensitive ranges.
If it can’t… it compensates.
And the first joint to pay the price?
The poor wrist.
When the shoulders are locked, the wrists rebel
In a normal vertical push, the body distributes the load between wrists, elbows, shoulders, and scapulae.
Everyone works together.
Like a well-trained team.
But when the shoulders are locked (for example on tall fixed handles), or just not mobile enough, the body has to improvise.
And guess who steps up?
Exactly.
The wrist.
The load no longer goes through the scapulohumeral structure.
It falls onto a joint designed for fine rotations, not for “saving the push-up.”
Result?
- Sudden radial or ulnar deviations
- Micro-twisting trauma
- That classic post-workout line:
“Why does my wrist hurt even though I used a neutral grip?”
Going deep doesn’t always mean training better
I know.
You want to show you’re “beyond standard push-ups.”
That your chest deserves the stimulation of a full range.
And you’re right — but only if everything else can handle that range.
Because the deeper you go, the more you involve delicate structures:
- The shoulder doesn’t just flex: it rotates, adapts, changes angle
- The scapulae must move freely
- The elbows must follow a non-linear path
And if the handles are fixed?
Goodbye freedom.
Instead of adapting the tool to your body, you adapt your body to the tool.
It’s like trying to stretch inside a medieval suit of armor.
When the neutral grip really works (and when it’s an ergonomic illusion)
I’m not here to demonize handles.
In some contexts, they’re great.
For example:
- If you don’t go too deep
- If your shoulders are mobile
- If your scapula moves like a Swiss watch
- If you use low handles with a slightly adjustable angle
But all it takes is one dysfunction (tight scapulae, locked chest, anterior pelvic tilt)
…and that beautiful “neutral” setup becomes a wrist trap.
Remember:
It’s not the grip that’s neutral.
It’s your body that has to be.
How I solved it (without throwing the handles out the window)
I’ve been through it too.
At first, I thought it was just weakness.
Then I thought it was “bad posture.”
Then I saw a physical therapist and…
Spoiler: it was the handles.
Or rather: how I was using them wrong.
Here’s what I changed:
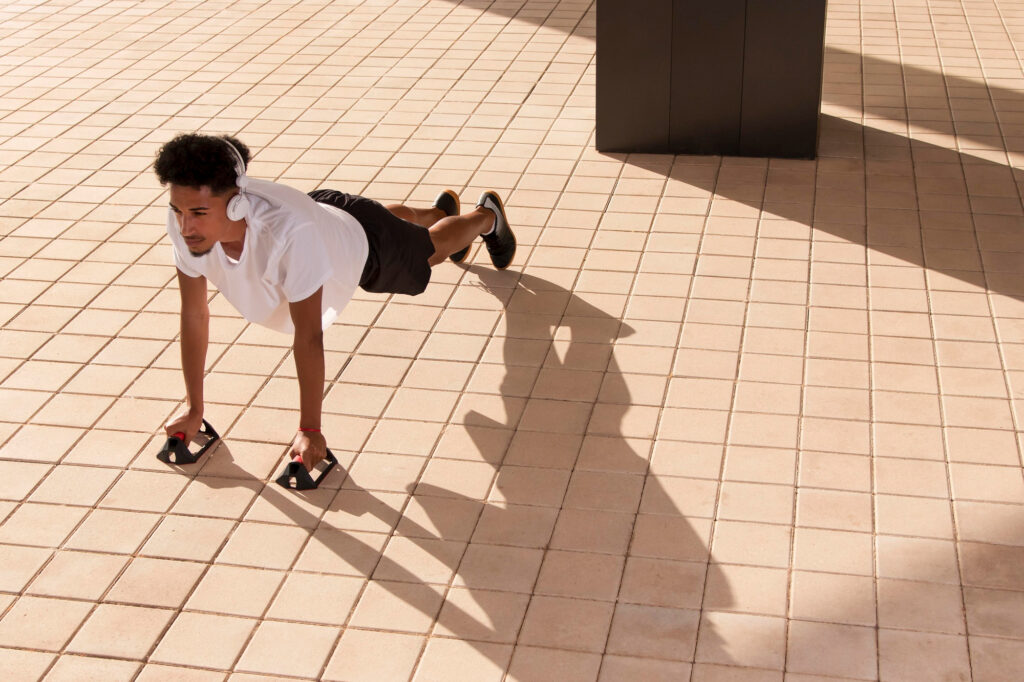
- I tried rotating parallettes: game-changer. They follow your movement instead of trapping you.
- I switched to push-ups on rings: instability, yes, but full joint freedom.
- I reduced range at first: worked on mobility before going deeper.
- More serious wrist warm-up: two circles aren’t enough. You need real prep.
- I did scapular mobility work: if scapulae are blocked, everything else collapses.
And most of all…
I learned to listen to my body.
If I started “forcing” the line on the way down… I stopped.
Even if it meant skipping that perfect Instagram shot.
Is it worth strengthening the wrists? Yes… but it’s not a magic wand
Let’s be clear:
If deep push-ups mess up your wrists, it doesn’t automatically mean your wrists are weak.
The problem is that your body isn’t always ready to handle certain angles and loads in those positions.
But if you want to avoid recurring pain, inflammation, and loss of control…
some wrist-specific work is totally worth it.
Nothing extreme.
Just simple exercises, done well and consistently.
Here are the most effective ones (tested on my own skin):
- Walk-out on fists and return to palm support
Start on your knees.
Fists on the floor, walk forward on open hands (push-up plank), then back on fists.
Builds transition strength and control under instability. - Wrist extensions and flexions with light dumbbells (1–3 kg)
Sit down, rest your forearm on your thigh or a table, wrist hanging off.
Move the weight slowly up and down using only your wrist.
Do both extension and flexion. Slow sets. High quality. - Wrist push-ups on a soft mat (simplified version)
Hands turned with fingers facing backward.
On your knees, lower down slowly to load the back of your hand.
Then come back up.
Don’t force it. A few degrees are enough.
Stimulates safe extension. - Light resistance band, radial and ulnar deviation
Attach a band to a low base, hold it with your arm straight in front of you.
Move your wrist inward (ulna) or outward (radius), slowly.
All under control. Stop if you feel snapping or discomfort.
The best part?
You can use these exercises as pre-workout activation.
Two or three light sets, without going to failure.
Or on recovery days, as part of a mobility routine.
Training the wrists doesn’t mean bulking them up,
it means helping them survive everything you throw on top of them.
And if you train often on parallettes, handles, or in calisthenics…
it’s cheap insurance that saves you from a lot of trouble.
Watch your grip: width and position matter as much as the angle
We often obsess over the neutral angle of handles but ignore grip width.
If your grip is too wide, your shoulders go into forced abduction.
Too narrow?
Elbows flare out and you stress the triceps and… guess what?
Again, the wrists.
The ideal width isn’t the same for everyone.
It depends on your structure:
- Wider clavicles require a wider grip
- Shorter humeri prefer a narrower grip
- Limited thoracic mobility? Better a moderate grip with a slight inward angle
Bottom line: test different widths and see where you feel a stable push without weird tension in the wrists or shoulders.
You don’t always need a new tool.
Sometimes, just moving your grip 2 cm makes all the difference.
Do handles change which muscles are involved? Depends on the grip (and how deep you go)
People often think handles are just to “save the wrists.”
But in reality…
they also change movement biomechanics and muscle activation.
When you do classic push-ups with flat hands on the floor:
- The pec major works more horizontally
- The triceps engage mostly at the final lockout
- The front deltoid helps at the start and in stability
- Scapulae move more freely, but deep extension is limited by the floor
Now… with tall handles:
- You increase the range of motion → pecs stretch more
- The triceps stay active longer due to a deeper push phase
- The front delts take on more load, especially at the bottom
- The core has to work harder to keep your body aligned and prevent hip sag
But here’s the key: muscle activation really changes based on hand position.
Here’s a quick guide to common push-up grips and which muscles take over:
🔹 Neutral grip (palms facing each other, like with parallettes)
- More natural for shoulders and elbows (if done right)
- Emphasizes triceps and sternocostal pec fibers
- Slightly reduces front deltoid work compared to pronated grip
🔹 Pronated grip (flat hands, fingers forward)
- Standard floor push-up
- Great balance between pecs and triceps
- More front delt involvement, slight serratus activation
🔹 Outward-rotated grip (fingers slightly angled out)
- Encourages thoracic opening
- Emphasizes clavicular pec fibers
- More shoulder stress if mobility is limited
🔹 Close grip (hands together, diamond or parallel)
- Maximum triceps activation
- Less outer pec involvement
- Core works overtime to keep balance
🔹 Wide grip (wider than shoulders)
- More horizontal push
- Maximum load on outer pec and front deltoid
- More elbow flare = potentially more stress
The surface factor: mat, floor, or hard rubber changes everything
Almost nobody thinks about this, but the surface you use under your handles alters the forces on your wrists.
If you place your handles on:
- A soft mat: they may tilt slightly under load, destabilizing you
- A slippery surface: you tense up to avoid sliding, and the wrist stiffens
- A sloped floor: even a few degrees changes joint distribution
The solution?
- Use a stable, perfectly flat surface
- If using mats, make sure they’re thin and high-density
- Avoid handles placed on soft tatami or cushioned carpets: they feel cozy but “steal” your support
An unstable base amplifies every alignment error.
And the deeper you go, the worse it gets.
The rebound effect: why “bouncing” can make wrist pain worse
When doing deep push-ups with tall handles, it’s very common to use chest and tricep elasticity to “bounce” out of the bottom.
That little rebound gives you a feeling of explosive strength.
The problem?
That rebound doesn’t always start from the chest.
Often it’s a passive tension reflex coming from wrists that are already maximally compressed.
You’re not pushing — you’re “spring-loading” your joints.
And if you repeat that every rep?
The wrist no longer works in stable isometry.
It works in compression and constant micro-twisting.
Perfect recipe for inflammation.
So train to control the ascent without rebound.
Start with a slow, deliberate contraction.
Learn to tell the difference between a muscular push… and a joint bailout.
The thumb test: a little trick to check if you’re loading wrong
Want a practical trick to check if your wrist is off-axis, even when everything looks fine?
Watch your thumb during the descent.
If the thumb starts to lift or “slide back” compared to the fingers…
…you’re probably loading too much toward the pinky.
Classic sign of ulnar deviation.
And the wrist is compensating for an imbalanced move.
Solution?
During descent, actively press the thumb into the handle.
As if you were “squeezing” it slightly.
This tiny move promotes a more symmetrical force distribution
and reduces micro-joint shifts that often go unnoticed… until it’s too late.
RELATED:》》》 Why Do My Wrists Hurt in Downward Dog but Feel Fine During Push-Ups?
Conclusion
Handles aren’t the enemy.
Depth isn’t the problem.
The real culprit is the illusion of control.
We think the neutral grip is a biomechanical shortcut.
In reality, it’s a tool that only works if the rest of the body is in sync.
If the shoulders aren’t mobile, if the elbows don’t know where to go,
if the scapulae move like glued sticks…
…the wrists become the victims.
So here’s the simple message:
Don’t play the deep push-up hero if you don’t have the mobility to support it.
Focus on movement quality.
Give your body room to breathe.
Try different surfaces, different angles, and don’t get stuck on textbook “rules.”
Because your body isn’t a textbook.
It’s an ecosystem.
And your wrists will thank you.