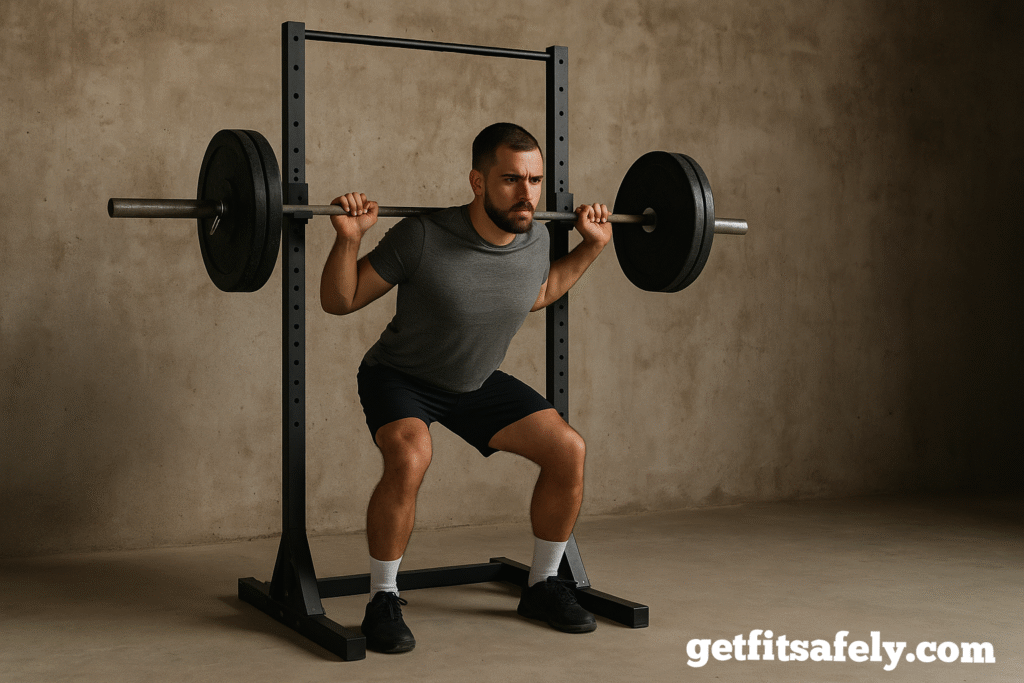
ÒThere it was: a squat rack so cheap I had to blink twice.
Part of me thought, “What a steal!”
Another part whispered, “Yeah… but is this thing going to fold like a lawn chair the second I load it?”
That’s the tug of war every lifter feels when building a home gym.
Cheap racks look tempting.
But your spine, your barbell, and your progress are on the line.
The psychology of buying cheap gear
When you’re scrolling through Amazon or standing in a sporting goods store, a $150 rack feels like a win.
Why spend $600–$1,000 when this one looks the same?
It’s the same thought process as buying store-brand cereal—same look, half the price.
But here’s the catch.
Squat racks aren’t cereal.
They’re the difference between safe progress and an emergency room story you’ll be telling forever.
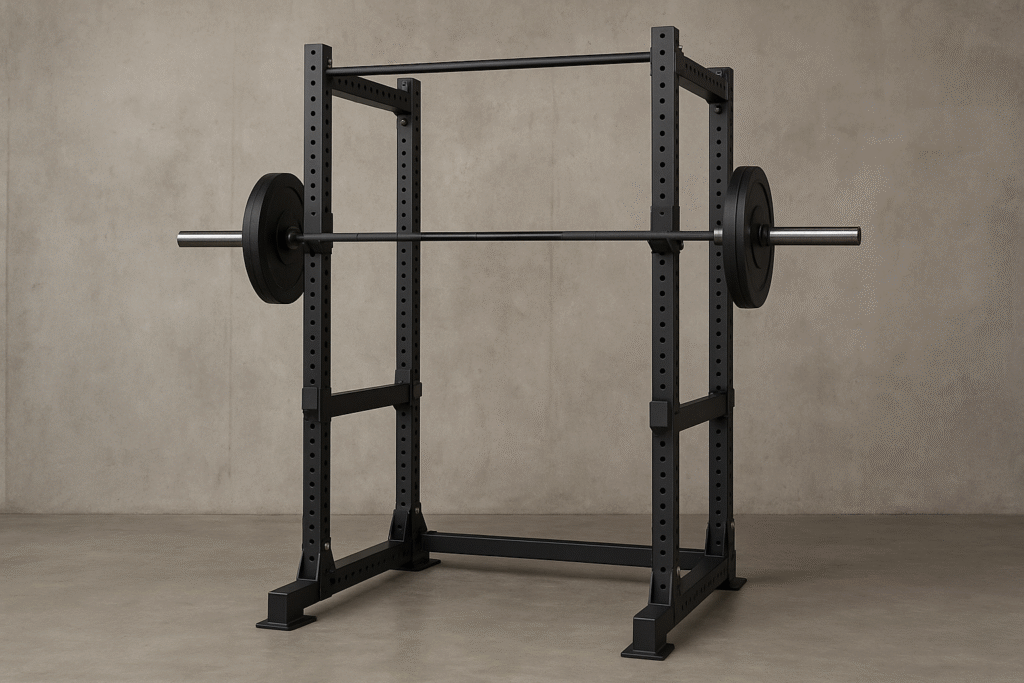
Build quality matters more than you think
Cheap racks aren’t automatically death traps.
Some are surprisingly solid if you’re sticking to beginner numbers.
But the big question is consistency.
Premium racks are built like pickup trucks—thick steel, heavy frames, joints that don’t move.
Budget racks?
They’re more like folding camping chairs.
They’ll hold for a while, but the moment you push past comfort zone territory, the weak points scream.
Steel gauge, welds, and base size all decide whether you’re training or just gambling.
Safety features you don’t want to skip
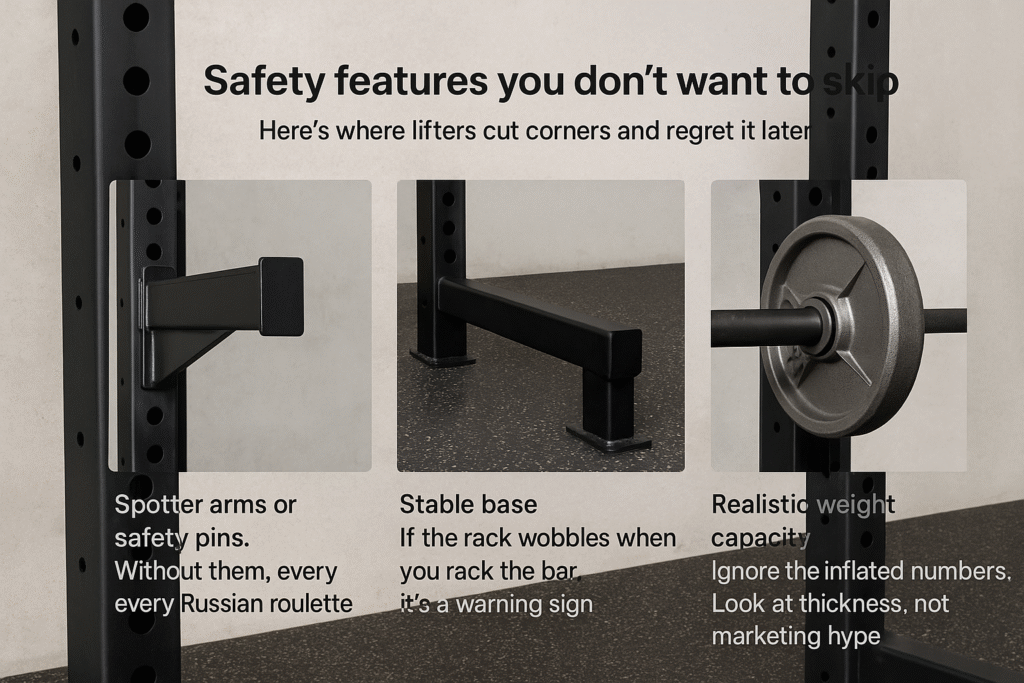
Here’s where lifters cut corners and regret it later.
- Spotter arms or safety pins. Without them, every rep is Russian roulette.
- Stable base. If the rack wobbles when you rack the bar, it’s a warning sign.
- Realistic weight capacity. Ignore the inflated numbers. Look at thickness, not marketing hype.
At some point, you’re going to miss a rep.
That’s when your rack needs to step in and save you.
Real talk: do you need a tank of a rack?
Not everyone needs a commercial-grade cage.
If you’re squatting under 225, training controlled, and bolting the rack down, a budget option might actually work fine.
But if you’re chasing 315, 405, or anything past that, a flimsy frame is like driving cross-country on bald tires.
You might make it, but why risk it when your body is literally the cargo?
The hidden cost of going cheap
Here’s what most people don’t see coming.
You save a few hundred upfront.
But you outgrow the rack.
Now you’re back to buying a sturdier one later.
You’ve just paid twice.
Worse?
You spent months training with doubt in the back of your mind.
And doubt is the enemy of progress.
How I made my peace with it
I trained on a sketchy rack once.
It rattled like a shopping cart every time I re-racked.
The spotter arms bent under just 225.
Every squat felt like a trust fall with a drunk friend.
When I upgraded, the difference was night and day.
Suddenly, I wasn’t babysitting the rack.
I was just lifting.
That freedom—to focus fully on the bar, the breath, the grind—that’s worth more than the price tag.
Squat rack multi function on Amazon
What lifters usually regret later
Talk to anyone who started with a bargain rack.
They’ll all tell you the same thing:
“I wish I upgraded sooner.”
Not always because the rack snapped (though sometimes it does).
But because they wasted months training with a ceiling they didn’t even notice.
Your rack should grow with you, not hold you back.
When cheap actually makes sense
Budget racks aren’t evil.
They’re perfect for students in dorms.
For people who move often.
For casual lifters sticking to light weights and fitness basics.
In those cases, buying cheap is smart.
But once lifting becomes your passion, and the bar gets heavier, cheap stops being practical and starts being dangerous.
Field test & behind the scenes: how I stress-test racks
The backyard stress test
Forget marketing specs.
Here’s how I check a rack before I trust it:
- Start with just the bar + light plates. Rack and unrack, then shake gently. Hear any squeaks? Feel movement? That’s a red flag.
- Add weight one plate at a time. If the rack groans before you hit working weight, you’ve got a problem.
- Test stability by pulling slightly sideways. If the rack twists, it’s not built for the long haul.
These small tests reveal more than any Amazon review.
A real story that stuck with me
A buddy once bought a rack on clearance.
Looked fine at first.
At 120 kg, it made a high-pitched squeal like a rusty gate.
We stopped right there.
Closer inspection showed hairline cracks in the welds.
That was all the proof I needed: racks tell the truth under pressure.
Not in glossy product photos.
Quick wins you can try today
If you’re shopping, crank up the volume on product videos—squeaks under load are warning sirens.
If you already own a rack, throw some plates on the base to anchor it.
And once every couple of months, check bolts and welds. Vibration from training loosens everything over time.
A few minutes of checking now can save months of regret later.
RELATED:》》》Are Trap Bar Deadlifts Safer Than Straight Bar Deadlifts for Avoiding Injuries?
Final Thoughts
So, are cheap squat racks safe for heavy lifting?
Safe enough for light loads and beginners.
But not a long-term solution if you dream of chasing big numbers.
Your squat rack is the foundation of your home gym.
It’s not the spot to cut corners.
Invest in something that will grow with you.
Because when your legs are shaking and the bar is bending, the last thought you want is, “Can this rack even handle it?”
Buy once.
Buy right.
And let your strength—not your rack—be the thing that gets tested.
FAQs
Can I make a cheap squat rack safer?
Yes. Bolting it to the ground, adding plate storage at the base for stability, and checking bolts regularly can make even a budget rack more secure.
What’s the difference between a squat stand and a full power rack?
A squat stand is basically two uprights—portable but less safe. A power rack surrounds you, offers multiple safety pins, and handles way more load with peace of mind.
Is second-hand better than buying new and cheap?
Often, yes. A used commercial rack from a gym can be stronger and longer-lasting than a brand-new budget rack sold online. Steel ages well if not abused.
Do accessories matter for rack safety?
Absolutely. J-hooks with protective lining, strong spotter arms, and proper anchoring kits are not just extras—they add years of safe use to any rack.
How can I test a rack before trusting it with heavy weight?
Do a gradual load test. Start light, shake the uprights, increase weight plate by plate, and listen for creaks or see if the rack shifts. If it moves under 200 lbs, it’s not worth it.