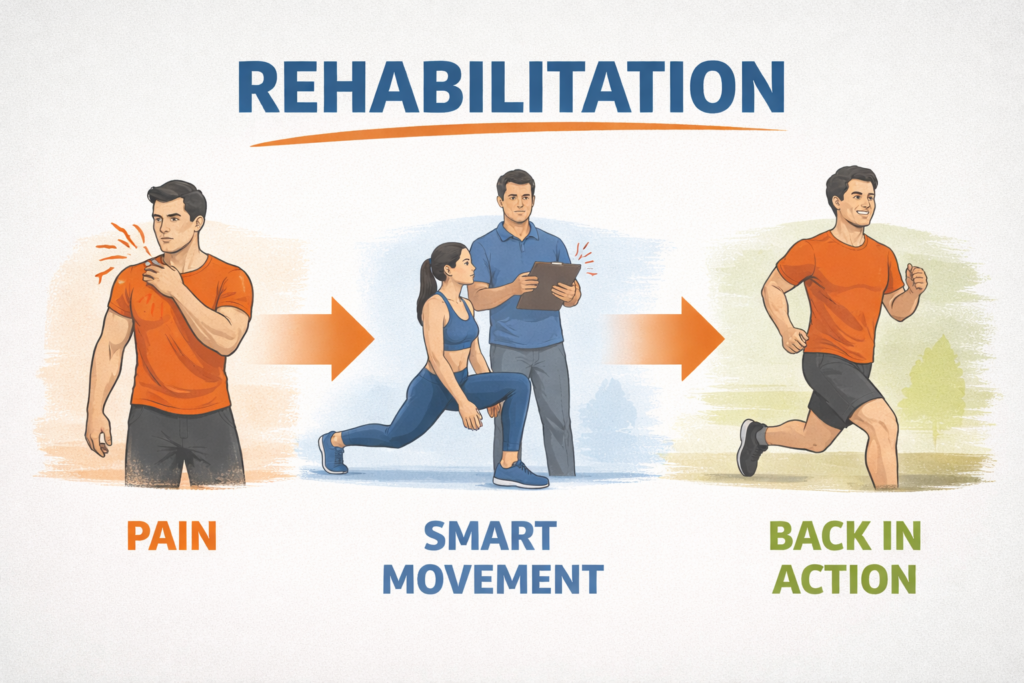
Rehab has a funny way of humbling people who usually feel confident in the gym.
One day you’re training on autopilot.
The next day you’re paying attention to every small detail, changing one thing at a time, and trying to figure out what actually helps instead of just guessing.
That was me for four weeks.
One question kept coming up during warm-ups and rehab sessions:
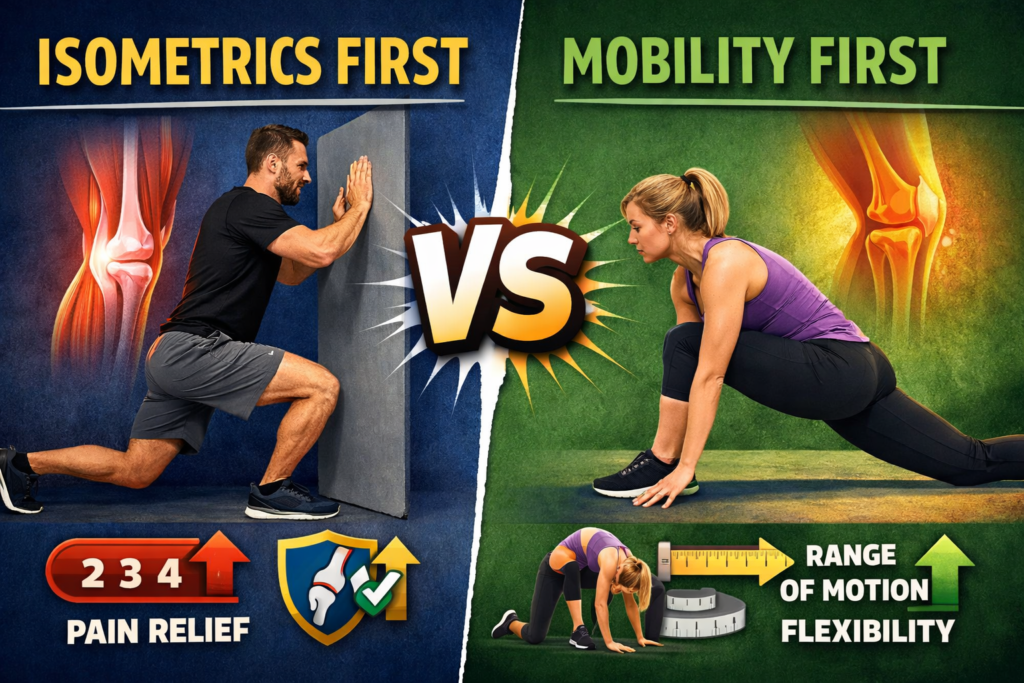
should isometrics come before mobility, or after mobility?
I kept hearing both answers.
And I kept hearing explanations that sounded smart, but weren’t very useful when something hurt and time was limited.
So I started paying closer attention to what actually changed from session to session,
noticing what made things feel better, what didn’t, and putting everything together in a way that someone with zero rehab background can actually follow.
|
A Simple 20-Minute Rehab Template |
|||
|---|---|---|---|
| Step | What to do | Time | Why |
| 1 | Easy warm-up | 3–5 min | Get blood moving. Nothing aggressive. |
| 2 | Test the movement | 2–3 reps | See how it feels today. |
| 3 | Pick the order | — | More pain = A. More stiffness = B. |
| 4A | A: Isometrics | 3–4 × 20–40s | Calms the joint and builds control. |
| 5A | A: Mobility | 8–10 min | Move slowly through the range. |
| 6A | A: Easy movement | 1–2 sets | Use the new range gently. |
| 4B | B: Mobility | 2 × 8–12 | Loosen the range first. |
| 5B | B: Holds | 15–30s | Stay relaxed near the edge. |
| 6B | B: Isometrics | 3–4 sets | Make the range feel stable. |
| 7 | Retest | 2–3 reps | Did it improve? |
| 8 | Write one note | 1 min | So you remember next time. |
Quick Definitions (So We Speak The Same Language)
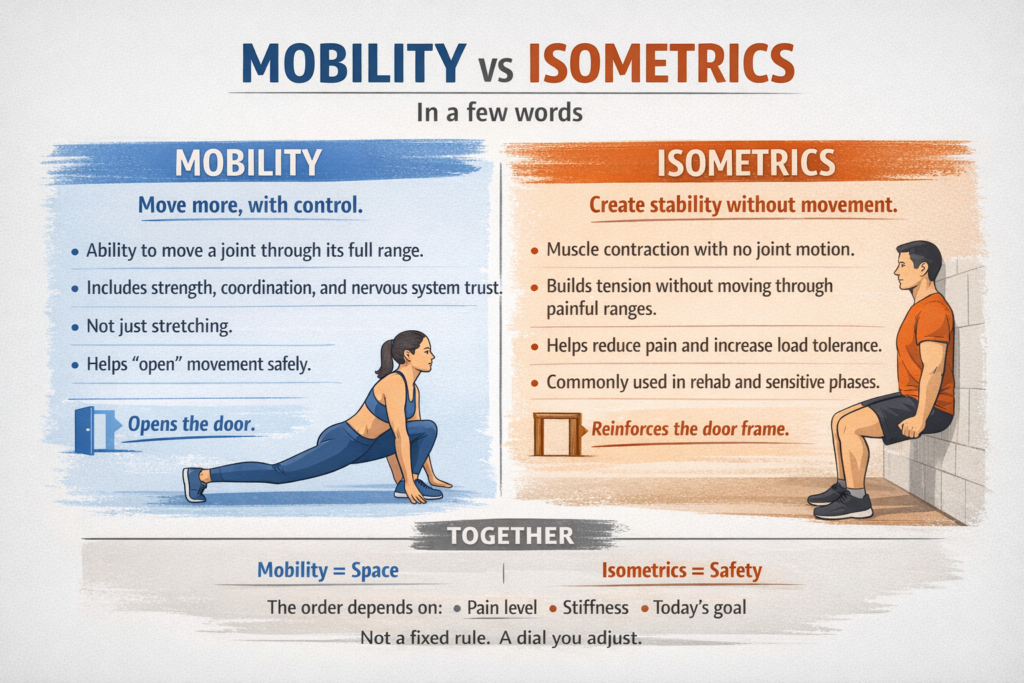
“Mobility” is not “stretching,” even though people use those words like they’re interchangeable.
Mobility is the ability to move a joint through a range of motion with control.
Stretching can be part of mobility, but mobility also includes strength, coordination, and the nervous system learning that a position is safe.
“Isometrics” are muscle contractions where the joint angle doesn’t change.
That means you produce tension without moving.
A classic example is pushing against an immovable object or holding a position with effort, like a wall sit.
In rehab, isometrics are often used because they can build tolerance and reduce pain without grinding through a painful motion.
Think of mobility as “opening the door.”
Think of isometrics as “installing the door frame so it stays open without wobbling.”
Both matter, but the order might change what you feel and what you can do right after.
Why I Even Cared About the Order
My problem wasn’t the kind of injury that makes you see stars and call an ambulance.
It was the annoying rehab kind.
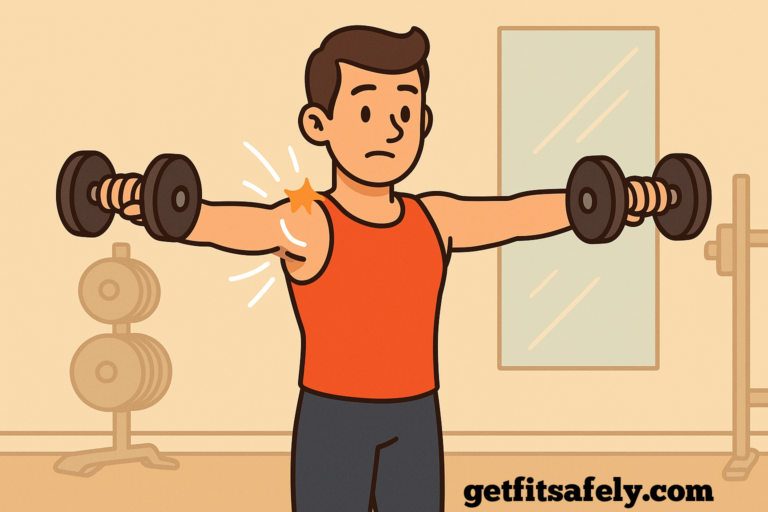
The kind where daily life mostly works, training mostly works, but one pattern keeps poking the bruise.
In my case, it was a cranky joint that got loud during specific ranges, especially early in a session.
Mobility work helped, but sometimes it felt like I was “borrowing” range of motion for a few minutes.
Isometrics helped too, but occasionally they made me feel stiff right after, like I tightened the lid instead of loosening it.
So the practical question became simple.
If I only have 15–25 minutes, what order gives me the best mix of lower pain, better range, and more stable strength during the session?
Also, I wanted a method that didn’t require me to become a full-time physical therapist with a clipboard addiction.
The Rehab Problem I Tested (And How I Chose It)
I picked one primary movement pattern that reliably reproduced symptoms.
That matters because rehab experiments fail when the test is vague.
“Feels better” is not a measurement.
“It hurts when I do this specific action at this specific depth” is a measurement you can track.
My chosen test had three qualities.
First, it was safe enough to repeat daily without flaring me up for 48 hours.
Second, it was specific enough that I could rate it consistently.
Third, it was relevant to training, meaning improvement would actually matter outside rehab.
If you’re doing your own version of this, choose a test that is boringly repeatable.
A controlled squat to a box, a shoulder raise to a marked height, a hip hinge to a target, a step-down from a low step, or a gentle spinal motion you can standardize.
Avoid tests that are chaotic, like “a heavy lift with adrenaline,” because adrenaline is the worst lab assistant.
My Setup: What Stayed Constant (So the Experiment Wasn’t Useless)
The big rule was that I changed only the order of two things.
Everything else stayed as consistent as real life allowed.
Training schedule stayed the same.
Sleep wasn’t perfect, but I recorded rough sleep quality so I could see if bad nights explained bad days.
Daily steps were similar week to week.
Caffeine stayed in the same range, because caffeine can change pain perception and performance.
The rehab exercises were the same in both conditions.
Only the sequence changed: isometrics before mobility versus mobility before isometrics.
I also kept intensity in a sensible rehab zone.
No “let’s max out an isometric hold and prove toughness to a wall.”
Walls always win.
The Two Protocols (Exactly What I Did)
Both protocols took about 18–25 minutes depending on the day.
Both used the same ingredients: a short general warm-up, a mobility block, and an isometric block.
The only difference was the order of the last two blocks.
Here are the exact structures.
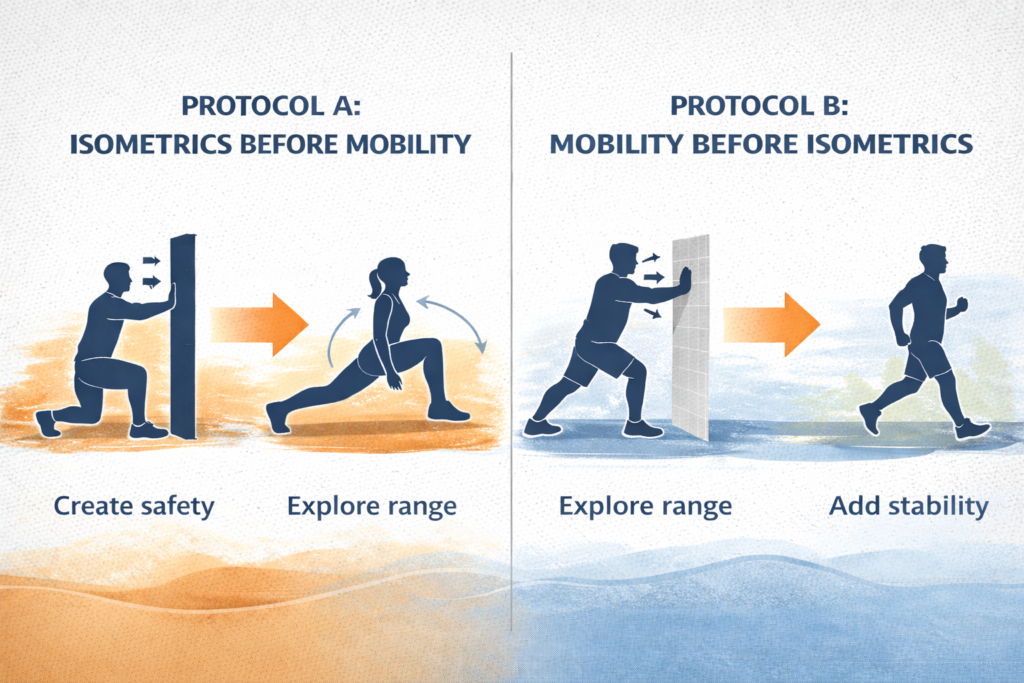
Protocol A: Isometrics Before Mobility (The “Stabilize Then Explore” Order)
A short general warm-up came first.
That was 3–5 minutes of easy movement to raise temperature.
Examples include brisk walking, gentle cycling, marching in place, or very light dynamic joint circles.
Then I did the isometric block.
Each isometric was held long enough to feel real effort, but not so long that shaking turned into panic.
After isometrics, I did mobility work focused on the same joint and range I was trying to improve.
The idea here is simple.
Create a “safe signal” with tension first, then ask the joint for more motion while the system is calmer.
It’s like tightening the screws in a wobbly chair before you sit in it and start leaning back.
Protocol B: Mobility Before Isometrics (The “Unlock Then Cement” Order)
The same short general warm-up came first.
Then I did mobility work while I was fresh and less guarded.
After mobility, I did the isometric block.
The idea here is also simple.
Open range first, then use isometrics to make that new range feel owned and stable.
It’s like expanding storage space on a hard drive, then immediately installing the operating system so the space isn’t just empty potential.
The Exact Isometrics I Used (With Clear Execution)
Because “do isometrics” is about as helpful as “do internet.”
I used two isometric styles.
One was a “push into something” style, called an overcoming isometric.
The other was a “hold a position” style, called a yielding isometric.
Both can be useful, and both can be done safely if you treat them like rehab, not a competition.
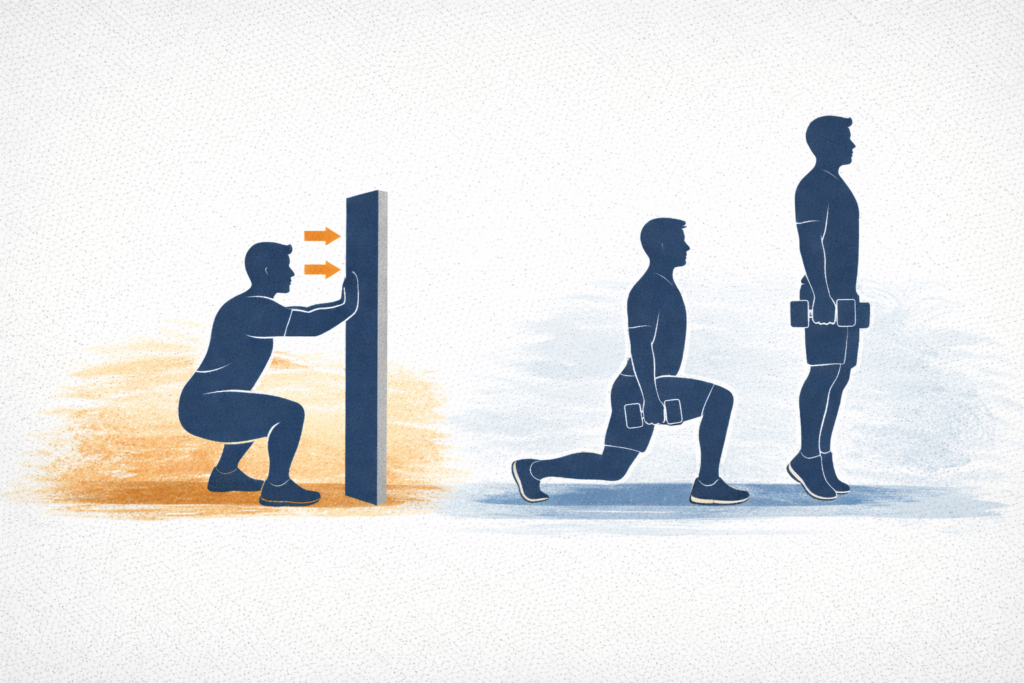
For the overcoming style, I pushed against an immovable resistance.
That could be a wall, a strap, a door frame, or a fixed object that won’t move.
For example, if the uncomfortable range showed up near the bottom of a squat, I set myself just above that depth and pushed forward into a wall as if trying to stand up, without actually moving.
The joint stayed still while the muscles around it worked.
I ramped effort gradually over 2–3 seconds, held steady effort, then eased off instead of suddenly stopping.
That ramp matters because sudden effort spikes can irritate sensitive joints.
For the yielding style, I held a position under load.
That could be a split squat hold, a calf raise hold, a partial range hold with a dumbbell, or any position where gravity becomes the resistance.
For example, holding a split squat at mid-depth, staying tall through the torso and keeping the front knee quiet instead of bouncing or shifting.
Or holding a calf raise near the top, keeping the heel steady and the ankle aligned rather than wobbling side to side.
I aimed for clean posture and steady breathing, because breath holding can turn rehab into a stress test.
My typical dose was 3–5 sets of 20–40 seconds per isometric.
Rest was about 45–75 seconds, long enough to repeat with quality.
Effort was around a 6–8 out of 10.
That means challenging, but not maximal.
If you can’t breathe calmly, effort is too high for most rehab goals.
The Mobility Work I Used (With Clear Execution)
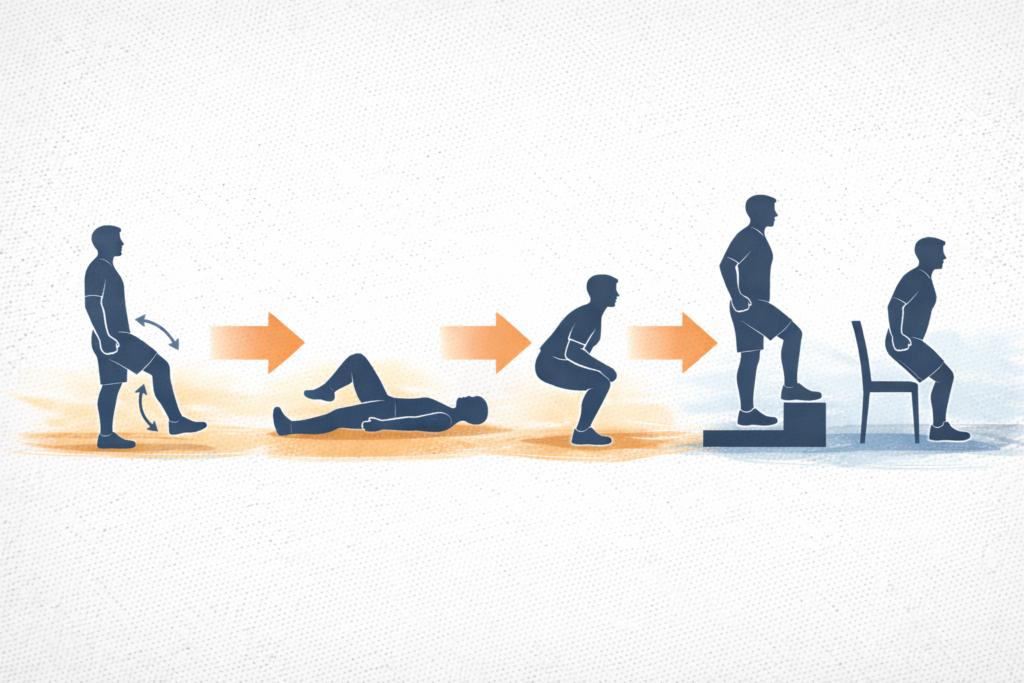
My mobility block had three parts.
First came gentle active range of motion.
That means moving the joint through a comfortable range under your own control, not forcing it.
Second came controlled end-range work.
That means spending time near the edge of your current range while staying relaxed enough to learn control.
Third came a simple “integration move.”
That means using the improved range in a basic pattern so it carries over into real movement.
A concrete example looks like this.
- Active range: 1–2 sets of 8–12 slow reps moving through a pain-free range.
For example, slowly bending and straightening the knee while standing or lying down, stopping well before discomfort.
The movement stays smooth and controlled, with no momentum. - End-range control: 2–3 sets of 15–30 seconds gently hovering near the edge, breathing and staying smooth.
For example, lowering into a shallow squat and holding just above the point where the joint usually feels stiff, while breathing calmly and keeping tension low.
The goal is not to stretch harder, but to stay relaxed in a position that normally feels guarded. - Integration: 1–2 sets of a simple movement pattern for 6–10 reps, focusing on control.
For example, performing slow step-downs or controlled sit-to-stand reps using the same range that was just explored.
This helps the new mobility show up in real movement instead of disappearing once the drill ends.
No bouncing.
No forcing.
No “I saw a video where someone sat in a joint pretzel for three minutes, so I guess that’s me now.”
Mobility is skill practice plus tissue tolerance, not a circus audition.
How I Measured Results (So It Wasn’t Just Vibes)
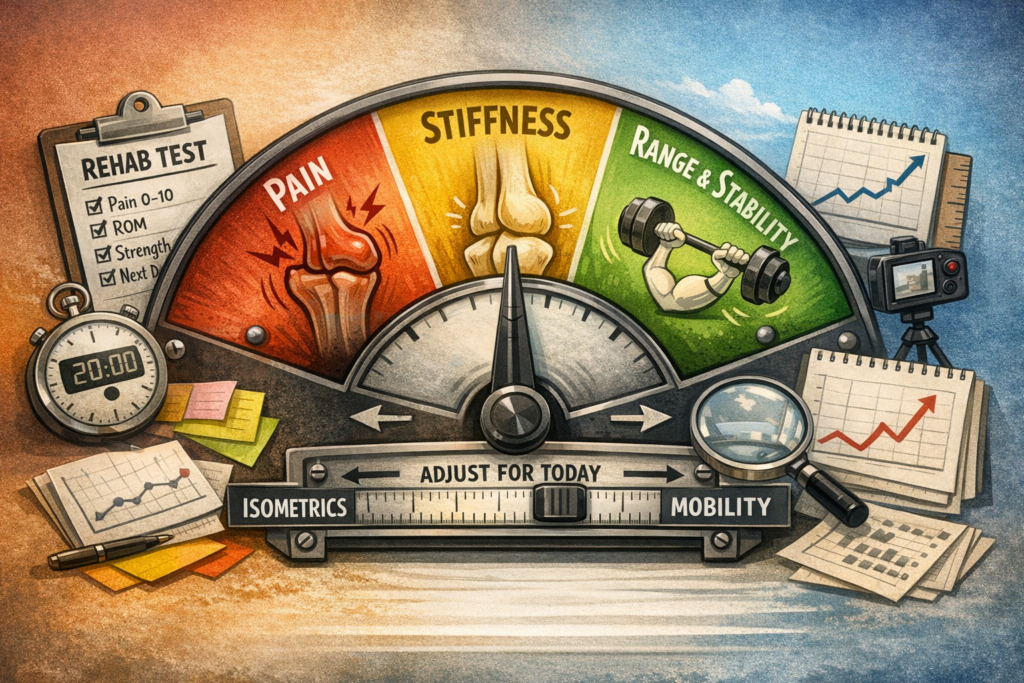
I tracked five things, every session.
Pain during my chosen test, rated 0–10.
Pain after the session, rated 0–10 about 30–60 minutes later.
Range of motion, using a simple repeatable marker.
Strength quality, meaning how stable and confident the movement felt, not just how much I lifted.
Next-day response, meaning whether the joint felt calmer, the same, or irritated the following morning.
For range of motion, I used a physical reference whenever possible.
A box height, a yoga block position, a wall marker, a phone level app, or a consistent camera angle.
Human memory is unreliable, especially when it wants to believe progress happened.
If you can standardize one measure, do it for range.
It makes the whole experiment ten times more honest.
The 4-Week Schedule (How I Structured the Experiment)
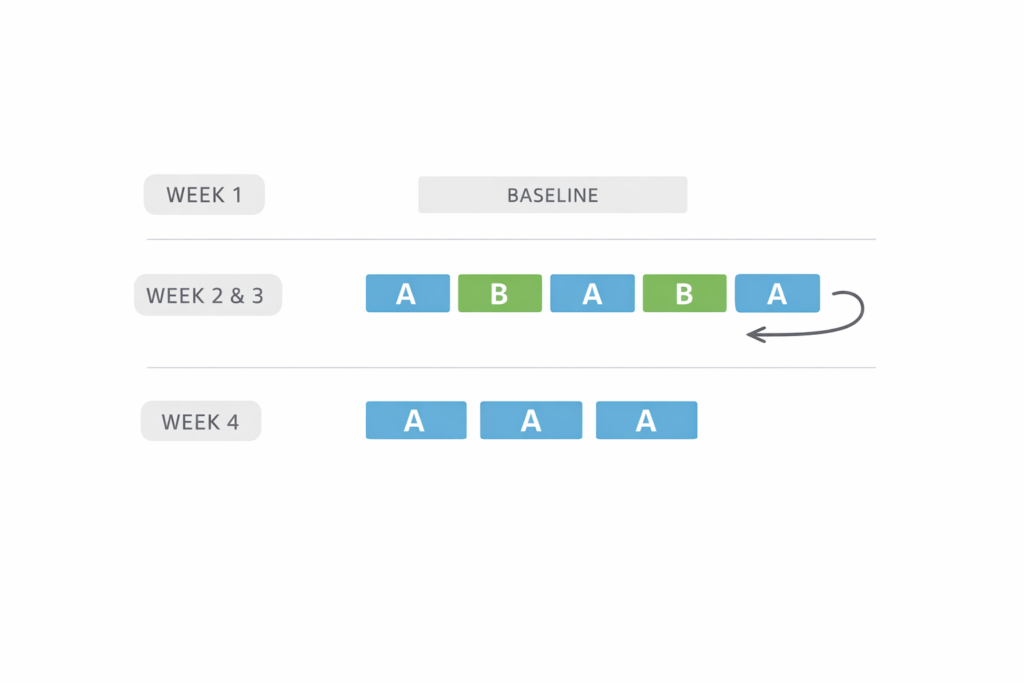
Week 1 was a baseline week.
I kept rehab volume moderate and simply recorded how things behaved with my “usual” approach.
Weeks 2 and 3 were the actual comparison.
I alternated protocols in a way that reduced day-to-day randomness.
Instead of doing Protocol A for a whole week and Protocol B for a whole week, I alternated by session.
That matters because one bad night of sleep could unfairly ruin a whole week’s results.
A simple pattern works well.
Session 1: Protocol A.
Session 2: Protocol B.
Session 3: Protocol A.
Session 4: Protocol B.
Then repeat.
Week 4 was a consolidation week.
I chose the better-performing order based on my data and ran it consistently to see if results held.
That last week is important because sometimes a method “feels good once” but doesn’t create steady progress.
What I Expected to Happen (And What Actually Happened Instead)
Going in, I assumed mobility first would feel better.
Mobility has that “instant relief” reputation.
Isometrics sounded like the responsible broccoli you eat after dessert, not the fun part.
Reality was more nuanced.
Mobility first often increased range immediately.
Isometrics first often reduced pain immediately.
The more interesting part was what happened after.
Some days, mobility first gave me more range but also made the joint feel less stable under load.
Other days, isometrics first made the joint feel solid, but range gains came slower unless mobility work was very controlled.
So the decision wasn’t “which is correct forever.”
The decision was “which order matches today’s goal and today’s sensitivity.”
That became the main lesson of the whole experiment.
My Results: Isometrics Before Mobility (What Improved, What Didn’t)
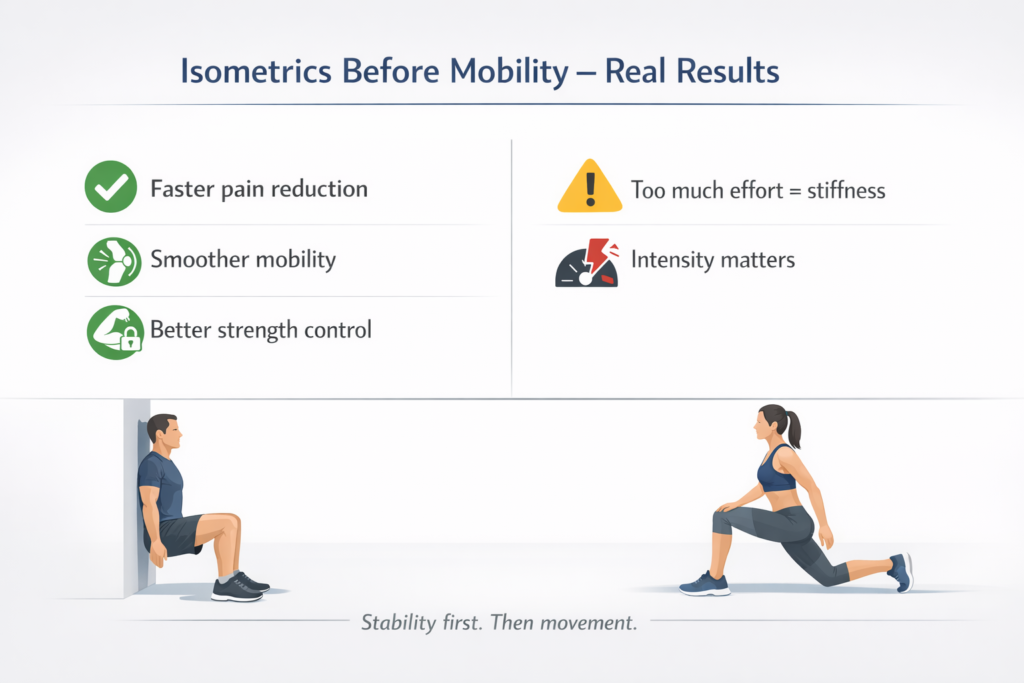
Pain during my test tended to drop faster in sessions where isometrics came first.
That effect was most noticeable on days when the joint felt cranky at the start.
Warm-up plus isometrics often acted like turning down the volume knob.
Mobility work after that felt smoother, like the system stopped guarding as aggressively.
Range of motion still improved, but the improvement was usually more gradual.
Instead of a big jump in the first five minutes, it was a quieter increase over the session.
Strength quality improved on those days, especially in movements that used the previously sensitive range.
That “owned” feeling mattered more than I expected.
If a joint feels stable, you move differently, and that changes everything downstream.
The main downside was occasional stiffness right after isometrics if I pushed effort too hard.
When effort drifted toward a 9 out of 10, mobility felt like trying to move through wet cement.
Backing off intensity fixed that.
That was a good reminder that rehab is not the place to chase heroic numbers.
My Results: Mobility Before Isometrics (What Improved, What Didn’t)
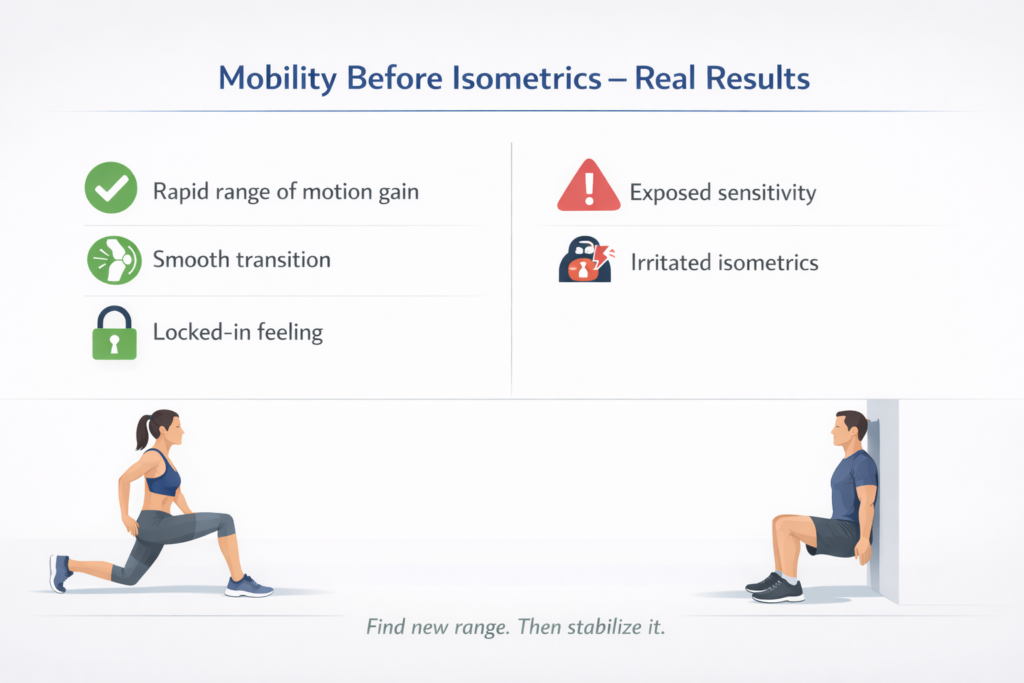
Range of motion often improved quickly when mobility came first.
The joint felt more open, and the movement looked better on video.
Pain during the mobility block was usually low because I stayed in a controlled range.
The interesting part was the transition into isometrics.
Some days, isometrics after mobility made the new range feel “locked in.”
That was the best-case scenario, and it felt amazing.
Other days, mobility first seemed to expose sensitivity, and then the isometrics felt more irritating.
It wasn’t sharp pain, but it was that “this is poking the bear” sensation.
Those days often led to a worse next-morning score.
Not catastrophic, but enough to slow progress.
So mobility first was excellent when symptoms were mild and the joint was already calm.
Mobility first was less reliable when symptoms were higher at the start.
In nerd terms, mobility-first was high performance but lower consistency.
Isometrics-first was slightly slower but more stable, like choosing a reliable Wi-Fi network over the faster one that drops every ten minutes.
RELATED:》》》 Can the Wrong Gym Shoes Damage Your Knees and Hips?
The Biggest Pattern I Noticed (The One That Actually Helps Decision-Making)
The order that worked best depended on what the joint needed that day.
When pain was higher or the joint felt guarded, isometrics first improved the session more often.
When pain was low and the goal was expanding range, mobility first gave better immediate results.
So I stopped asking “Which is correct?”
I started asking “What is the limiting factor right now?”
If the limiting factor was pain and threat, I chose isometrics first.
If the limiting factor was stiffness and lack of motion, I chose mobility first.
That mental switch made the whole process feel less like guessing and more like steering.
Why This Might Be Happening (Simple Explanation, No Guru Mysticism)
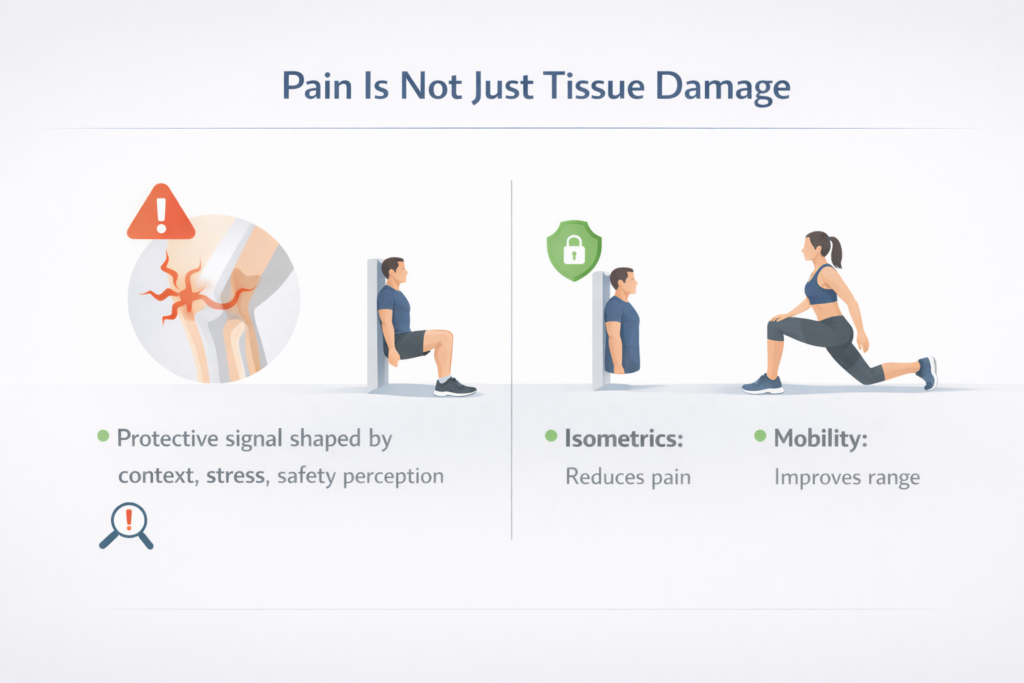
Pain is not just tissue damage.
Pain is also a protective signal shaped by context, stress, and perceived safety.
Isometrics can reduce pain in some cases because they provide strong, predictable input to the nervous system.
That input can act like a “this area is supported” message.
Mobility can improve range because it practices movement and reduces guarding when done calmly.
However, mobility can also temporarily increase sensitivity if you push into ranges the system doesn’t trust yet.
That’s where isometrics after mobility can go either way.
When mobility stays within safe tolerance, isometrics can reinforce the new range.
When mobility goes a bit too far, isometrics can feel like loading a position that the body already flagged as risky.
That is not a moral failure.
That is just feedback.
Rehab is basically learning to listen to that feedback without panicking or overcorrecting.
Common Mistakes I Made (So You Can Skip Them)
Too much intensity on isometrics made mobility worse afterward.
Dialing effort down fixed it immediately.
Pushing mobility into “spicy range” felt productive but raised next-day irritation.
Staying just below the spicy zone improved consistency.
Skipping the retest removed the whole point of the experiment.
Retesting gave me clarity even on days that felt emotionally confusing.
Changing too many exercises at once made it hard to interpret results.
Keeping the same exercises and changing only the order made patterns obvious.
Expecting linear progress made me overreact to normal fluctuations.
Once I expected occasional weird days, I stopped sabotaging good weeks with one bad session.
RELATED:》》》Is Skipping a Warm-Up Before Running a Bad Idea?
My Final Take After Four Weeks
The “best” order is not universal.
The best order is the one that matches the joint’s current tolerance and your main goal that day.
Isometrics before mobility gave me more consistent pain reduction and better stability on cranky days.
Mobility before isometrics gave me faster range gains on calm days, but it was easier to overdo.
So I stopped treating it like a rule.
I treated it like a dial.
On days the system felt protective, I turned the dial toward isometrics first.
On days the system felt open, I turned the dial toward mobility first.
That approach made rehab feel less like punishment and more like problem-solving.
Progress wasn’t dramatic, but it was steady, which is the kind of progress that actually holds.