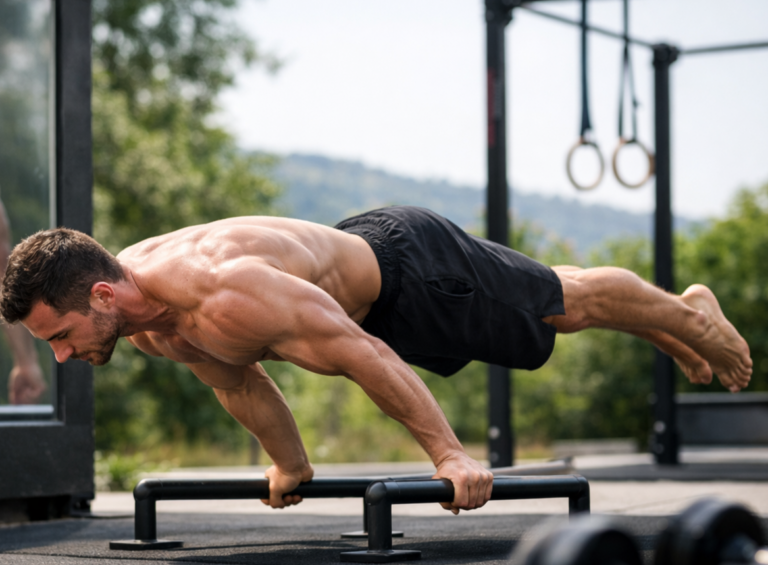
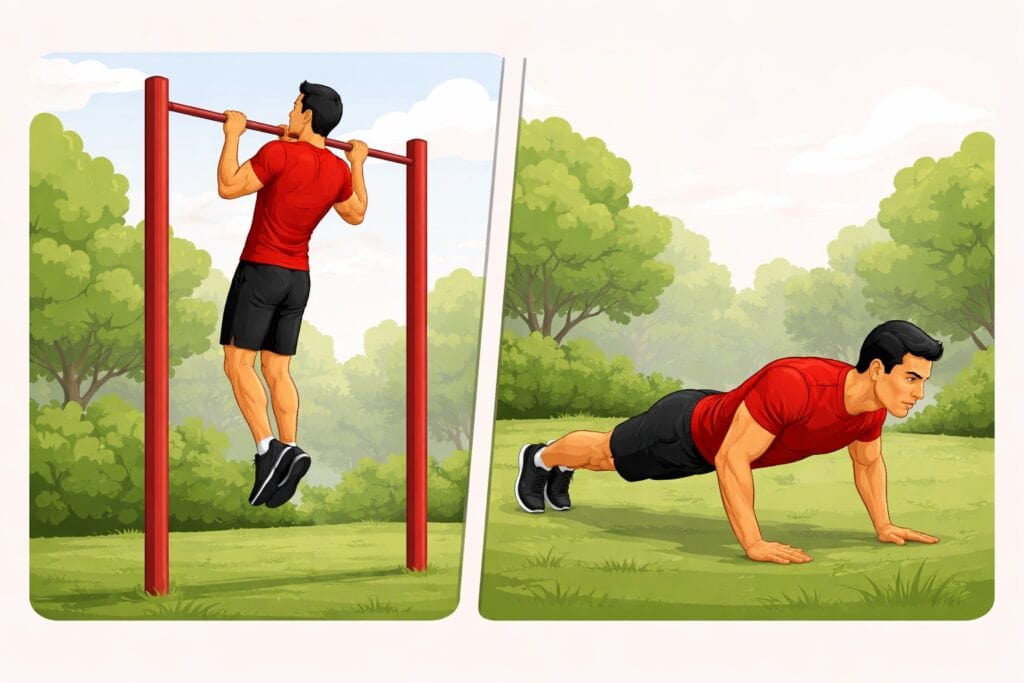
Most people step into calisthenics with a very straightforward idea.
Push-ups.
Pull-ups.
Maybe a few squats.
That’s usually the starting point.
From the outside those movements look simple, almost automatic, as if the body should just know how to perform them.
Reality tends to be a little different.
What I notice again and again in parks, gyms, and even during my own training sessions is that beginners jump directly into the exercises everyone talks about, only to discover that their body isn’t quite ready for them yet.
Arms fatigue too quickly.
The lower back tries to help in movements where it shouldn’t.
Breathing becomes chaotic after only a few repetitions.
None of that means someone lacks strength.
More often it simply means the body hasn’t learned the movement patterns yet.
The Bodyweight Exercises That Build the Real Foundations
Calisthenics relies heavily on coordination.
Bodyweight movements require muscles to work together in a very specific order.
When that order isn’t there yet, every repetition feels heavier than it should, even if the exercise itself looks simple.
Over time I start noticing that a small group of beginner-friendly bodyweight exercises used in calisthenics training solves many of these issues.
They may look basic at first glance.
Some of them barely move the body through a large range of motion.
Yet they build the mechanics that make push-ups smoother, pull-ups more stable, and squats feel balanced instead of awkward.
Now, this isn’t the place where I’m going to explain what calisthenics is, or go through the usual list of benefits.
Otherwise this article would quickly turn into one of those long introductions you see everywhere.
However, if you’re curious about the discipline itself, you’ll find plenty of articles about calisthenics and bodyweight exercises on GetFitSafely.com.
Looking back, these are the bodyweight drills I wish I had placed at the center of my early calisthenics sessions.
Nothing flashy.
Just exercises that gradually build strength, balance, and control before more demanding calisthenics skills enter the routine.
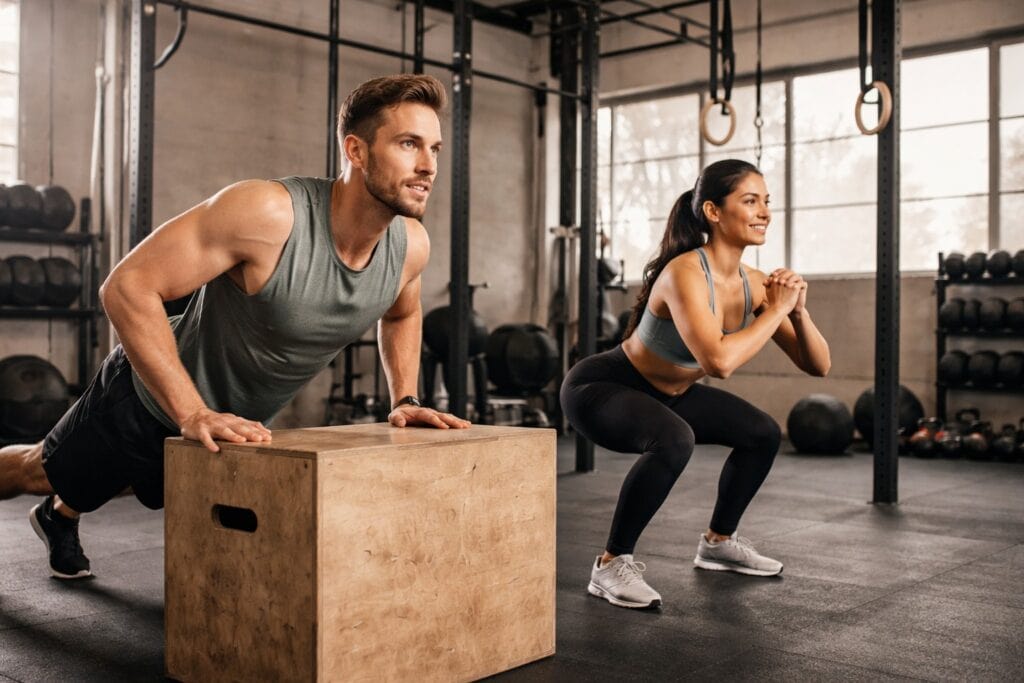
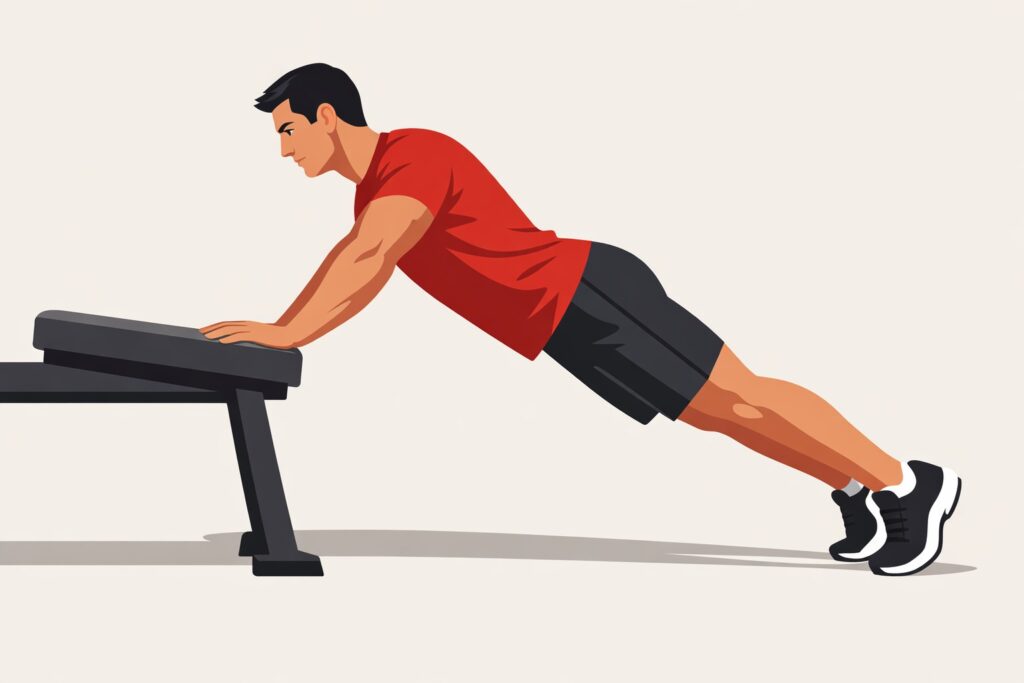
1. Incline Push-Ups (The Push-Up That Actually Teaches You the Movement)
Most beginners start with floor push-ups.
I did too.
The result?
Hips sagging.
Elbows flaring everywhere.
Shoulders doing a lot more work than the chest.
Incline push-ups fix that problem instantly because they reduce the load just enough to allow proper control.
Instead of pushing from the floor, your hands rest on something elevated.
For example:
- a bench
- a sturdy chair
- a park railing
- a low table
When I started using a kitchen counter about 90 cm high, everything changed.
Suddenly I could move slowly.
Suddenly my chest was doing the pushing.
Suddenly I could feel the difference between a sloppy rep and a clean one.
How the movement works
Place your hands shoulder-width apart on the elevated surface.
Step your feet back until your body forms a straight line from shoulders to heels.
Ease your chest toward the surface without rushing the movement, keeping your elbows at roughly 45 degrees from your torso.
Spend a short moment at the bottom before pushing yourself back up.
A good beginner session might look like this:
- 4 sets
- 10 to 12 repetitions
- 60 to 75 seconds rest
If the last two reps feel slightly slow but still controlled, the height is perfect.
Lower the surface over time as the movement becomes easier.
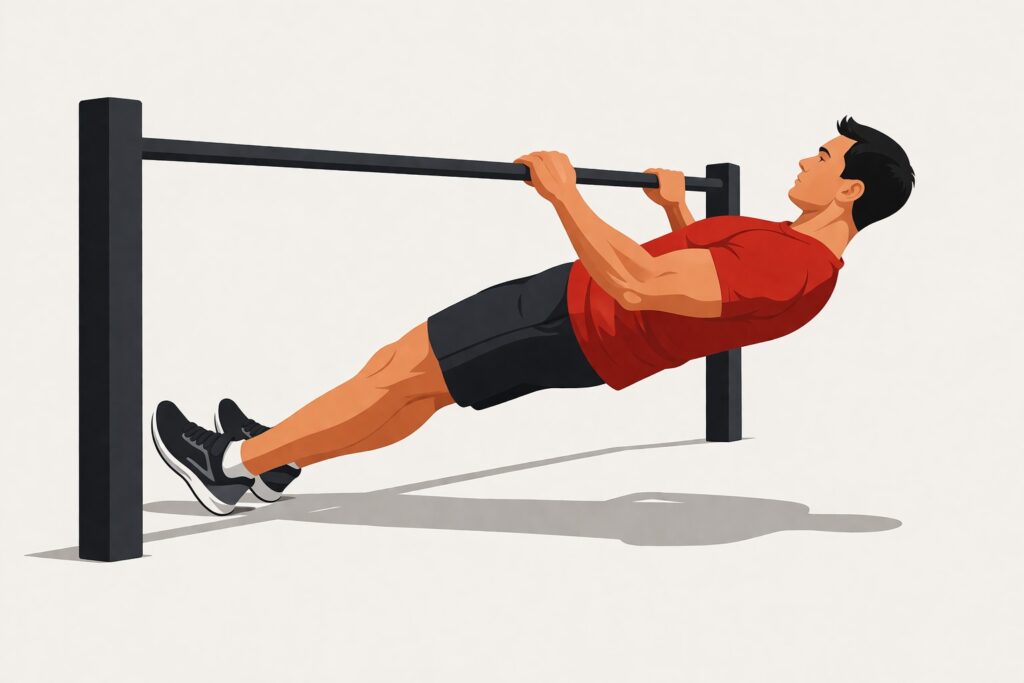
2. Australian Rows (The Pull-Up’s Friendly Cousin)
Pull-ups are amazing.
They are also brutal for beginners.
When I first tried them, I could barely do one half-rep before gravity politely reminded me who was in charge.
Australian rows teach the pulling pattern without needing superhero strength.
Instead of hanging vertically, your body stays at an angle under a bar.
Where to do them
I usually perform these in three places:
- a squat rack bar set around waist height
- a Smith machine bar
- a playground bar
Lie underneath the bar and grab it slightly wider than shoulder width.
Your body stays straight like a plank.
Heels remain on the floor.
How each rep should look
Pull your chest toward the bar with steady control.
Pause briefly when your chest almost touches the bar.
Descend slowly while keeping your body tight.
A beginner routine might be:
- 4 sets
- 8 to 10 repetitions
- 75 seconds rest
The first time I did them properly I felt muscles in my upper back I had never noticed before.
Not pain.
Just the pleasant sensation of “oh… those exist.”
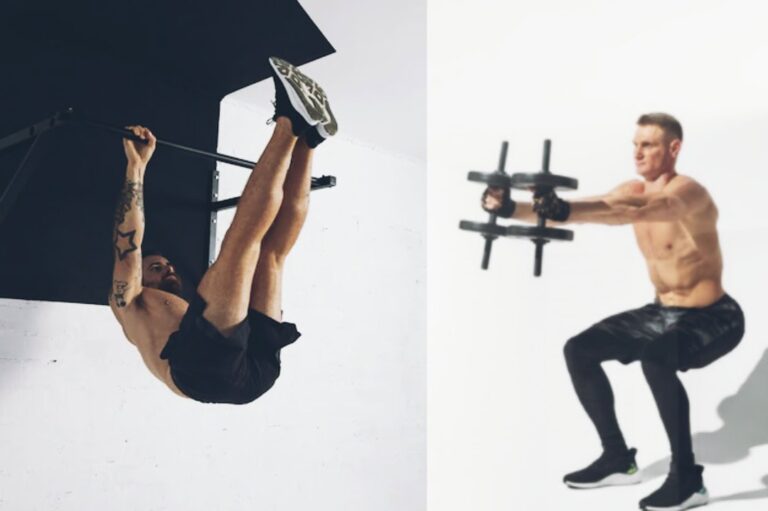
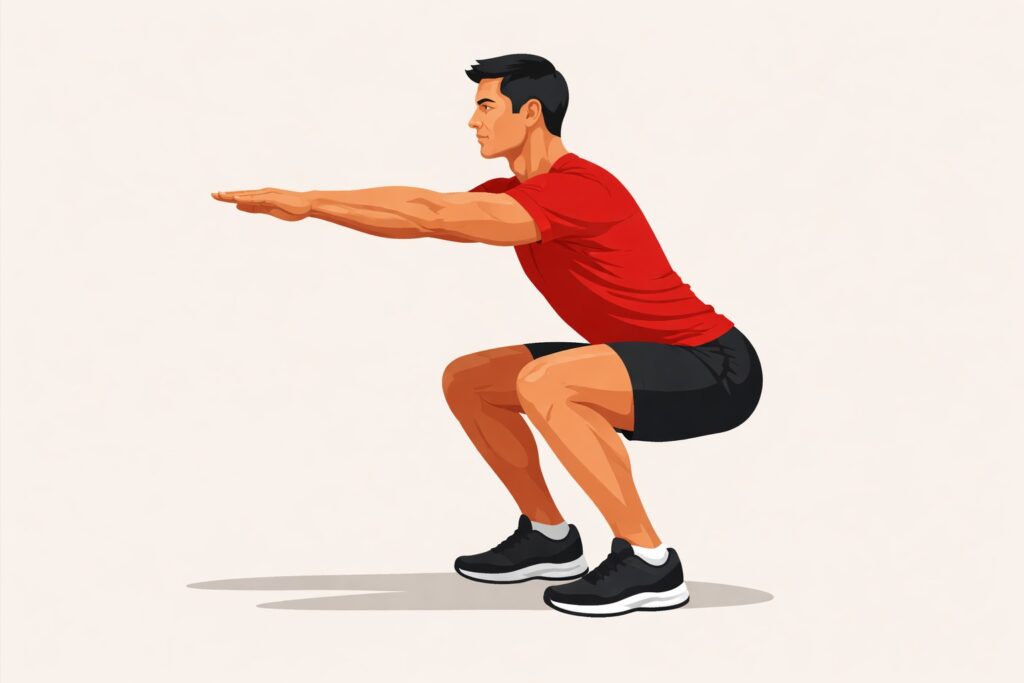
3. Bodyweight Squats (The Movement Everyone Thinks Is Easy)
Squats look simple.
Stand up.
Sit down.
Repeat.
Except the first time many people try them, something odd happens.
Heels lift.
Knees cave inward.
The torso collapses forward.
Bodyweight squats teach balance, leg strength, and coordination all at once.
What a controlled squat feels like
Stand with your feet slightly wider than your hips.
Turn your toes out just a little.
Lower yourself slowly as if sitting back into a chair.
Keep your chest lifted.
Your knees move forward slightly but stay aligned with your toes.
At the bottom position, your thighs should be roughly parallel to the floor.
Pause briefly.
Then stand back up in a smooth, controlled motion.
A realistic beginner session
When I first focused on this movement, my routine looked like:
- 4 sets
- 12 to 15 repetitions
- 60 seconds rest
Around rep 10 you start noticing your legs warming up.
By rep 14 your breathing gets heavier.
Nothing extreme.
Just the quiet realization that your legs are finally doing their job.
4. Dead Hang (The Shoulder Reset Button)
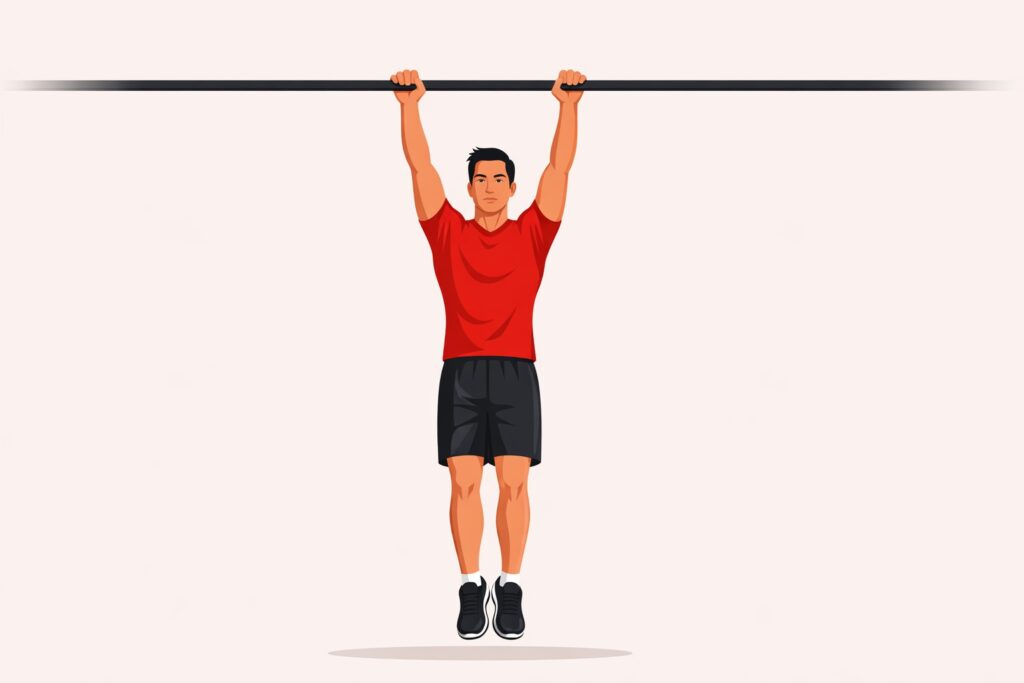
Before learning to pull yourself up, it helps to simply hang.
That sounds almost too easy.
Until you try holding it for 30 seconds.
A dead hang decompresses the shoulders and strengthens the grip.
Two things that matter a lot later when pull-ups enter the picture.
How to perform it
Grab a bar with palms facing away from you.
Arms fully extended.
Let your body relax without swinging.
Your shoulders will rise slightly toward your ears.
That’s normal.
Hold the position.
Beginner timing
When I started:
- first set lasted 18 seconds
- second set 16 seconds
- third set 14 seconds
Within three weeks those numbers turned into 30-second holds without much struggle.
It’s a quiet exercise.
But it prepares your shoulders for everything that follows.
5. Glute Bridges (The Exercise That Wakes Up the Posterior Chain)

A surprising number of beginners struggle to activate their glutes.
The hips stay quiet while the lower back tries to handle the work.
Glute bridges fix that pattern.
How the exercise works
Lie on your back with knees bent.
Feet flat on the floor about 30 to 40 cm away from your hips.
Push through your heels and raise your hips until your torso forms a straight line from shoulders to knees.
Hold the top position for a moment while keeping your hips high.
Lower slowly.
Beginner structure
My early sessions looked like:
- 3 sets
- 12 repetitions
- 45 seconds rest
At the top of each rep I tried to imagine squeezing a coin between the glutes.
It sounds silly.
Yet it works surprisingly well.
6. Knee Raises (Learning Core Control)
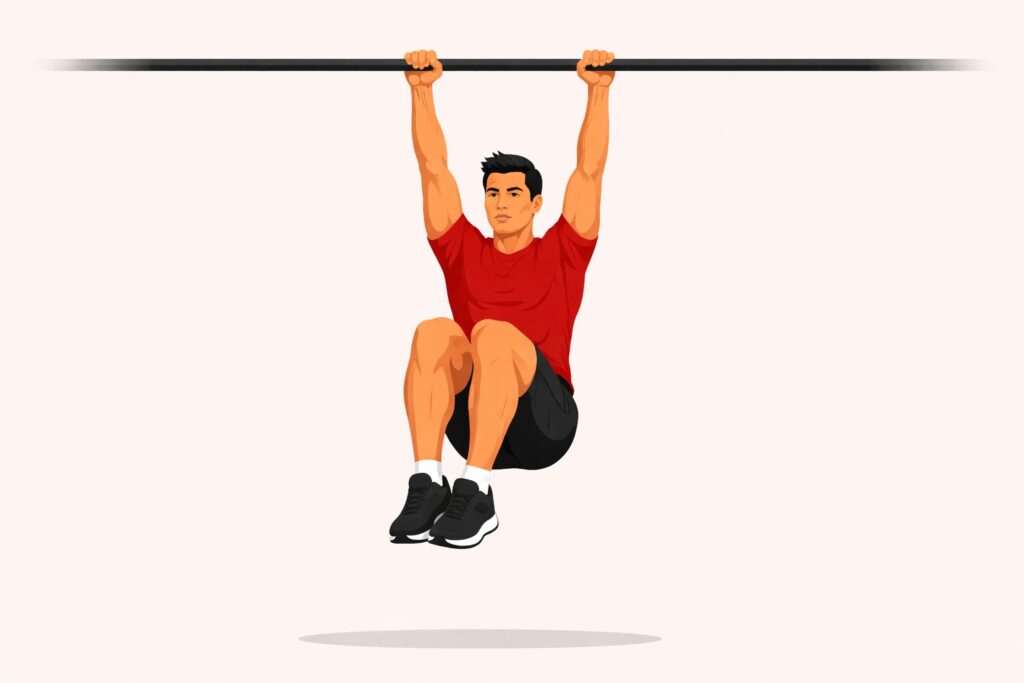
Core training often gets reduced to endless crunches.
Calisthenics usually relies on hanging movements instead.
Knee raises are the simplest version.
What happens during the movement
Hang from a bar.
Slowly lift your knees toward your chest.
Pause briefly.
Lower them back down without swinging.
The key is keeping the motion controlled.
No momentum.
A beginner structure
When I first practiced these:
- 4 sets
- 8 repetitions
- 75 seconds rest
Each rep took about 4 seconds total.
Two seconds lifting.
Two seconds lowering.
After a few sets your abs feel warm and slightly tight, like they’ve been switched on for the first time.
7. Step-Back Lunges (Leg Strength Without Knee Stress)
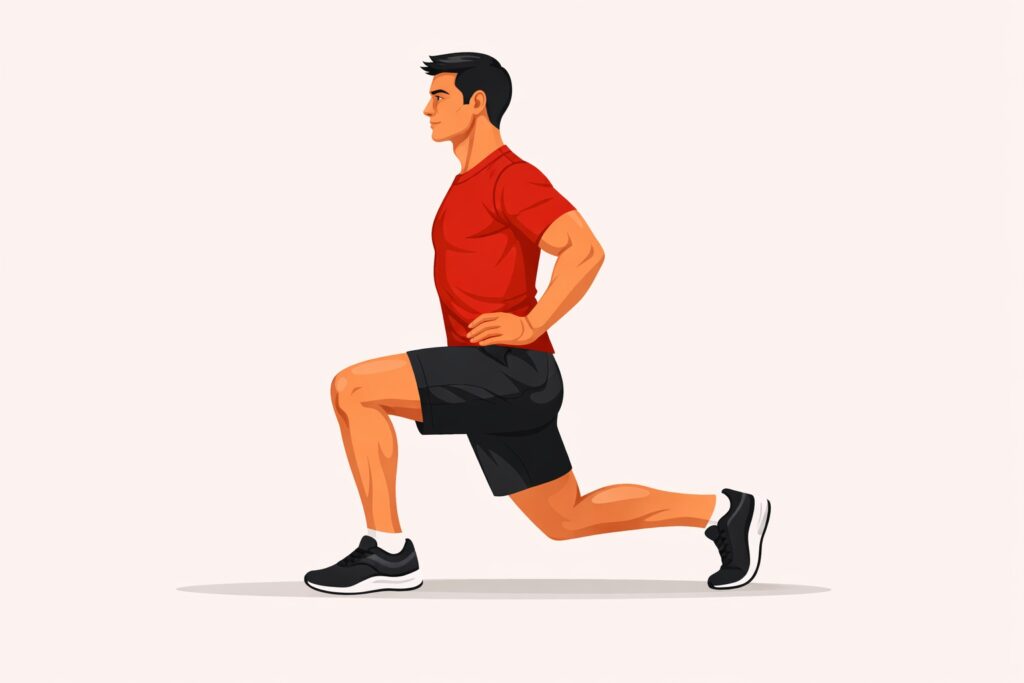
Forward lunges sometimes bother beginners’ knees.
Step-back lunges often feel smoother.
The backward step naturally shifts more load to the hips.
How to perform them
Stand tall.
Step one leg backward about 60 to 70 cm.
Lower until the front thigh approaches parallel with the floor.
The back knee moves toward the ground.
Push through the front heel to return to standing.
Early training structure
A balanced session might include:
- 3 sets
- 10 reps per leg
- 60 seconds rest
By the end of each set your legs feel warm and steady.
Not destroyed.
Just properly worked.
8. Scapular Pull-Ups (Teaching the Shoulders to Pull)
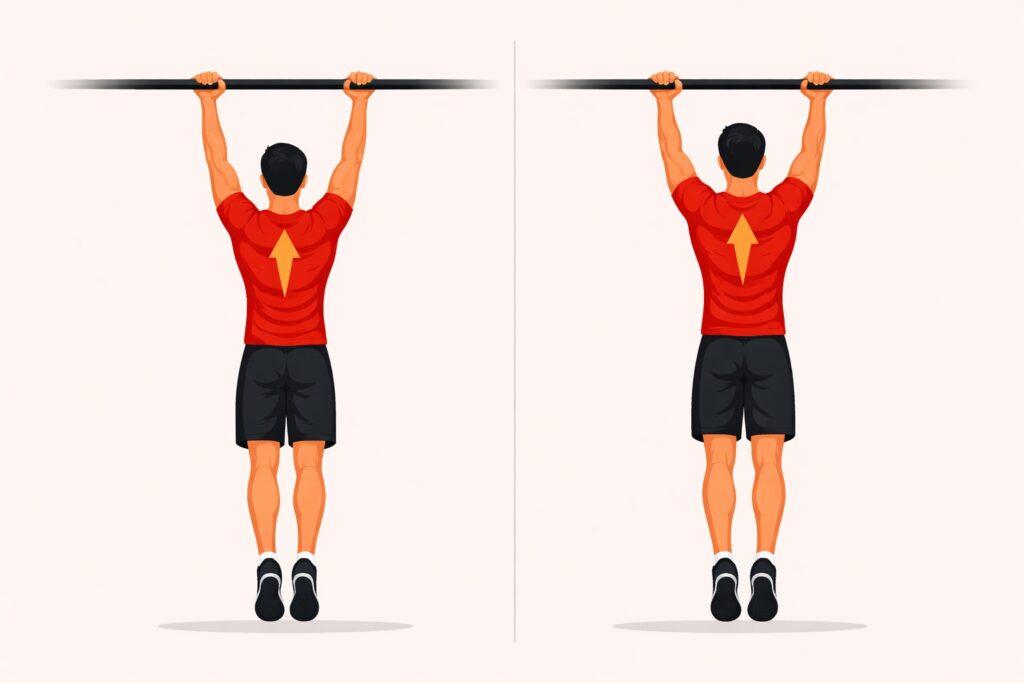
This movement looks tiny.
Yet it solves a huge issue beginners run into.
Pull-ups require the shoulder blades to move first.
Many people skip that step.
What happens during the movement
Hang from the bar.
Without bending your elbows, pull your shoulders downward.
Your body rises slightly.
Then relax back to the starting position.
Each rep moves only a few centimeters.
A beginner routine
Try:
- 3 sets
- 10 repetitions
- 60 seconds rest
When done slowly, you’ll feel your upper back activating before your arms.
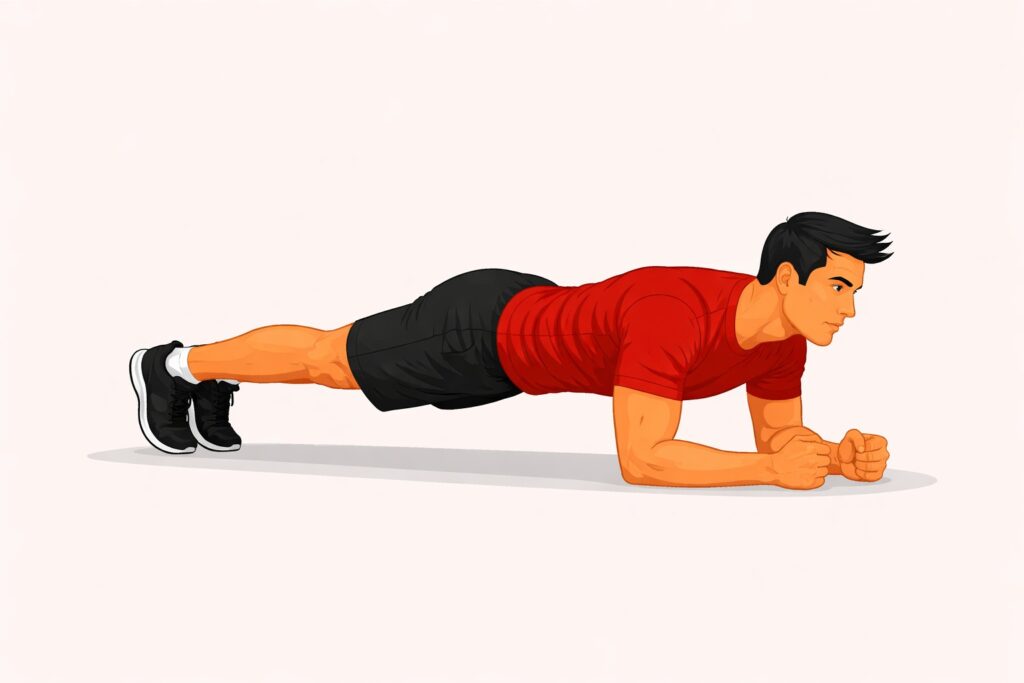
9. Plank Holds (Simple Core Stability)
Planks are everywhere.
There’s a reason.
They teach your core to stabilize the spine.
How the position works
Place your forearms on the floor.
Elbows directly under the shoulders.
Legs extended.
Your body forms a straight line from head to heels.
Hold the position without letting the hips sag.
A practical beginner timing
My early plank routine:
- 3 sets
- 25 to 35 seconds each
- 60 seconds rest
The final 10 seconds are usually where the plank really starts to burn.
10. Wall-Supported Handstand Holds
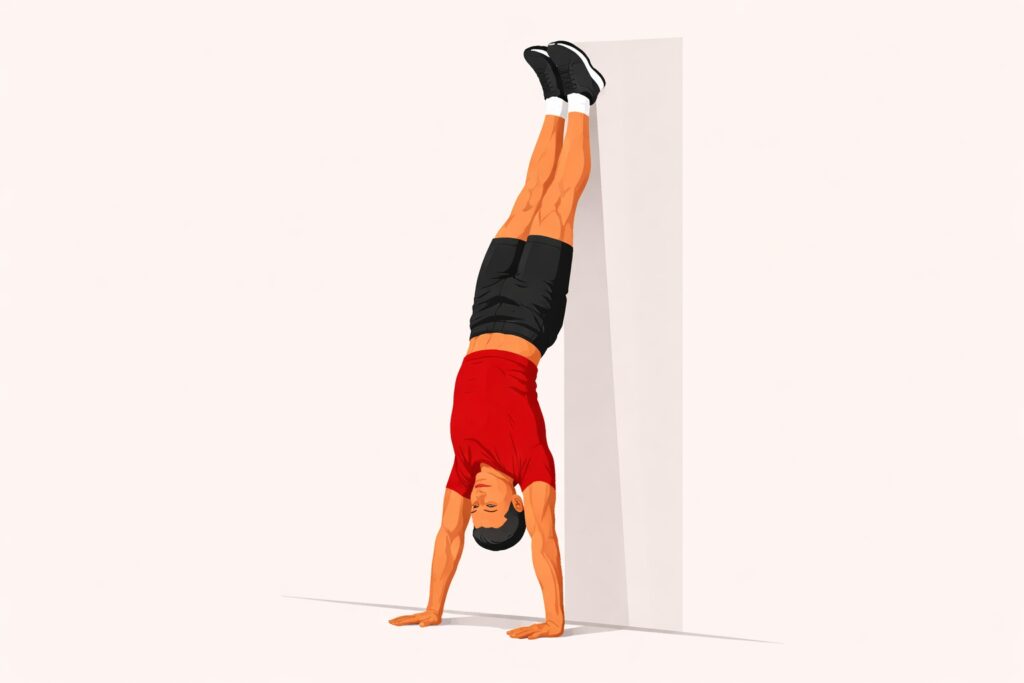
Handstands look advanced.
But practicing against a wall is surprisingly beginner-friendly.
It builds shoulder strength and body awareness.
Getting into position
Place your hands about 20 cm from a wall.
Kick your legs upward until your heels touch the wall.
Arms remain straight.
Shoulders push upward toward the ceiling.
Beginner timing
At first I could hold the position for 12 seconds.
After a month that became 30 seconds comfortably.
Three or four attempts per session are plenty.
11. Farmer-Style Carries (Grip and Core Together)
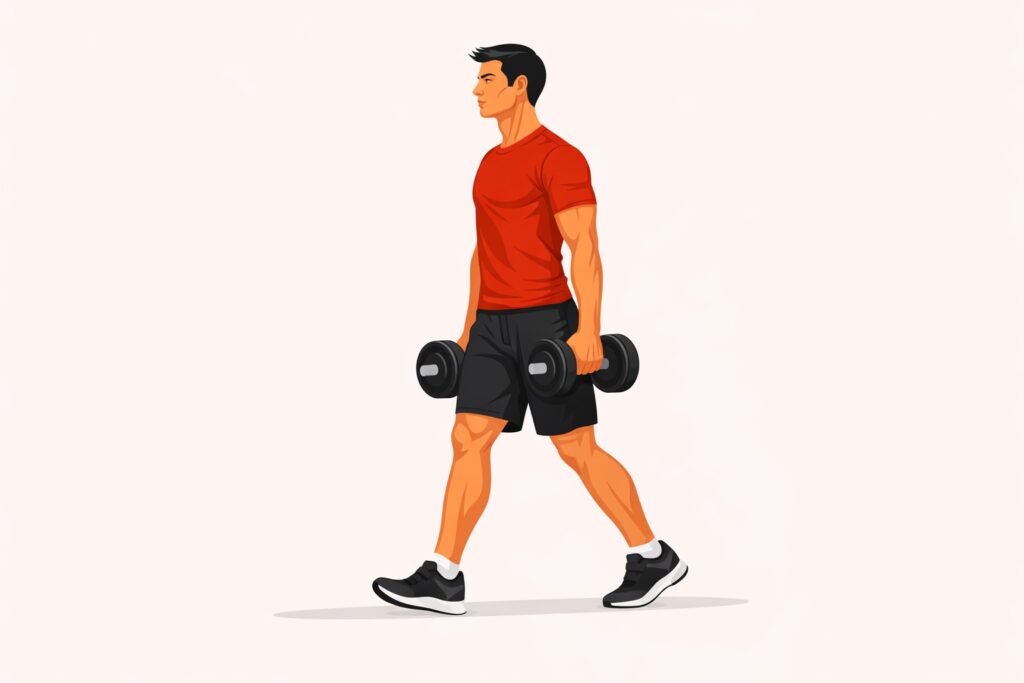
This one isn’t strictly calisthenics, but it fits perfectly into bodyweight training.
All you need are two moderately heavy objects.
Dumbbells.
Water jugs.
Even grocery bags.
How the movement works
Stand tall holding weight in each hand.
Walk slowly for about 20 to 30 meters.
Keep shoulders relaxed and posture upright.
A beginner session
I often include:
- 4 walks
- 25 meters each
- 60 seconds rest
Your grip works.
Your core stabilizes.
Your posture improves.
Why These Movements Make Everything Else Easier
Once these exercises feel comfortable, more complex calisthenics skills suddenly feel approachable.
Push-ups feel stable.
Pull-ups stop feeling impossible.
Squats feel balanced.
It’s a bit like learning to drive.
Before highway speeds and complicated intersections, you start with steering, braking, and smooth acceleration.
These beginner exercises teach those fundamentals.
Simple movements that build the base for everything else.
And strangely enough, those simple drills often turn out to be the ones you keep returning to even years later.