I recently began my gymnastics journey and, for now, I’m focusing on basic exercises to stretch my muscles.
Honestly, I’m not sure if I’ll go beyond these basics since I already practice two other types of workouts.
However, the beauty of this discipline is that many foundational exercises can be practiced at home, which is comfortable and convenient.
These movements help you develop coordination, body awareness, muscle strength, and flexibility.
Plus, they foster personal achievement and discipline.
In this article, you’ll find 22 beginner gymnastics exercises you can do at home.
No special equipment needed!
Understanding the Basics of Gymnastics
Before jumping into exercises, it’s crucial to understand the basics of gymnastics.
This sport requires special attention to technique and form to keep workouts effective and safe.
Good technique means less energy wasted and better results avoiding injuries and making steady progress.
From my own experience, focusing on the fundamentals has made all the difference in my practice.
Other Key Elements
- Strength and Control: You need strong muscles, especially in your core, arms, and legs, to perform moves and maintain control.
- Flexibility: Being flexible helps you move better, avoid injuries, and boost performance.
- Balance and Coordination: These are vital for executing complex moves and syncing your body parts.
- Rhythm and Grace: Gymnastics isn’t just about strength. You also need rhythm and grace to make your moves fluid and elegant.
Setting Up Your Gymnastics Area at Home
- Safety First: Prioritize safety even without equipment. Ensure your workout area is clear of obstacles and has a flat surface. Regularly check your space to avoid accidents. This simple step has been a lifesaver for me, preventing mishaps and ensuring a safe practice environment.
- Adequate Space: Find a spacious, obstacle-free area at home. A well-ventilated, flat surface is perfect for your exercises.
- Respect Your Level: Use exercises that match your skill level. Don’t push yourself too hard too soon. I’ve learned that respecting my current level and not overcommitting has kept my practice safe and enjoyable.
- Long-Term Investment: Think of your workout routine as an investment in your health. Start with basic exercises and gradually add more challenging ones over time.
1. Balance Beam on the Ground
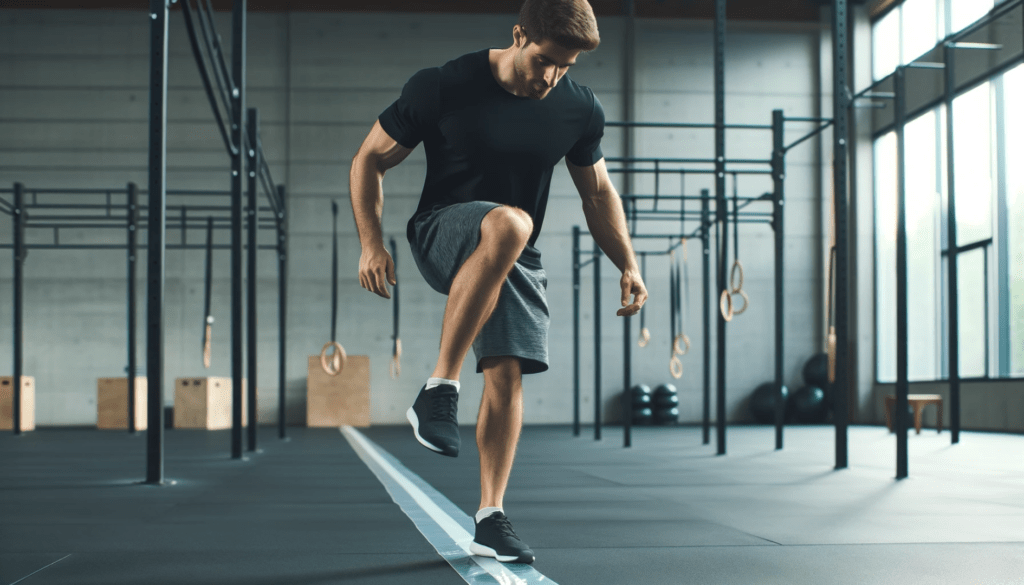
It’s a super simple exercise that mimics the balance beam used in gymnastics.
All you need is some tape and a little space.
Here’s how you can do it:
Step 1: Set Up Your Balance Beam
First, grab a strip of adhesive tape.
Lay it down on the floor in a straight line. This tape will be your balance beam.
Step 2: Walk the Line
Now, start walking slowly along the tape. Take your time with each step.
Focus on staying balanced.
Step 3: Use Your Body
While walking, use your arms and torso to help maintain your balance.
Imagine you’re on a real balance beam.
Why It Works
The Balance Beam is great for strengthening the stabilizing muscles in your feet and ankles.
Plus, it builds the confidence you need for more complex movements.
2. Vertical Jump
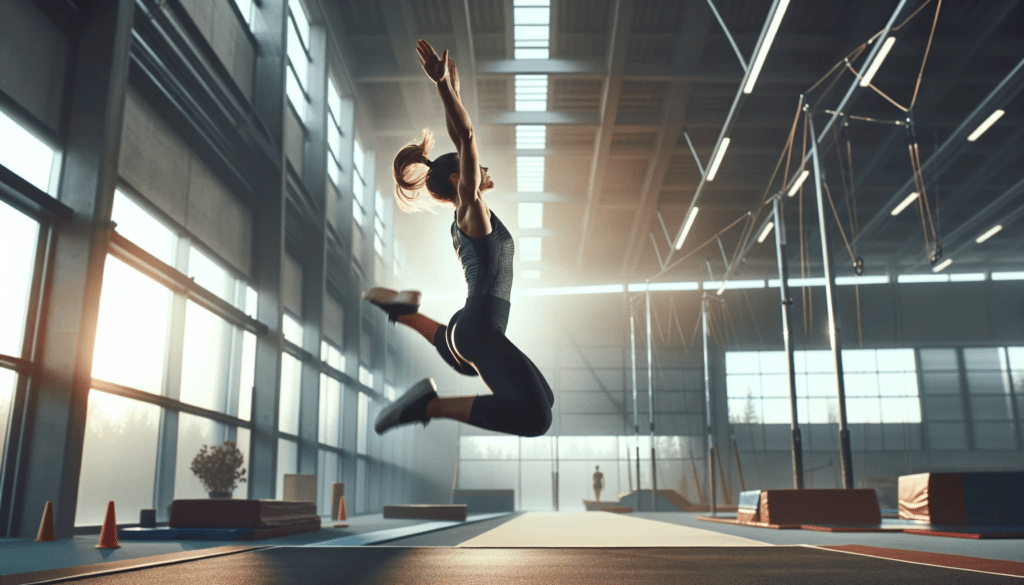
Amp up your leg strength and explosiveness with the Vertical Jump.
It’s a straightforward exercise that packs a punch, perfect for improving your jumps in gymnastics.
Let’s get into it:
Step 1: Get Ready
Stand with your feet slightly apart. Feel grounded and balanced.
Step 2: Bend and Jump
Bend your knees a bit, then spring up as high as you can.
Step 3: Reach for the Sky
While you’re jumping, raise your arms upwards to get that extra height.
Step 4: Land Softly
When you land, absorb the impact with your knees to protect your joints.
Why It Works
The Vertical Jump is fantastic for building explosive power in your legs, especially in your glutes and core.
It’s essential for those big jumps in vaulting or acrobatic floor routines where you need that extra oomph.
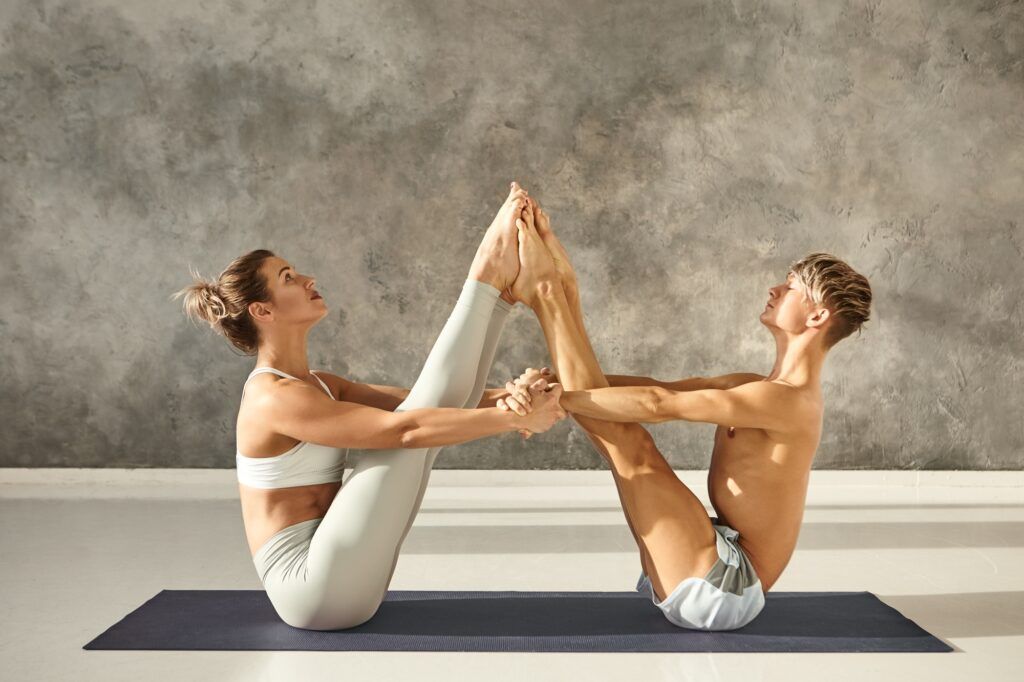
3. Tuck Sit
To build a rock-solid core for those challenging gymnastic moves, the Tuck Sit is your go-to exercise.
It is excellent for increasing trunk strength and stability, essential for exercises on the parallel bars, high bars, and rings.
Here’s how you do it:
4. Handstand Against the Wall
The Handstand Against the Wall is fantastic for strengthening your arms, shoulders, and core, while also improving your balance and body awareness.
It’s a great foundational move for achieving free handstands, which are key in gymnastics.
Here’s how to nail it:
Step 1: Get into Plank Position
Start in a plank position with your feet touching the wall. Make sure your hands are firmly on the floor, shoulder-width apart.
Step 2: Walk Up the Wall
Slowly walk your feet up the wall. Keep moving your hands closer to the wall until your body is vertical.
Step 3: Align and Engage
Once you’re in position, maintain a straight line from your hands to your feet. Engage your core to keep your body stable and aligned.
Step 4: Hold the Position
Hold the handstand for as long as you can, focusing on keeping your body straight and your core tight.
Why It Works
This exercise is excellent for building the strength and balance needed for free handstands.
It’s also a great way to improve your body awareness, crucial for more advanced gymnastics moves.
5. Forward Roll
Want to boost your coordination and spatial orientation?
The Forward Roll is your go-to move.
Plus, it strengthens your neck and back muscles and is a great foundation for more advanced acrobatics like somersaults and aerial rotations.
Here’s how you can do it:
Step 1: Start Standing Tall
Begin in a standing position with your arms raised above your head. Feel the stretch and get ready to roll.
Step 2: Squat Down
Lower yourself into a squat. Place your hands on the floor in front of you. Make sure your back is rounded, not flat.
Step 3: Roll Forward
Push with your feet and use your hands to guide your movement. Roll forward over your back and shoulders.
Step 4: Finish the Roll
As you roll, tuck your chin to your chest to protect your neck. Let the momentum carry you through and come back up to a standing position if you can.
Why It Works
The Forward Roll is excellent for improving your coordination and spatial orientation.
It also strengthens the muscles in your neck and back, setting you up for more advanced acrobatic movements.
6. Cartwheel
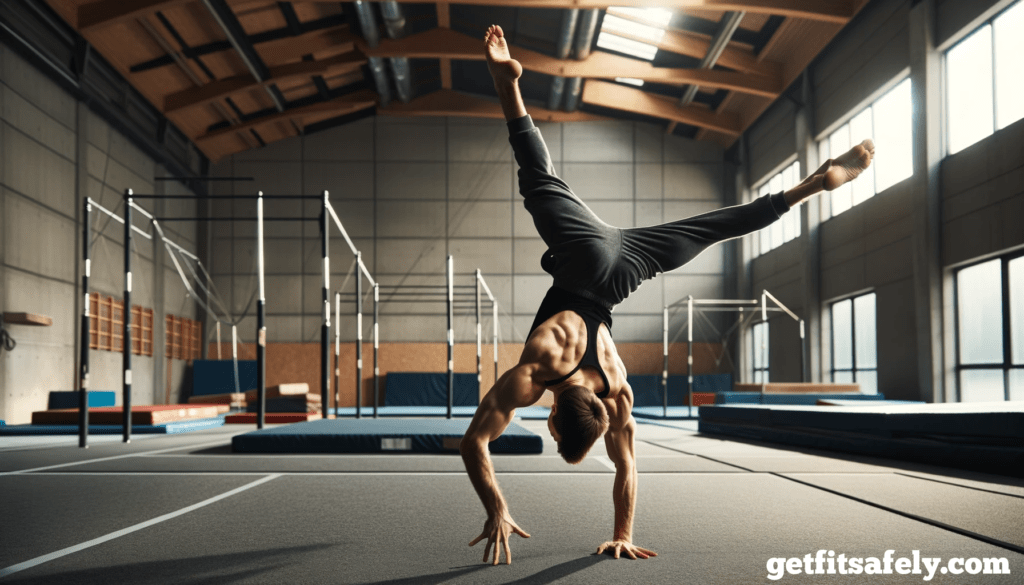
To enhance your coordination and develop lateral strength and flexibility, the cartwheel is perfect.
It’s a foundational move in gymnastics that sets you up for more advanced acrobatics.
Here’s how to nail it:
Step 1: Start Standing Tall
Begin in a standing position with your arms raised above your head. Feel tall and ready to move.
Step 2: Lean Sideways
Lean your body sideways. Place one hand on the floor, then the other, in a fluid motion.
Step 3: Follow with Your Legs
As your hands touch the floor, your legs should follow in a smooth, airborne rotation.
Step 4: Land Gracefully
Complete the rotation by landing first on one foot, then the other. Return to a standing position.
Why It Works
The cartwheel enhances coordination between your upper and lower body, and it builds lateral strength and flexibility.
Regular practice develops a strong foundation in strength, flexibility, balance, and coordination.
7. Leg Swing
Leg swings are an excellent way to warm up and stretch your leg muscles, increasing hip mobility, which is crucial for many gymnastic elements.
Here’s how to do them:
Step 1: Find Your Balance
Start standing, maintaining a good balance on one leg. Focus on keeping your core engaged.
Step 2: Swing Your Leg
Swing the other leg forward and backward. Keep the movement controlled and smooth.
Step 3: Repeat on Both Legs
Switch legs and repeat the exercise to improve flexibility and mobility in both hips.
Why It Works
Leg swings help warm up and stretch your leg muscles while increasing hip mobility.
This is important for gymnastic movements that involve extensive leg use.
8. Bridge
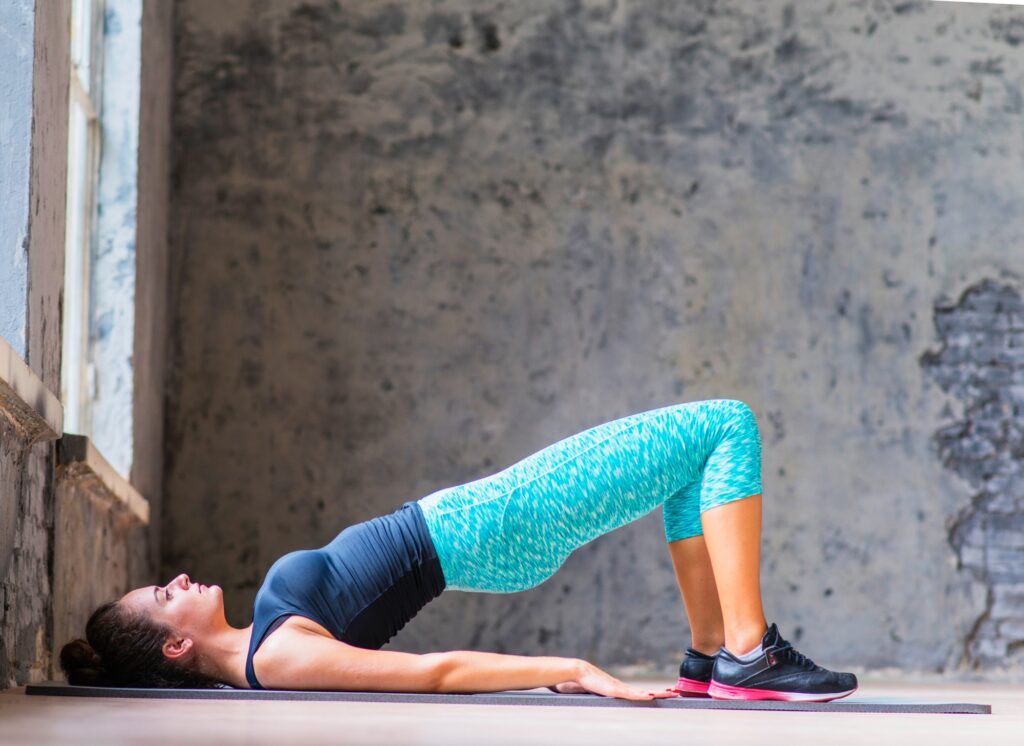
To boost your back flexibility and strengthen your core, the Bridge exercise is perfect.
It’s a simple yet powerful move that helps improve your spine’s flexibility while also strengthening your back and core muscles.
This exercise is essential for developing skills in rotations and backward bends.
Here’s how to master it:
Step 1: Get Into Position
Lie on your back with your knees bent and your feet flat on the floor. Make sure your feet are hip-width apart and close to your glutes.
Step 2: Lift Your Hips
Lift your hips upward, creating an arch with your back. Push through your heels and engage your glutes and core to lift your hips as high as you can.
Step 3: Hold the Position
Hold this arched position for a few seconds. Keep your shoulders and feet firmly on the ground.
Step 4: Breathe Steadily
Maintain steady breathing while holding the position. Inhale deeply and exhale slowly, keeping your core engaged and your hips lifted.
Why It Works
The Bridge exercise increases back flexibility and strengthens the muscles of your back and core.
This exercise is crucial for developing skills in rotations and backward bends, which are key elements in gymnastics.
9. V-Sit
Aiming to build serious core strength?
The V-Sit targets both your abs and back perfectly.
It targets your abdominal and back muscles, crucial for body control and maintaining proper posture in gymnastics.
Here’s how to do it:
Step 1: Sit on the Floor
Assume a seated position on the floor. Keep your back straight and your legs together.
Step 2: Lift Your Legs
Lift your straight legs off the ground. Your body should form a V shape. Extend your arms forward to help maintain balance.
Step 3: Hold the Position
Hold the V-Sit position for a few seconds. Focus on contracting your abdominal and back muscles to keep your body stable.
Why It Works
The V-Sit is great for building strength in your abdominal and back muscles.
This strength is essential for maintaining proper posture and body control in gymnastics, especially during complex movements.
10. Jump to Straddle
Improving your leg agility, strength, and coordination is achievable with the Jump to Straddle.
It’s perfect for enhancing your skills in jumps and mid-air splits in gymnastics.
Here’s how to do it:
Step 1: Start Relaxed
Begin from a relaxed standing position. Feel balanced and ready to jump.
Step 2: Perform the Jump
Jump up and spread your legs laterally in the air. Aim for a wide, controlled split.
Step 3: Land Gently
Land gently, bringing your legs back together and returning to the initial standing position. Focus on maintaining control and fluidity throughout the movement.
Why It Works
The Jump to Straddle enhances leg agility and strength while improving coordination.
This is key for mastering jumps and mid-air splits in artistic and rhythmic gymnastics.
11. Shoulder Stand
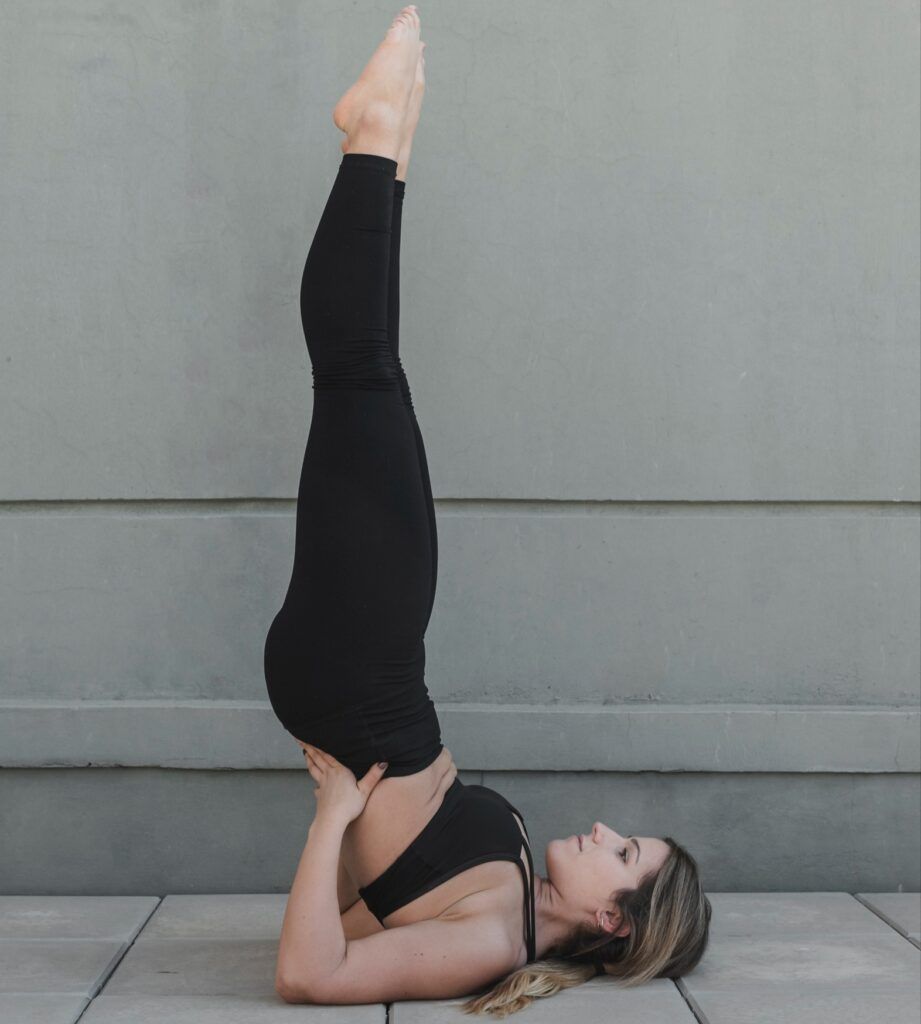
For a perfect blend of balance and strength training, incorporate the Shoulder Stand.
This exercise intensifies core strength and body control, which is essential for advanced gymnastics moves. Here’s how to perform it:
Step 1: Lie Down
Start by lying on your back with your arms alongside your body. Make sure you’re comfortable and stable.
Step 2: Lift Your Legs and Pelvis
Slowly lift your legs and pelvis, supporting the weight on your shoulders and neck. Your hands can support your back for added stability.
Step 3: Maintain the Position
Keep your legs straight and your body as vertical as possible. Hold the position, focusing on balance and core engagement.
Why It Works
The Shoulder Stand is excellent for developing the stability and strength needed for advanced balance and control elements in gymnastics.
It helps build core strength and enhances body control.
12. Hollow Body Hold
If you aim to build a rock-solid core for gymnastics, the Hollow Body Hold is just what you need.
It’s a fantastic method for enhancing core strength and stability, crucial for performing intricate gymnastic maneuvers.
Here’s how to do it:
Step 1: Lie Down
Start by lying on your back with your arms and legs straight. Make sure you’re on a comfortable surface.
Step 2: Lift Arms and Legs
Lift your arms and legs off the ground. Point your toes and reach forward with your hands. Your body should form a slight curve.
Step 3: Keep Your Lower Back Down
Ensure your lower back stays in contact with the floor. This keeps your core actively engaged and protects your lower back.
Step 4: Hold the Position
Hold the position for a few seconds. Focus on contracting your abdominal muscles and maintaining your form. Keep your body tight and controlled.
Why It Works
The Hollow Body Hold is excellent for building core strength and stability.
It teaches you how to maintain control and body tension, which are key for many gymnastic elements like parallel bars and jumps.
13. Frog Stand

Developing core stability and arm strength is easy with the Frog Stand.
It’s great for improving balance, body awareness, and concentration, which are crucial for more advanced gymnastics moves.
Begin in a squat position with your hands placed on the ground in front of you. Keep your fingers spread wide for better grip and stability.
Step 2: Position Your Knees
Gently rest your knees on your arms, just above the elbows. This will help support your weight as you lift off the ground.
Step 3: Lift Your Feet
Push gently off the ground, lifting your feet and balancing your body weight on your hands. Keep your elbows slightly bent to help with balance.
Step 4: Engage Your Core
Focus on core tension to stabilize the position. Tighten your abdominal muscles to help maintain balance.
Step 5: Hold the Position
Try to hold the Frog Stand for a few seconds. Concentrate on weight distribution and balance, keeping your eyes fixed on a point in front of you to help with stability.
Why It Works
The Frog Stand is excellent for improving balance and arm strength.
It also helps develop body awareness and concentration, which are essential for more complex gymnastic exercises like handstands and acrobatic transitions.
14. Lunge to Handstand Against a Wall
Want to take your gymnastics skills to the next level?
The Lunge to Handstand Against a Wall is a great exercise to build strength, balance, and body control.
It’s a crucial step for progressing to more advanced gymnastic exercises.
Here’s how to do it:
Step 1: Start in a Lunge Position
Begin with one foot forward in a lunge position, arms raised above your head. Make sure your front knee is bent and your back leg is straight.
Step 2: Bend Forward
Bend forward from the hips, placing your hands on the floor in front of you. Keep your arms straight and strong.
Step 3: Push with the Back Leg
Push with your back leg to lift your legs off the ground. Gently lean them against the wall to enter the handstand position.
Step 4: Engage Your Core
Keep your core engaged and your arms straight. Push through your shoulders to stabilize the handstand position.
Step 5: Hold the Handstand
Try to hold the handstand against the wall for a few seconds. Focus on maintaining body alignment and control. Keep your legs together and toes pointed.
Why It Works
The Lunge to Handstand Against a Wall is perfect for improving shoulder and core strength, handstand technique, and your ability to enter a handstand with control and fluidity.
15. Backward Roll
Ready to boost your spatial awareness, coordination, and strength?
The Backward Roll is a fundamental gymnastic move that’s both fun and essential for learning more complex acrobatics.
Here’s how to perform it:
16. Straddle Sit
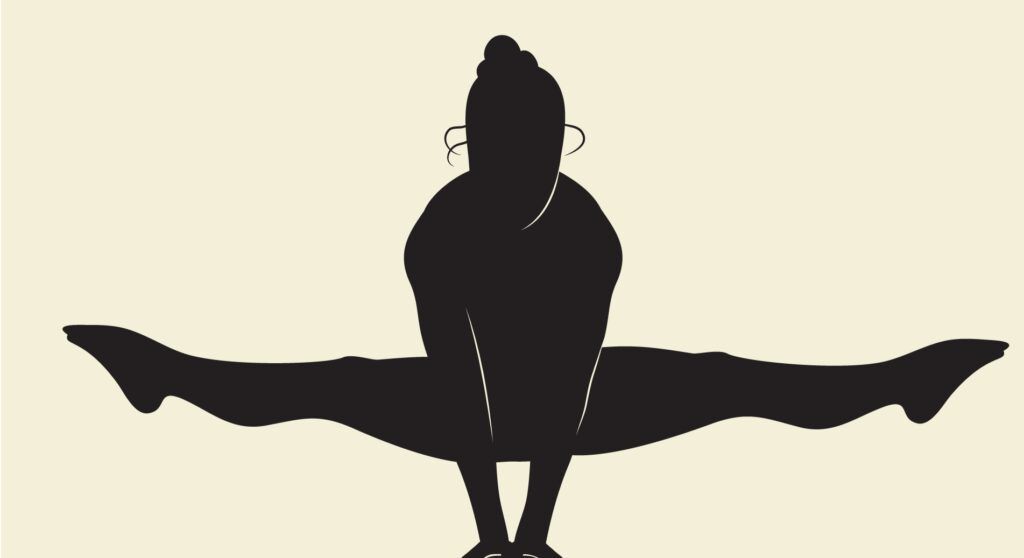
Enhance your hip mobility, leg flexibility, and core strength with the Straddle Sit.
It’s a must for any gymnast’s routine. Here’s how to perform it:
Step 1: Sit on the Floor
Sit on the floor with your legs spread apart as wide as possible in a straddle position. Keep your legs straight and your feet flexed upward.
Step 2: Keep Your Back Straight
Engage your core to support the position and keep your back straight. This helps maximize the stretch and build strength.
Step 3: Position Your Arms
You can extend your arms in front of you or raise them above your head to increase the intensity of the exercise. Keeping your arms extended also helps with balance.
Step 4: Lean Forward
To increase the challenge, lean forward from the hips while maintaining a straight back. This intensifies the stretch in your inner thighs and hamstrings.
Why It Works
The Straddle Sit improves hip mobility, leg flexibility, and strengthens the abdominal and back muscles.
It’s essential for a wide range of movements in gymnastics, such as splits, bridges, and rotations.
Tips for Integration
Incorporate the Straddle Sit into your warm-up and stretching routines.
Regular practice will help develop the necessary flexibility and strength for more complex gymnastic performances.
17. Pike Jump
The Pike Jump, also known as the carp jump, is a fantastic exercise to boost your leg strength, flexibility, and body control
It enhances explosiveness, coordination, and the ability to execute jumps with precision.
Here’s how to perform it:
Step 1: Start Upright
Begin in an upright position with your arms raised above your head. Stand tall and prepare for the jump.
Step 2: Execute the Jump
Jump up, simultaneously raising your legs straight in front of you as high as possible. Aim to form an acute angle between your legs and torso, creating a “V” shape.
Step 3: Keep Arms Parallel
During the jump, keep your arms straight and parallel to your legs. This helps maintain balance and form.
Step 4: Land with Control
Land gently, absorbing the impact with slightly bent knees. Ensure you land with control to avoid injury.
Why It Works
The Pike Jump requires good flexibility in the hamstrings and strong abdominal contraction to lift the legs.
It’s a key component in gymnastics for developing explosiveness, coordination, and body control.
Tips for Improvement
Regularly stretch your hamstrings and strengthen your core to improve your Pike Jump.
Practicing this jump will help you master more complex jumps in artistic and rhythmic gymnastics routines.
18. Split Leap
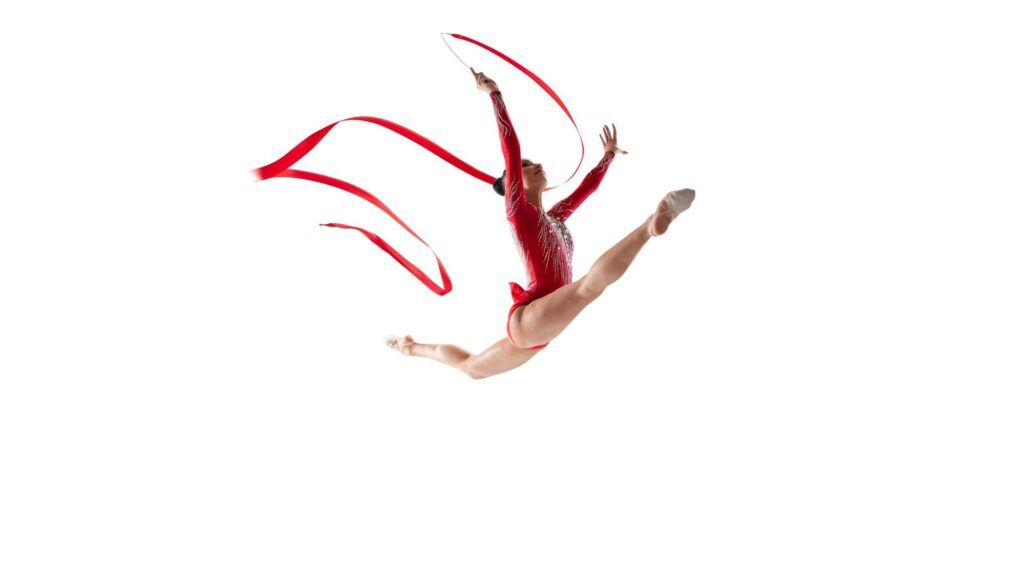
Ready to combine elegance, strength, and flexibility in a single move?
The Split Leap, also known as the split jump, is perfect for that.
This dynamic movement showcases full leg extension and grace while in flight. Here’s how to nail it:
Step 1: Gain Momentum
Start with a short run-up to build momentum. A few steps are usually enough to set you up for a powerful jump.
Step 2: Prepare to Leap
From an upright position, slightly bend your knees. Push upward and forward with a strong push from your feet. This initial push is crucial for height and distance.
Step 3: Split in the Air
As you jump, quickly separate your legs, aiming for maximum extension in both directions. Your goal is to form a perfect split in the air.
Step 4: Maintain Elegance
Keep your torso upright and your arms in an elegant position. Often, arms are held parallel to the ground or in a balanced, graceful pose.
Step 5: Land Gracefully
Land first with your front leg, followed by your back leg. Absorb the impact with a slight bend in your knees to maintain control and prevent injury.
Why It Works
The Split Leap is a stunning element in artistic and rhythmic gymnastics.
It showcases leg flexibility, core control, and the athlete’s grace.
Consistent practice improves timing and technique, making this leap a highlight in routines.
Tips for Improvement
Regularly stretch your legs to improve flexibility and strengthen your core to enhance control.
Practicing the leap repeatedly will help you perfect your timing and technique.
19. Arabesque Hold
The Arabesque Hold is a beautiful exercise that exemplifies grace, control, and balance.
It’s a staple in artistic and rhythmic gymnastics, as well as in dance, to enhance leg strength, core stability, and coordination.
Here’s how to perform it:
Step 1: Start Upright
Stand with your feet together and your body upright. Engage your core to maintain stability.
Step 2: Lift One Leg
Slowly lift one leg behind you, keeping it straight. Tilt your torso forward to maintain balance. Ideally, your body and the raised leg should form a straight line.
Step 3: Extend Your Arms
Extend your arms to help maintain balance. You can position them forward, to the sides, or in a more artistic pose, depending on your level of difficulty and style.
Step 4: Maintain the Position
Focus on keeping your core strong and the supporting leg stable. Keep the raised leg straight and elevated as high as possible.
Step 5: Return and Repeat
Slowly return to the starting position. Repeat the exercise with the other leg.
Why It Works
The Arabesque Hold requires and develops excellent body control and stability.
It’s an excellent exercise for refining balance and posture.
The key to a successful arabesque is maintaining control and a straight body line while balancing on one leg.
Practice the Arabesque Hold regularly to enhance your grace, control, and balance.
20. Walking on Toes and Heels
To improve balance and ankle strength, try Walking on Toes and Heels.
Here’s how to do it:
Step 1: Start Upright
Stand with your body upright, engaging your core to maintain stability.
Step 2: Walk on Your Toes
Slowly raise your heels so you are standing on your toes. Keep your body upright and begin to walk forward and backward, maintaining balance.
Step 3: Switch to Heels
After walking on your toes for a while, switch exercises. Lift your toes so you are standing on your heels. Walk forward and backward on your heels, focusing on balance.
Step 4: Repeat the Cycle
Repeat the cycle of walking on your toes and then on your heels. This helps improve your balance and strengthens the muscles around your ankles.
Why It Works
This exercise targets the muscles in your feet and ankles, enhancing balance and stability.
Regular practice can prevent injuries and improve overall coordination.
21. Round-Off:
The Round-Off is an advanced gymnastics movement that begins like a side cartwheel and ends with both legs together, enhancing coordination and agility.
Here’s how to perform it:
Step 1: Gain Momentum
Start with a short run to build momentum. This will help you achieve the necessary height and speed for the Round-Off.
Step 2: Initiate the Movement
From an upright position, slightly bend your knees and push upward and forward with a strong push from your feet, similar to initiating a side cartwheel.
Step 3: Separate Your Legs
While jumping, quickly separate your legs, aiming for maximum extension in both directions. Your body should form a wide “V” shape in the air.
Step 4: Execute the Turn
During the jump, make a 180-degree turn. This requires twisting your body so that at the end of the movement, you land with both legs together, facing the opposite direction from where you started.
Step 5: Land Gracefully
Keep your upper body upright and your arms in an elegant position throughout the execution. Land with both legs together, absorbing the impact with slightly bent knees.
Why It Works
The Round-Off requires coordination and agility to transition smoothly from a side cartwheel to landing with both legs together.
It’s an advanced exercise that challenges more experienced gymnasts and can add flair to gymnastics routines.
Tips for Success
- Practice: Consistent practice is key to mastering the Round-Off. Start slowly and gradually increase speed and intensity.
- Focus on Form: Maintain a strong, upright posture and elegant arm position throughout the movement.
- Safety First: Perform this exercise on a soft mat to ensure safety, especially when you’re first learning.
22. Chin-Up Hang

The Chin-Up Hang is a great way to develop grip and arm strength.
Here’s how to perform it correctly:
Step 1: Find the Right Bar
Locate a horizontal bar or a suspended gymnastics bar at a height that allows you to hang from it with your arms fully extended.
Step 2: Position Yourself
Stand under the bar with your hands slightly wider than your shoulders.
Step 3: Grip the Bar
Grab the bar with a supine grip, meaning your palms should be facing you, and your thumbs should be wrapping around the bar toward you.
Step 4: Lift Your Feet
Lift your feet off the ground so that your body is fully suspended from the bar with your arms flexed. Your body should be hanging straight down.
Step 5: Maintain the Hang
Hold this position for as long as possible, focusing on training your grip and arm strength. Keep your core engaged to maintain stability.
Step 6: Lower Yourself Down
When you’re ready to come down, slowly lower your feet to the ground and gently release your grip from the bar.
Why It Works
The Chin-Up Hang is ideal for increasing grip and arm strength.
It’s a crucial step in progressing to full chin-ups, where you lift yourself above the bar.
Tips for Success
- Control the Movement: Perform the exercise in a controlled manner to maximize benefits and prevent injuries.
- Consistency: Regular practice will help build endurance and strength over time.
- Warm Up: Ensure you warm up your muscles before performing the exercise to reduce the risk of injury.
RELATED:>>> Level 2 Gymnastics Skills: Advance Your Home Routine
Final Thoughts
Having recently started practicing some of these basic exercises myself, I can personally attest to the transformative power of gymnastics.
Every time you tackle a new skill or overcome a challenge, you’re learning valuable lessons about resilience, determination, and courage.
This journey teaches you to fall and get back up, to find balance not only on the mat but also in everyday life.
As you progress, you’ll find that gymnastics sharpens not only your body but also your mind.
You’ll learn the value of patience, the beauty of perseverance, and the importance of concentration.
Begin this journey with a clear goal, but be open to surprises along the way.

